Objective
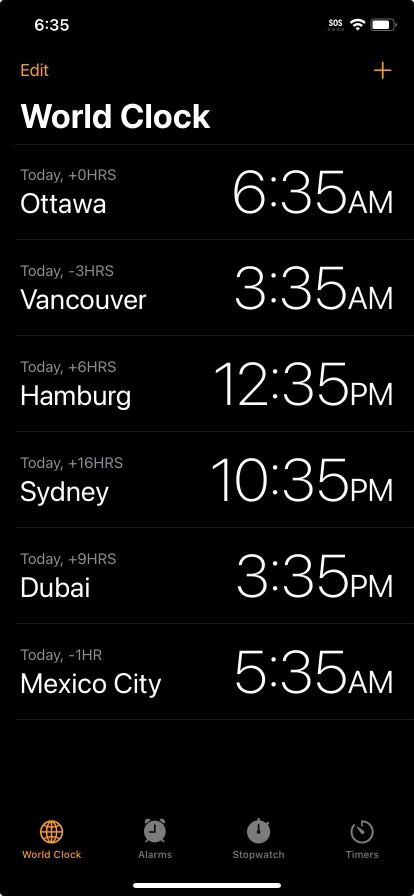
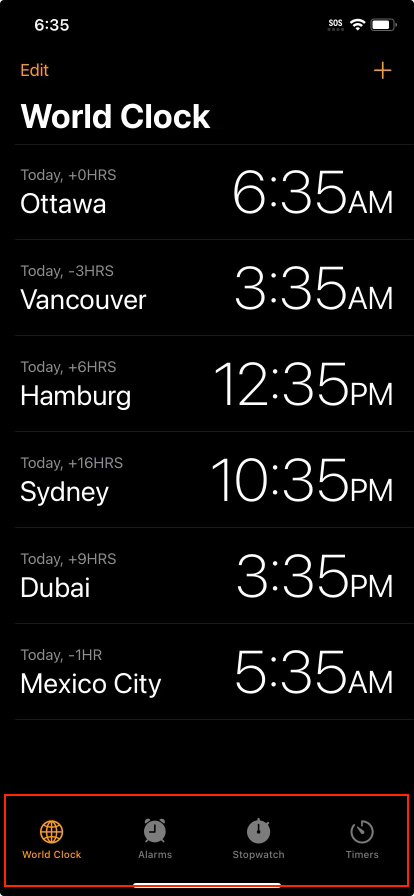
The objective of this lesson and the related exercises is to reproduce the following interfaces from the iOS Clock app:
Create a new project
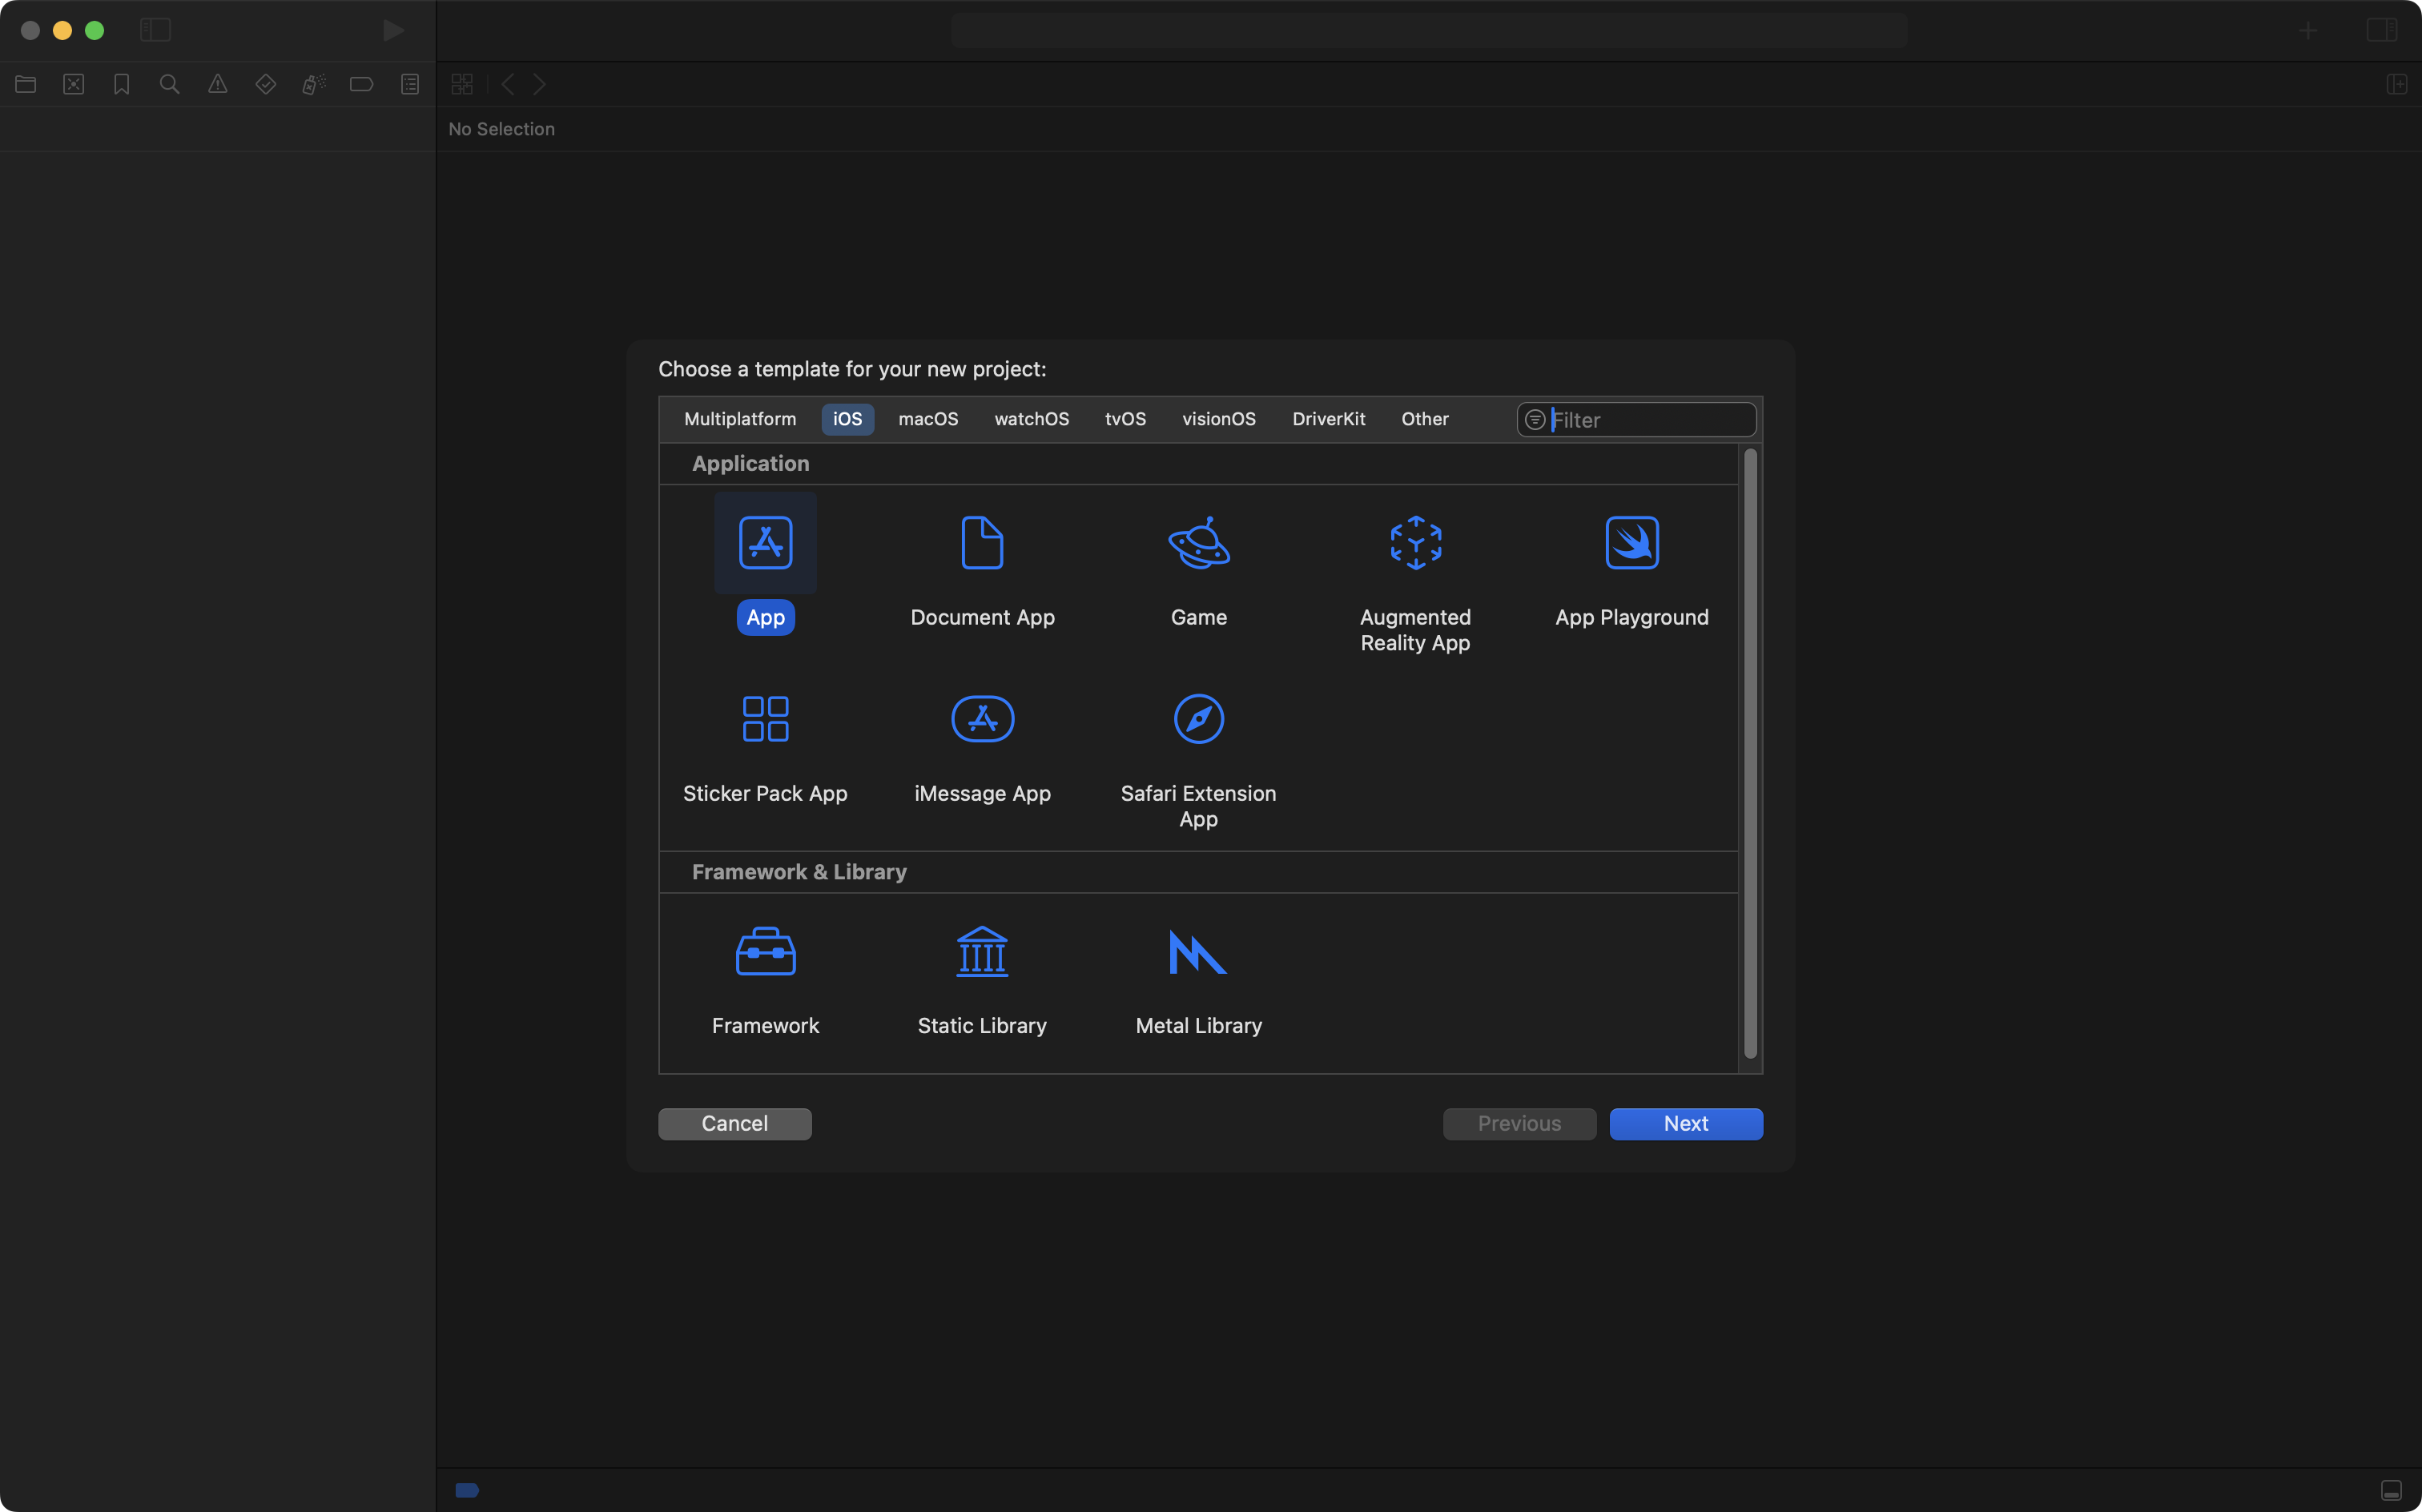
In Xcode, from the menus, choose File > New > Project… then select the iOS tab and then App, and finally press the Next button:
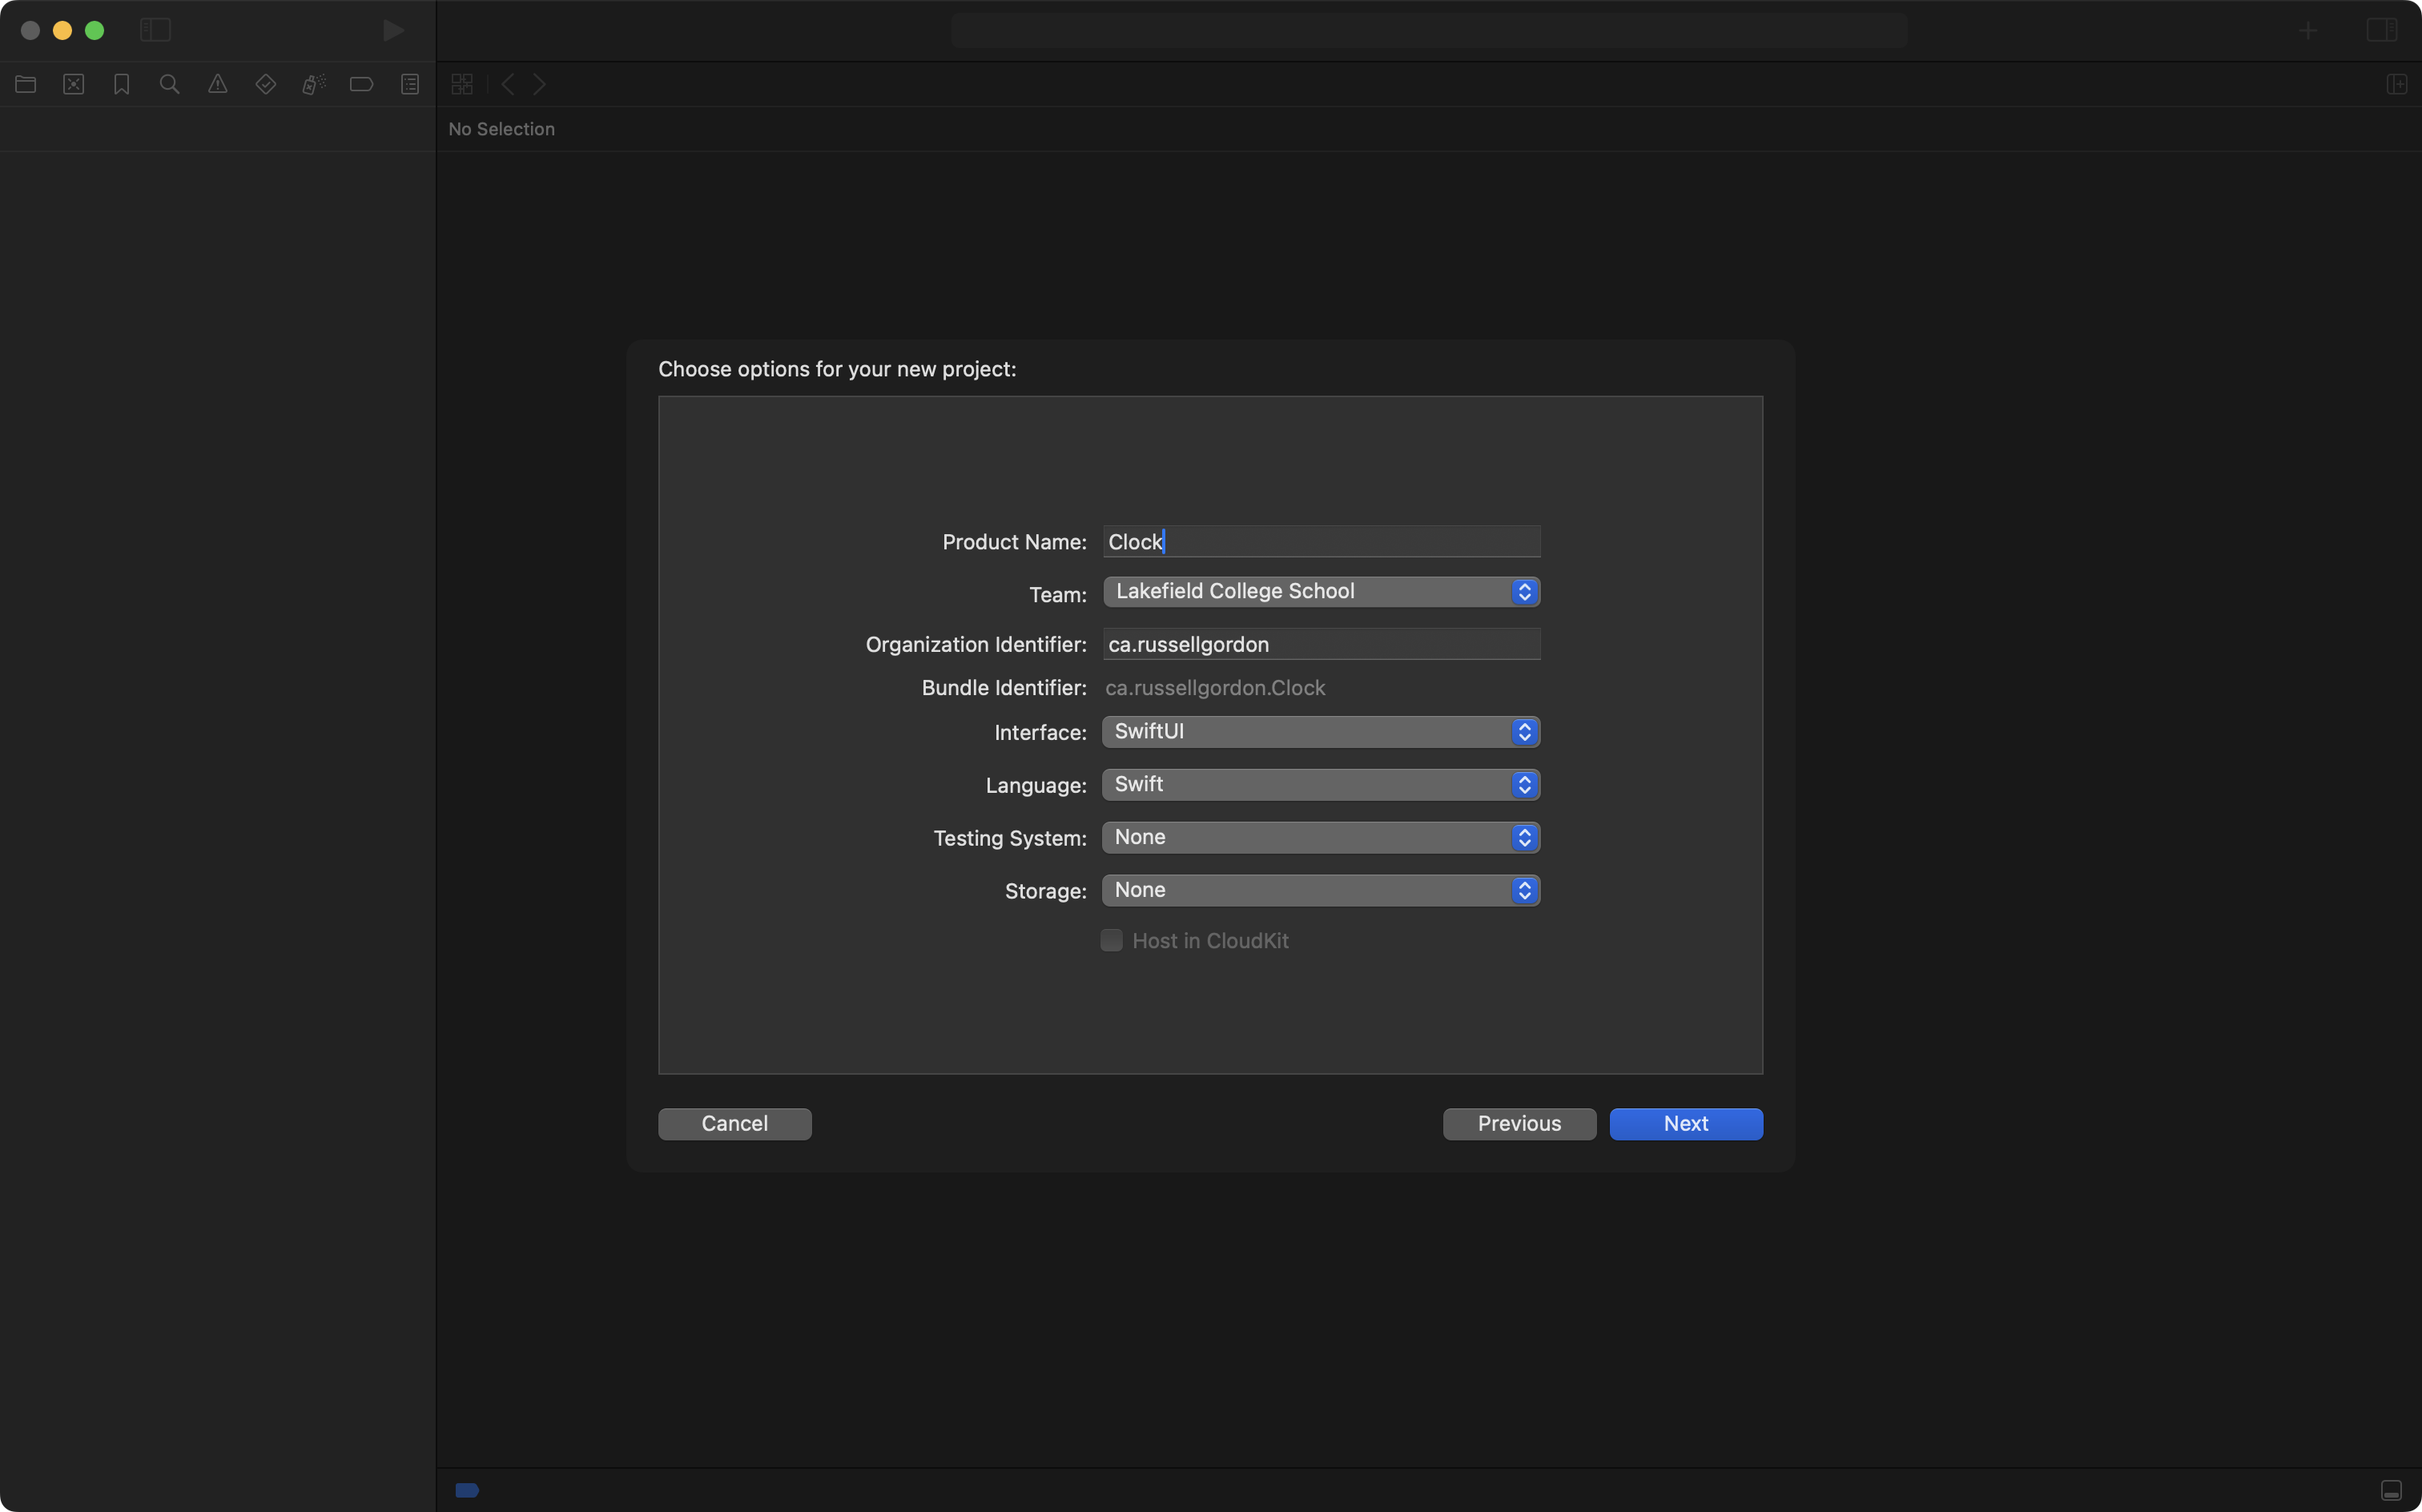
Name the project Clock and then choose the following options for the new project – your organization identifier will be different, and that’s OK:
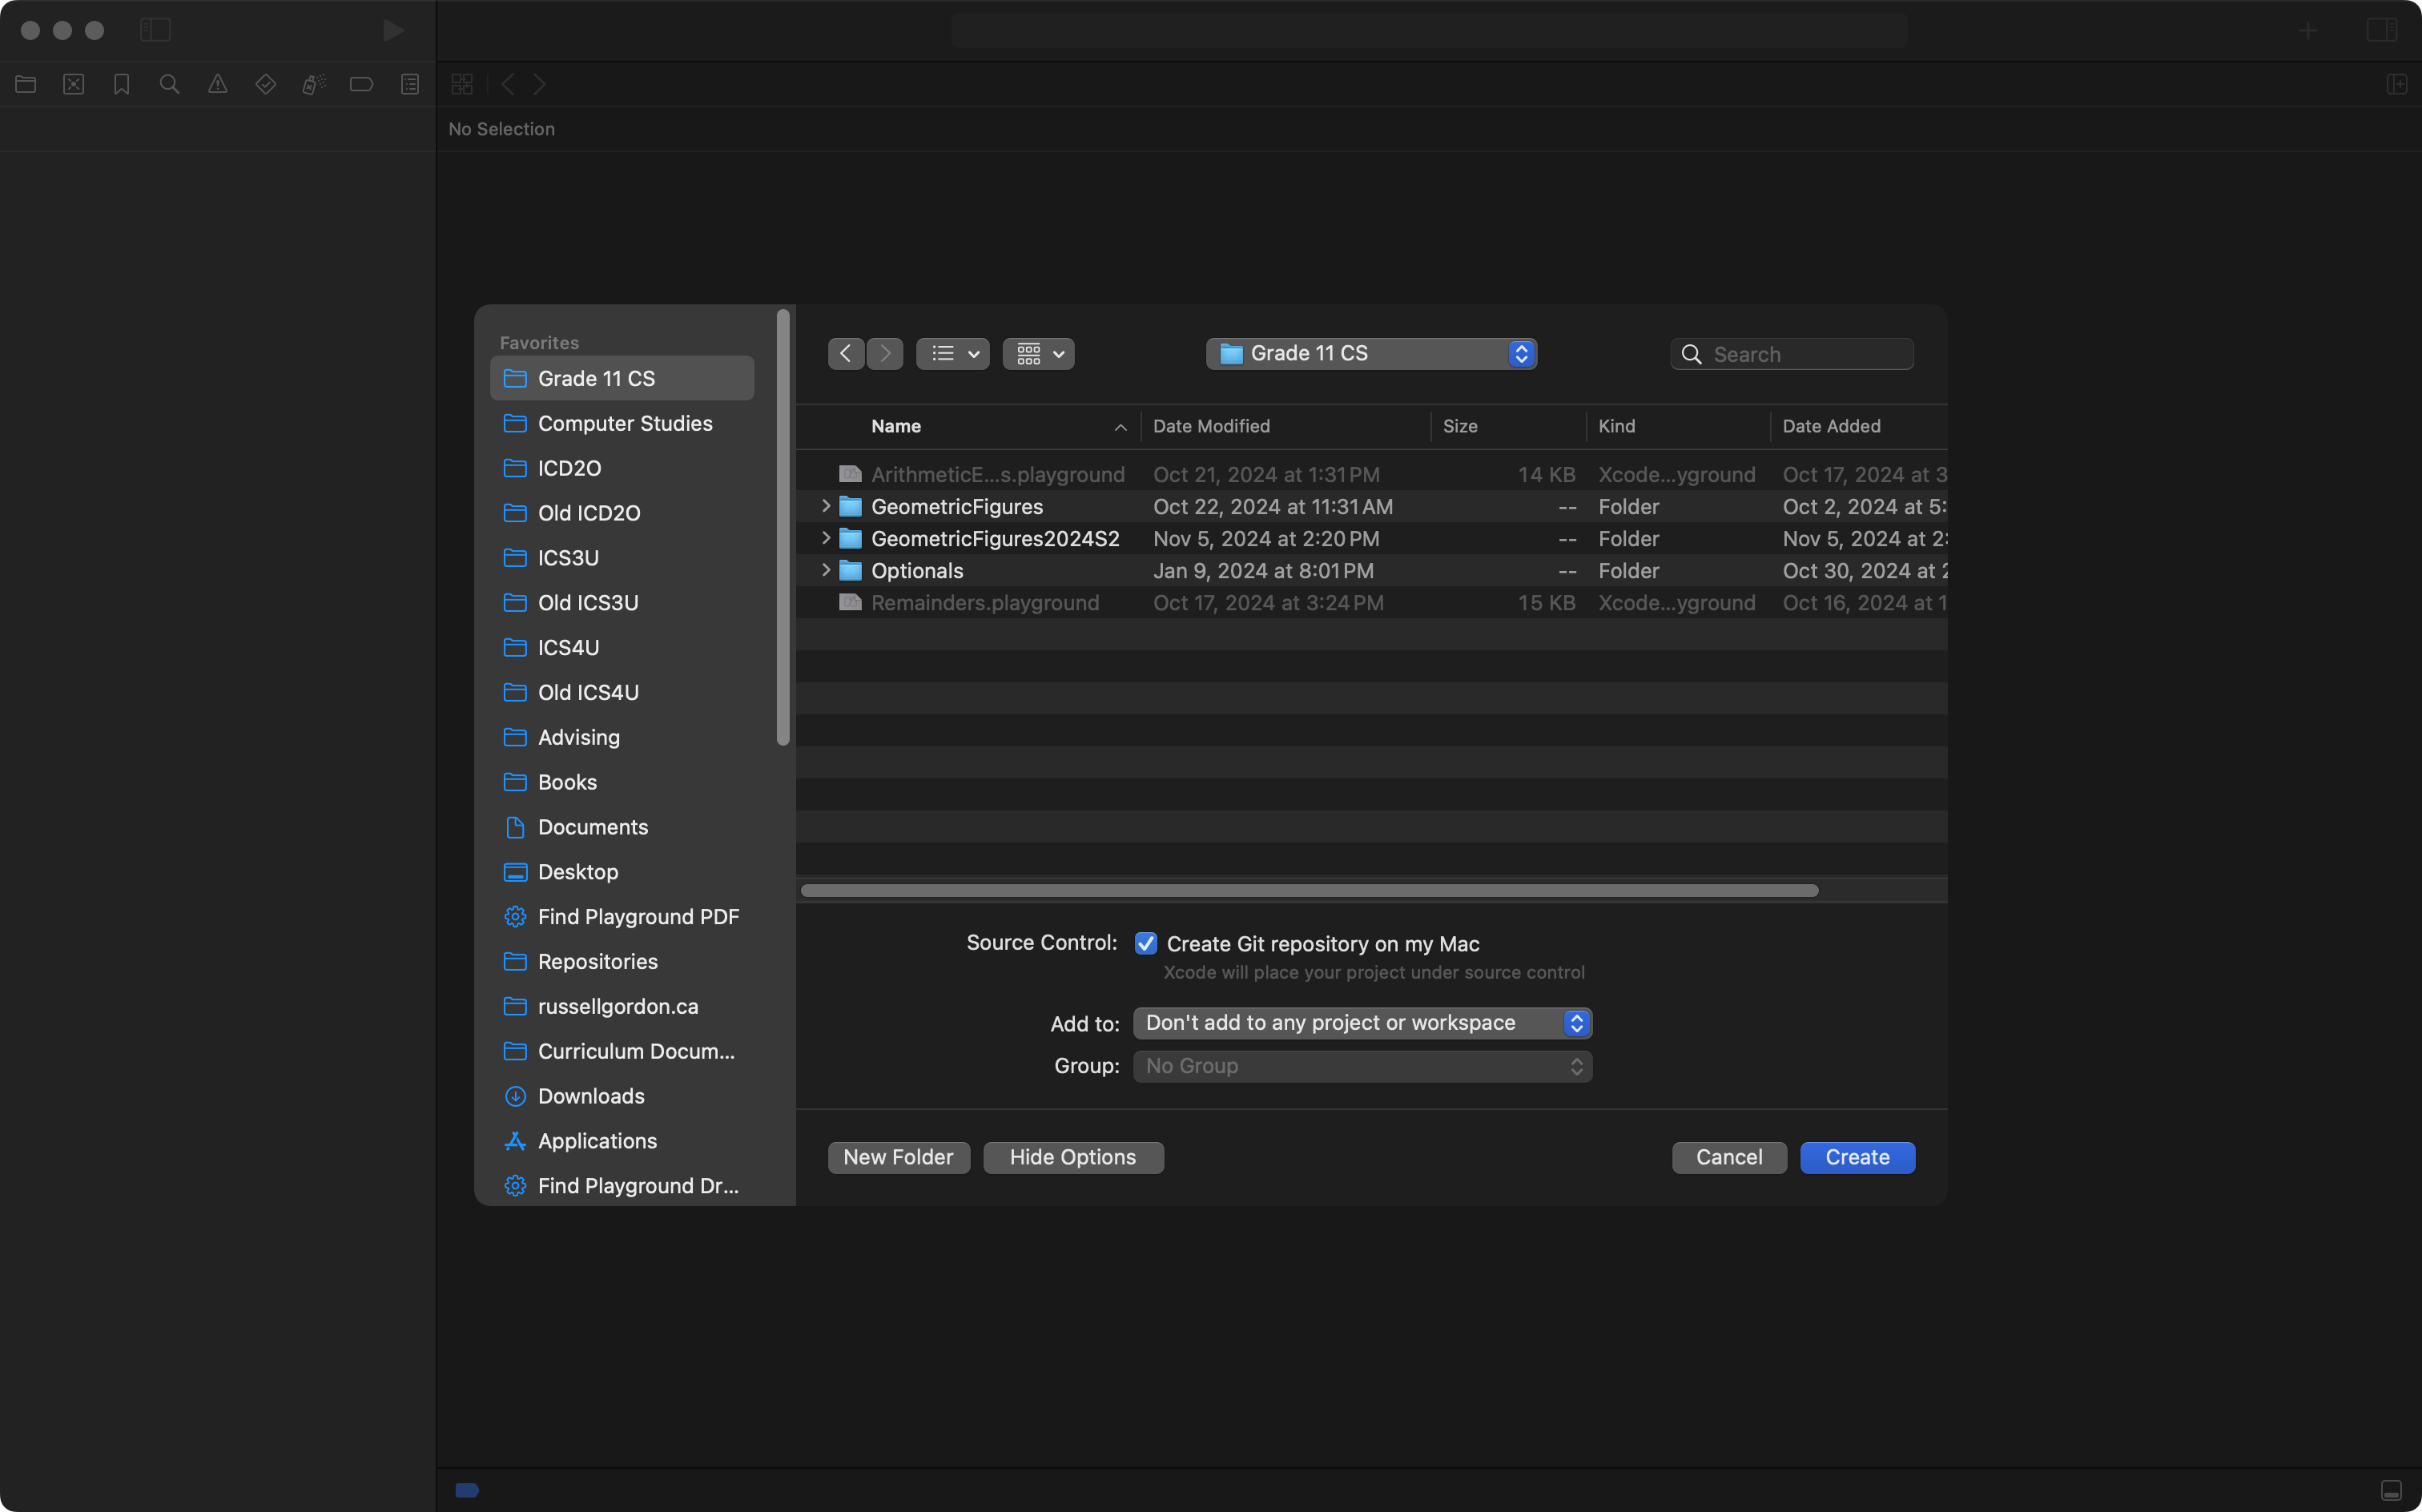
Be sure that Source Control is enabled and save your work in an appropriate location on your computer – such as your Grade 11 Computer Science folder:
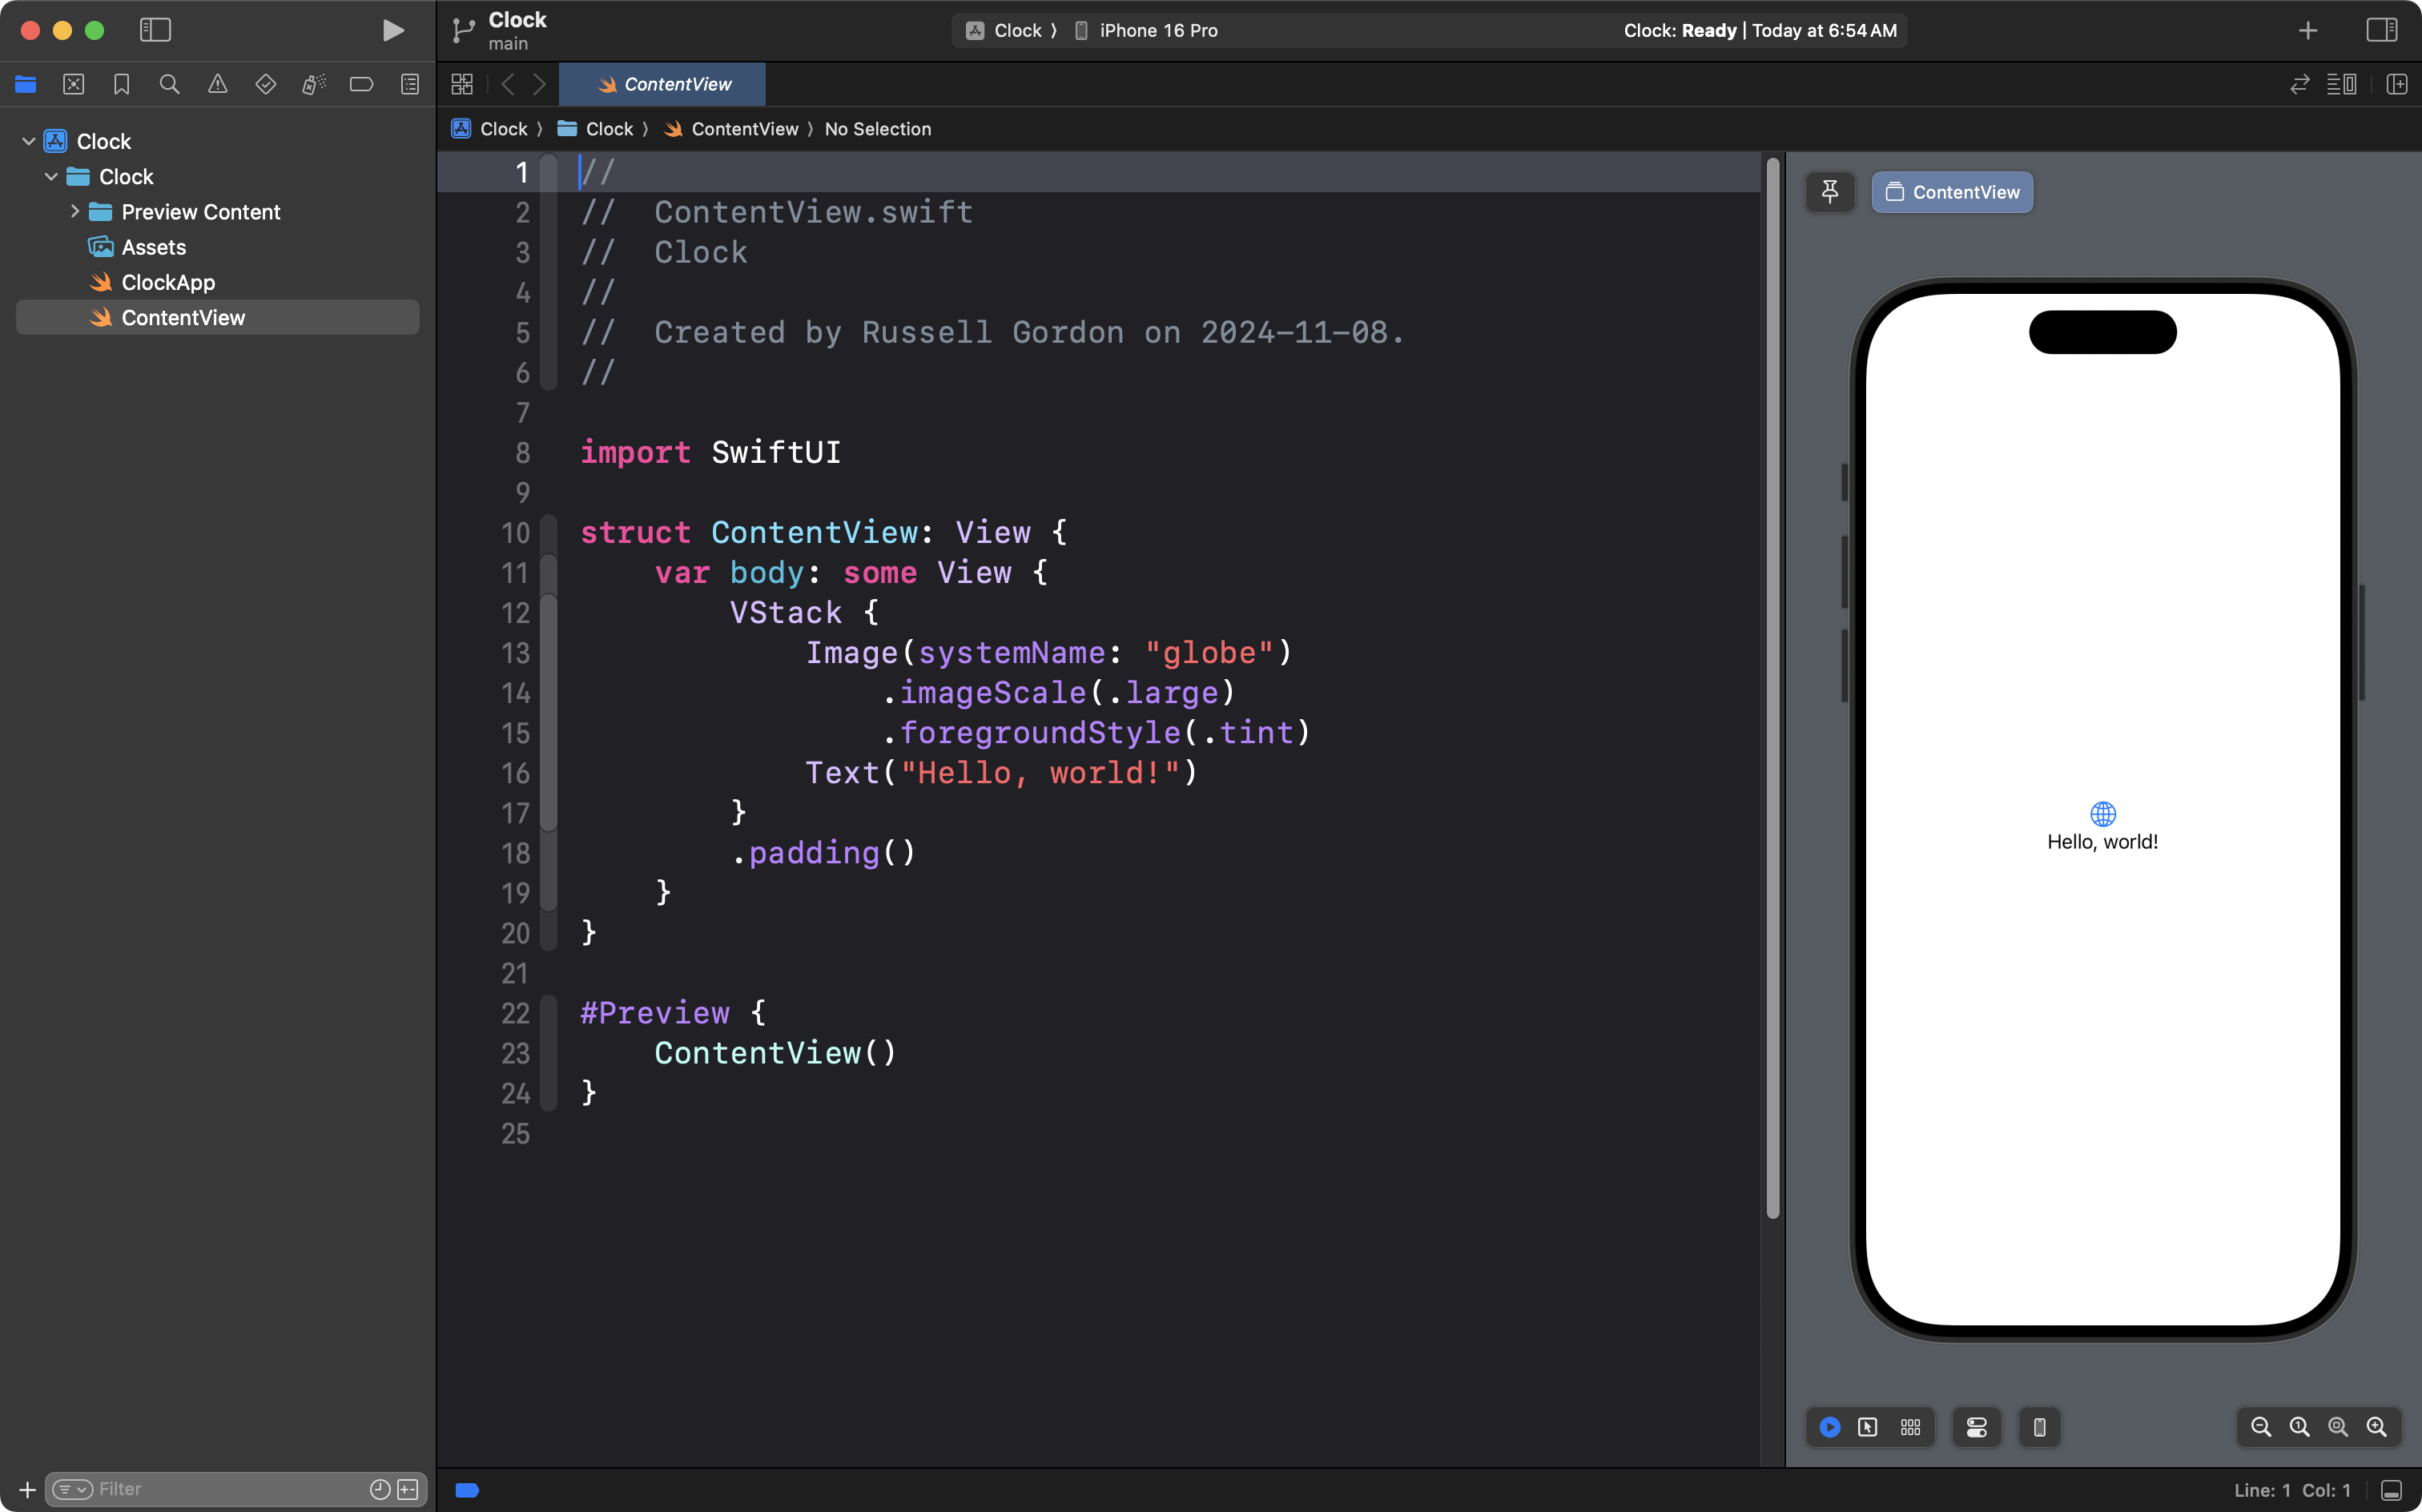
Shortly after the project opens, you will see something like this:
Set up source control
Change to the Source Control navigator by pressing Command-2:
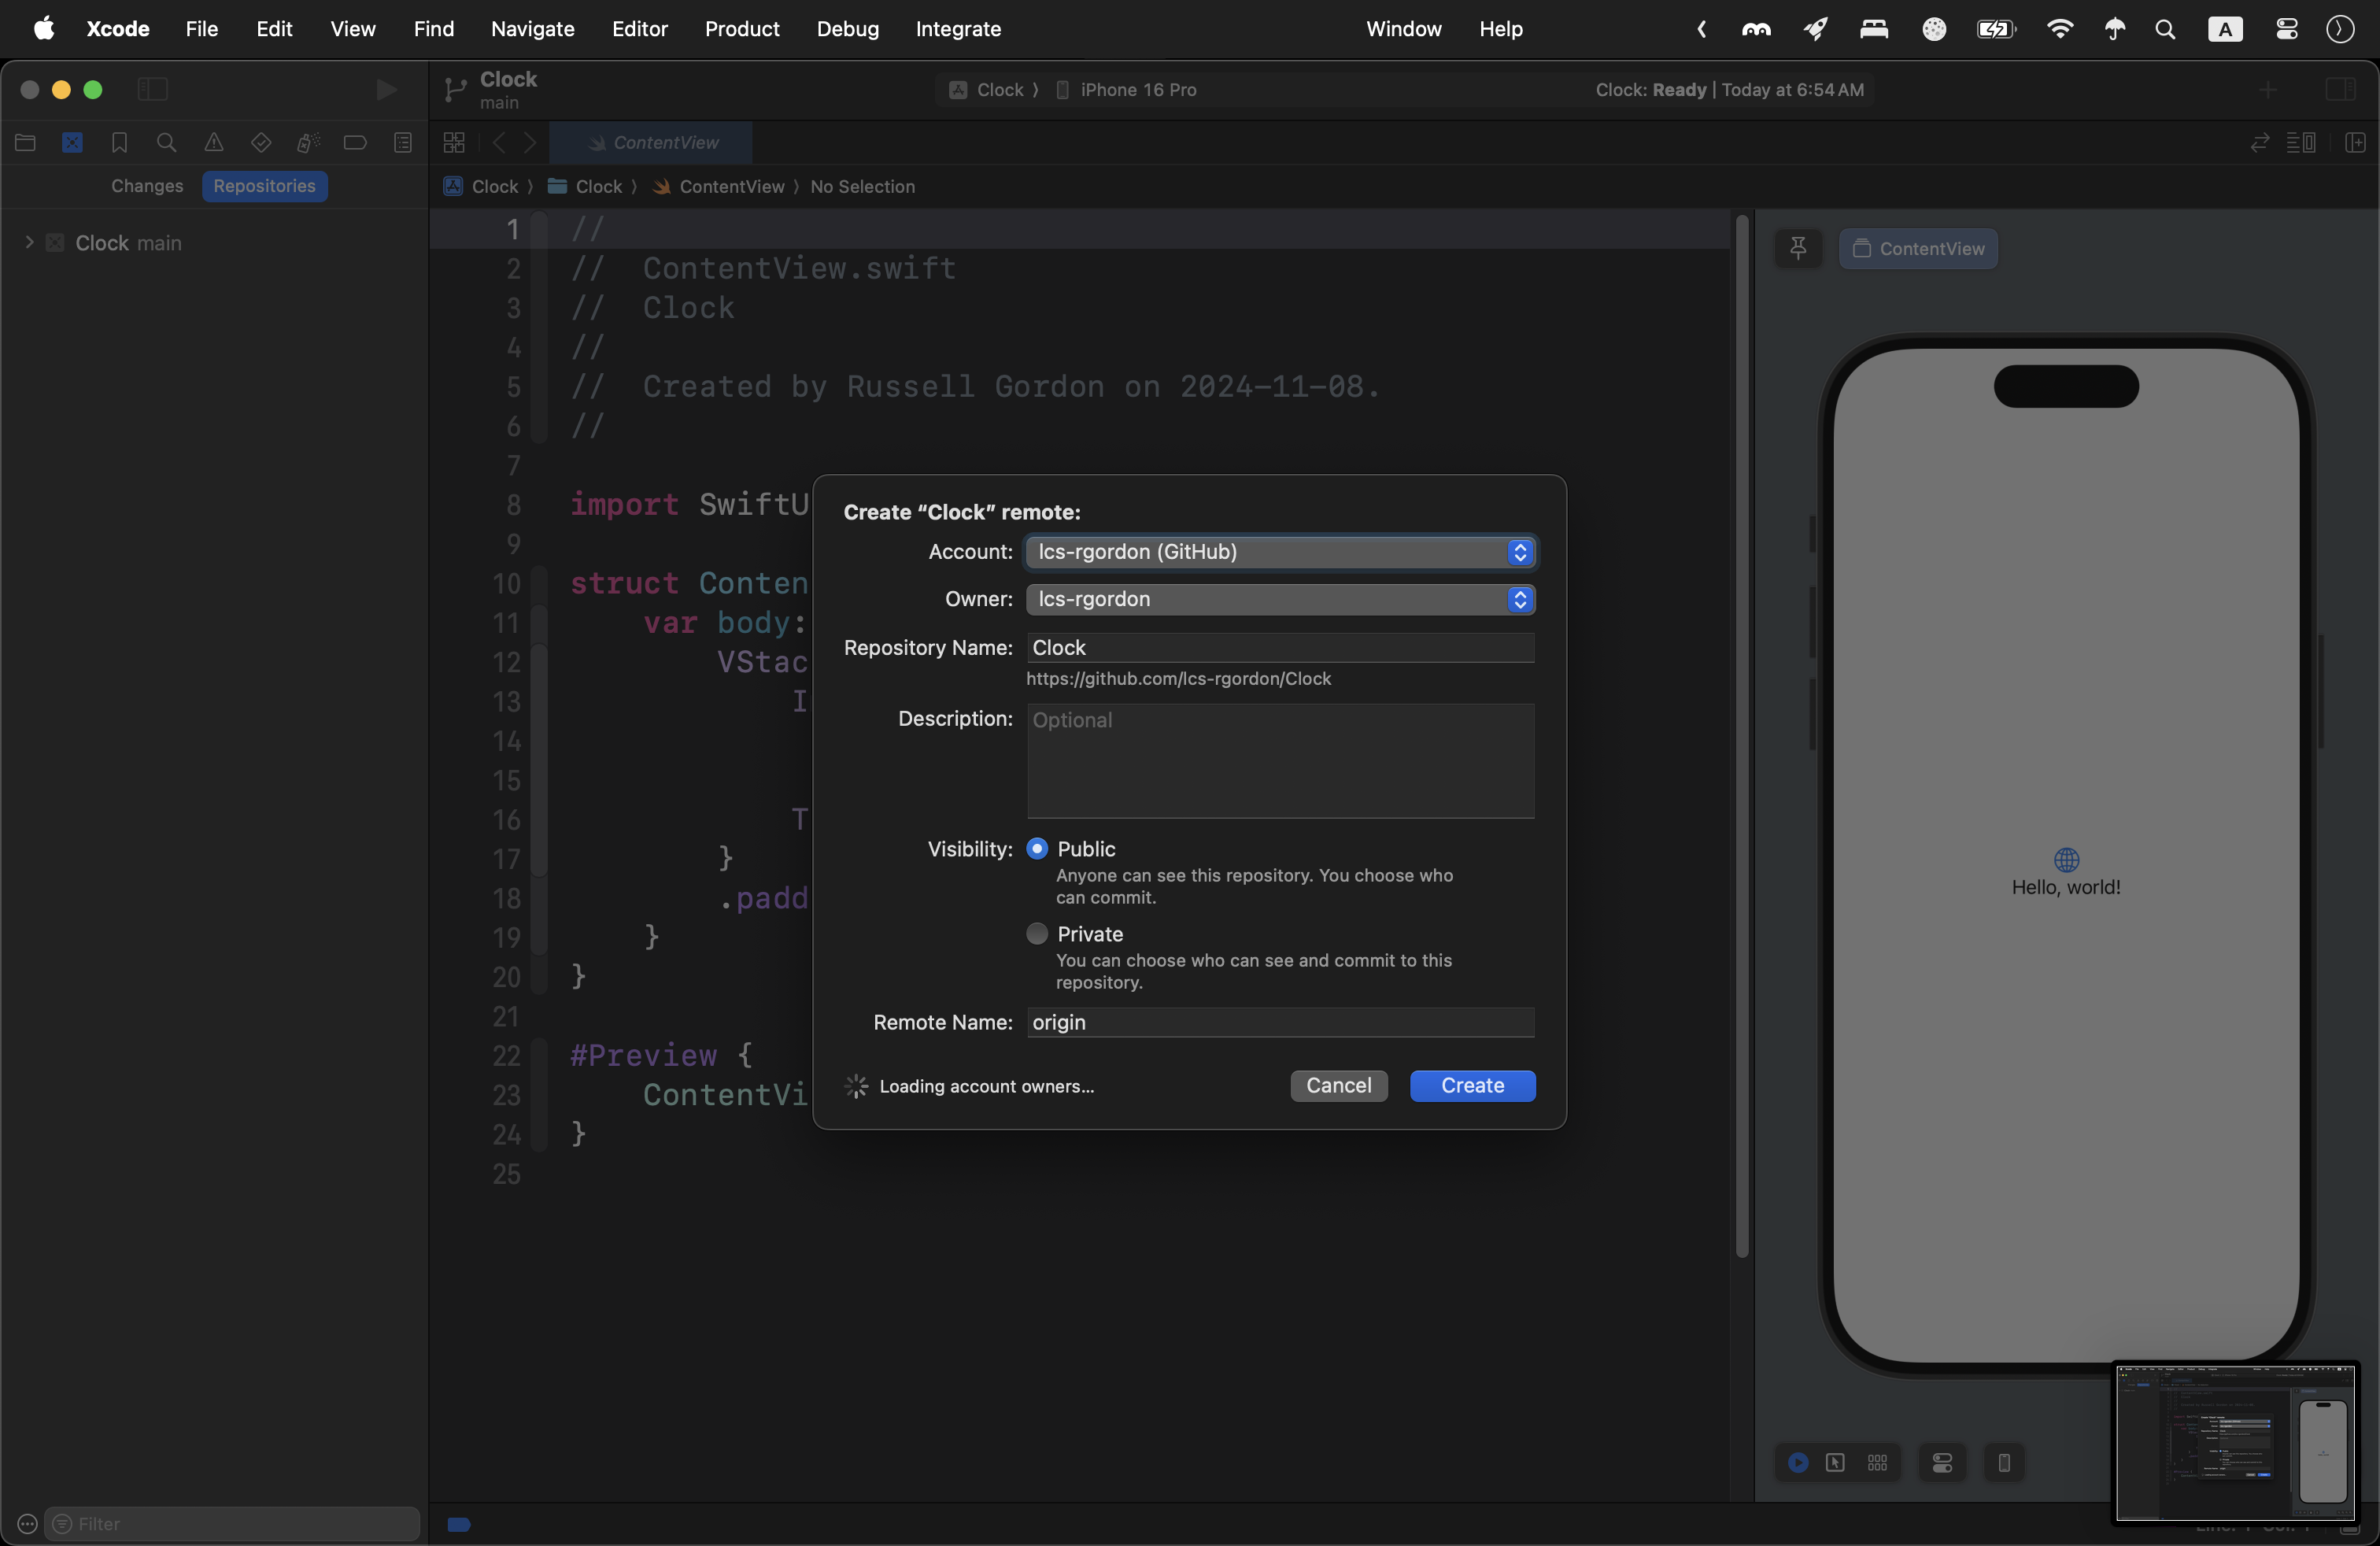
Then create a remote:
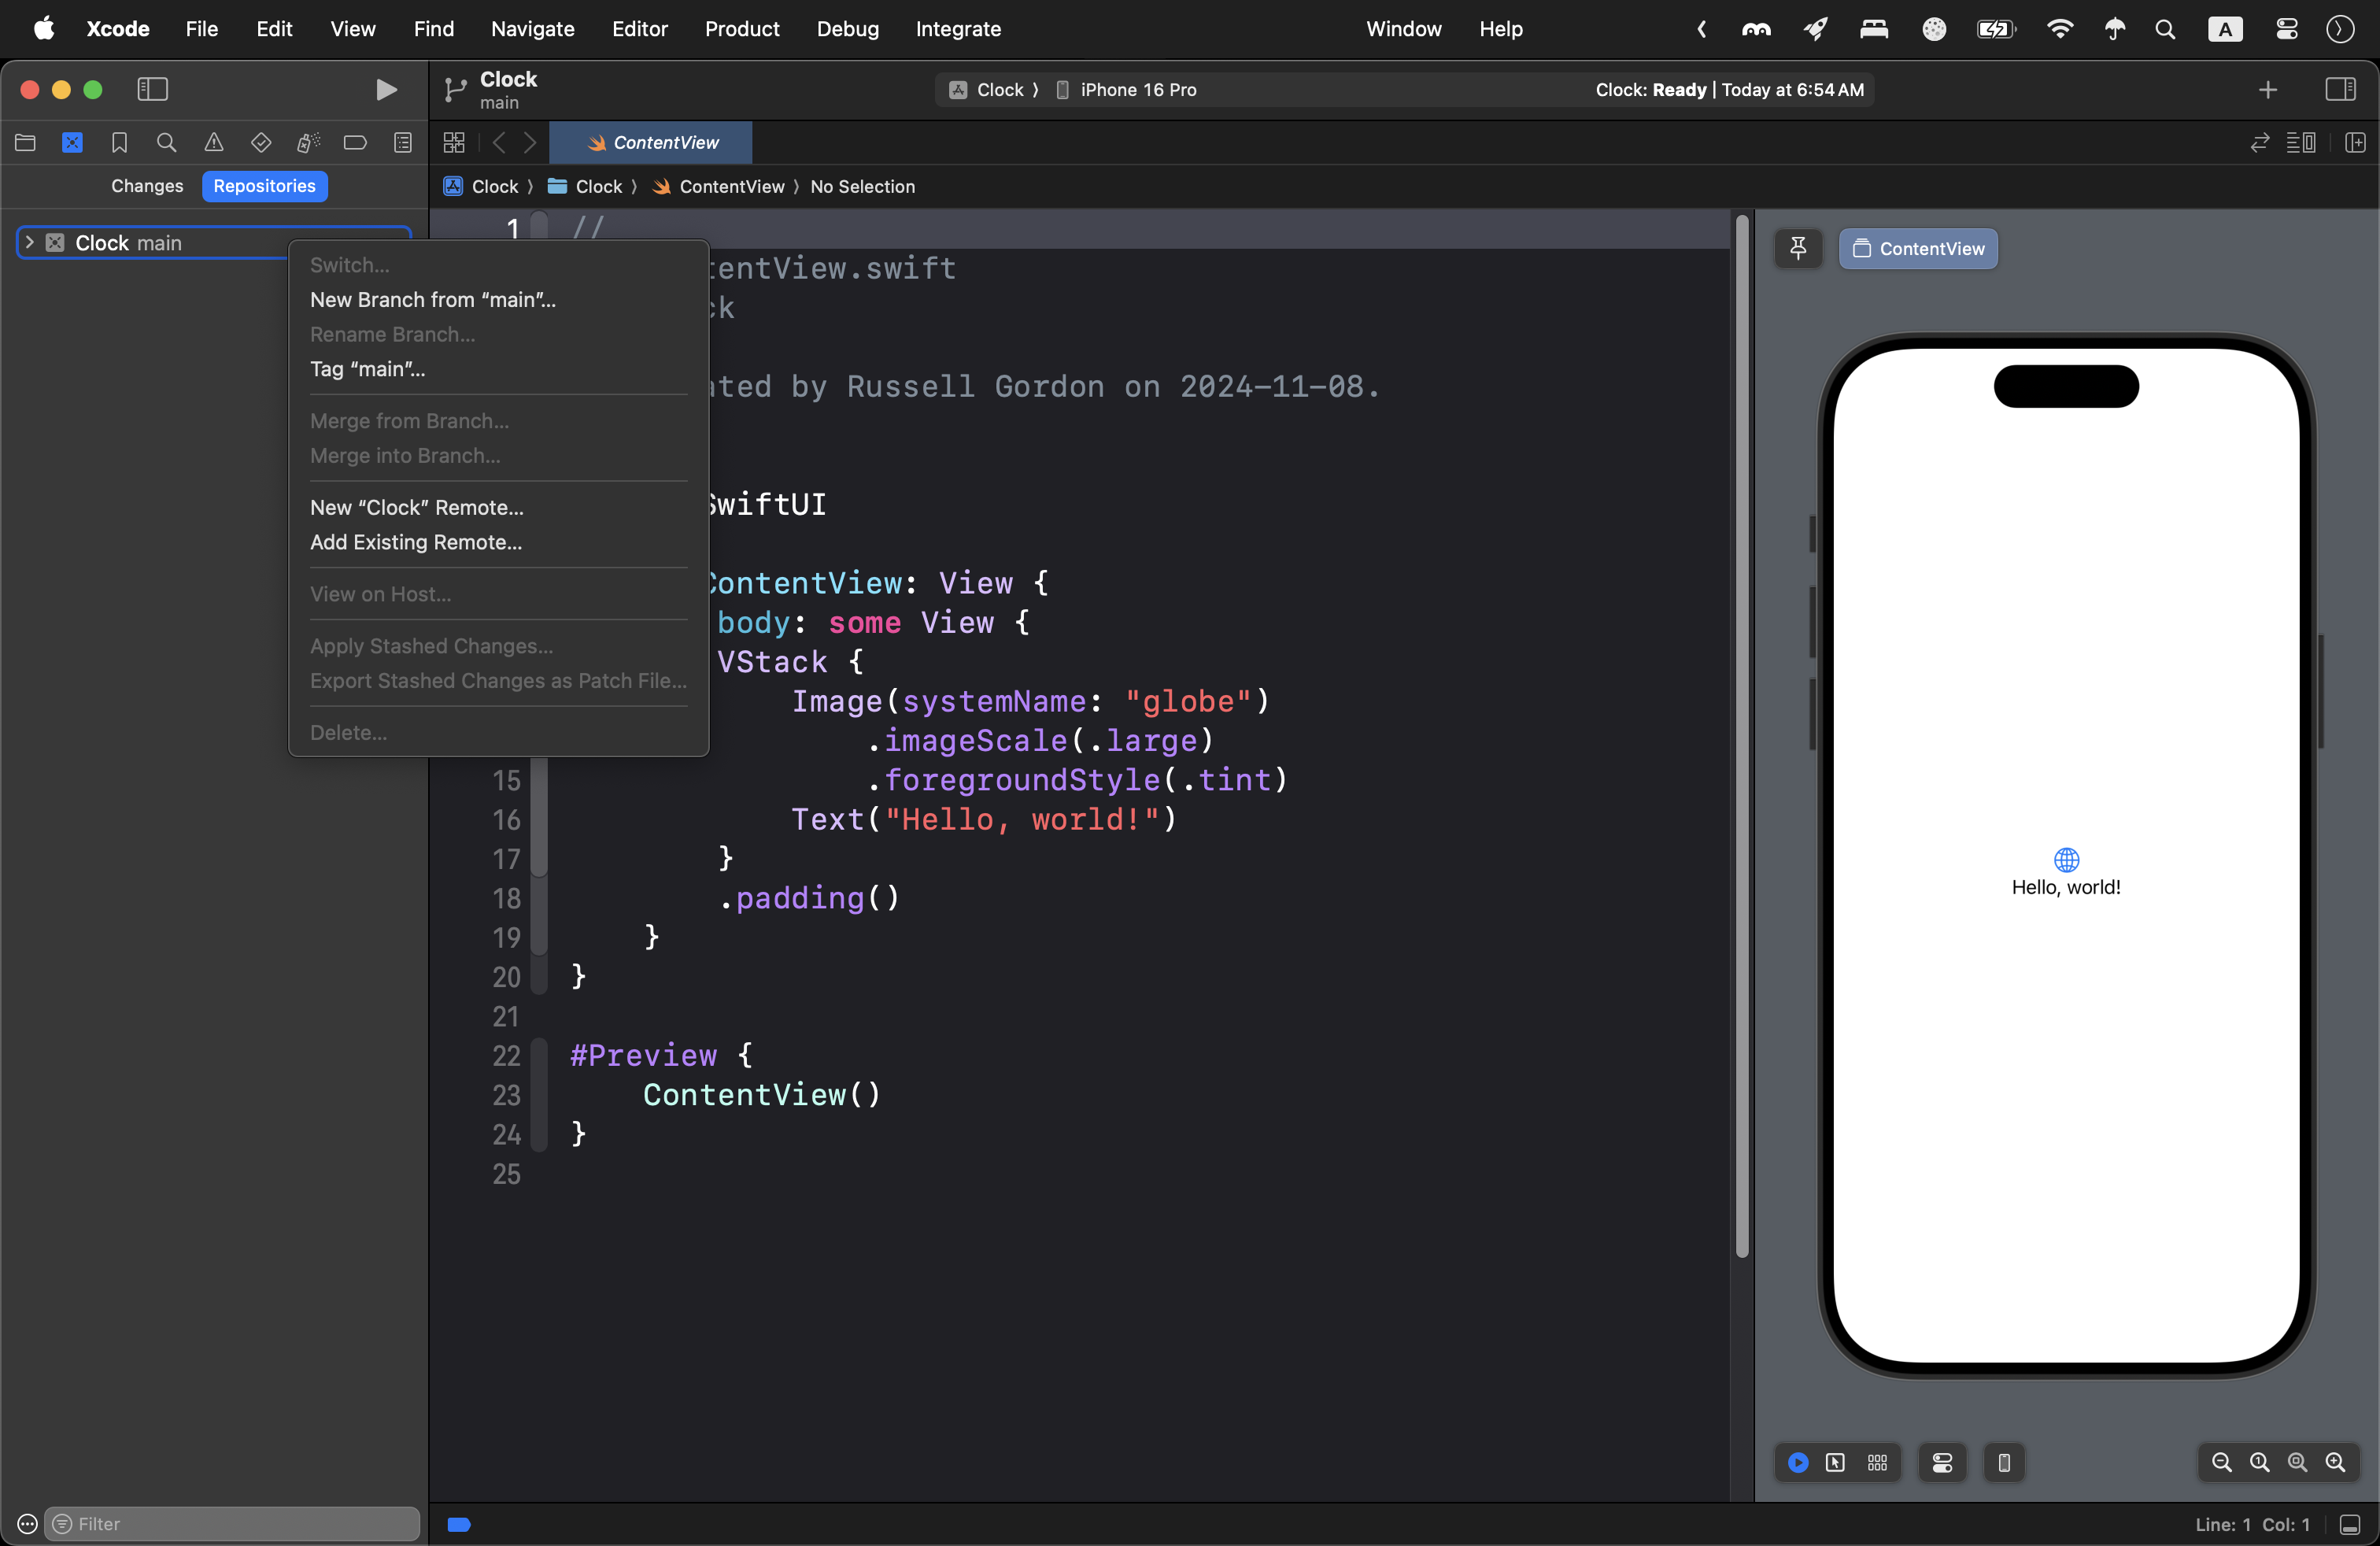
You can leave the default options:
Project organization
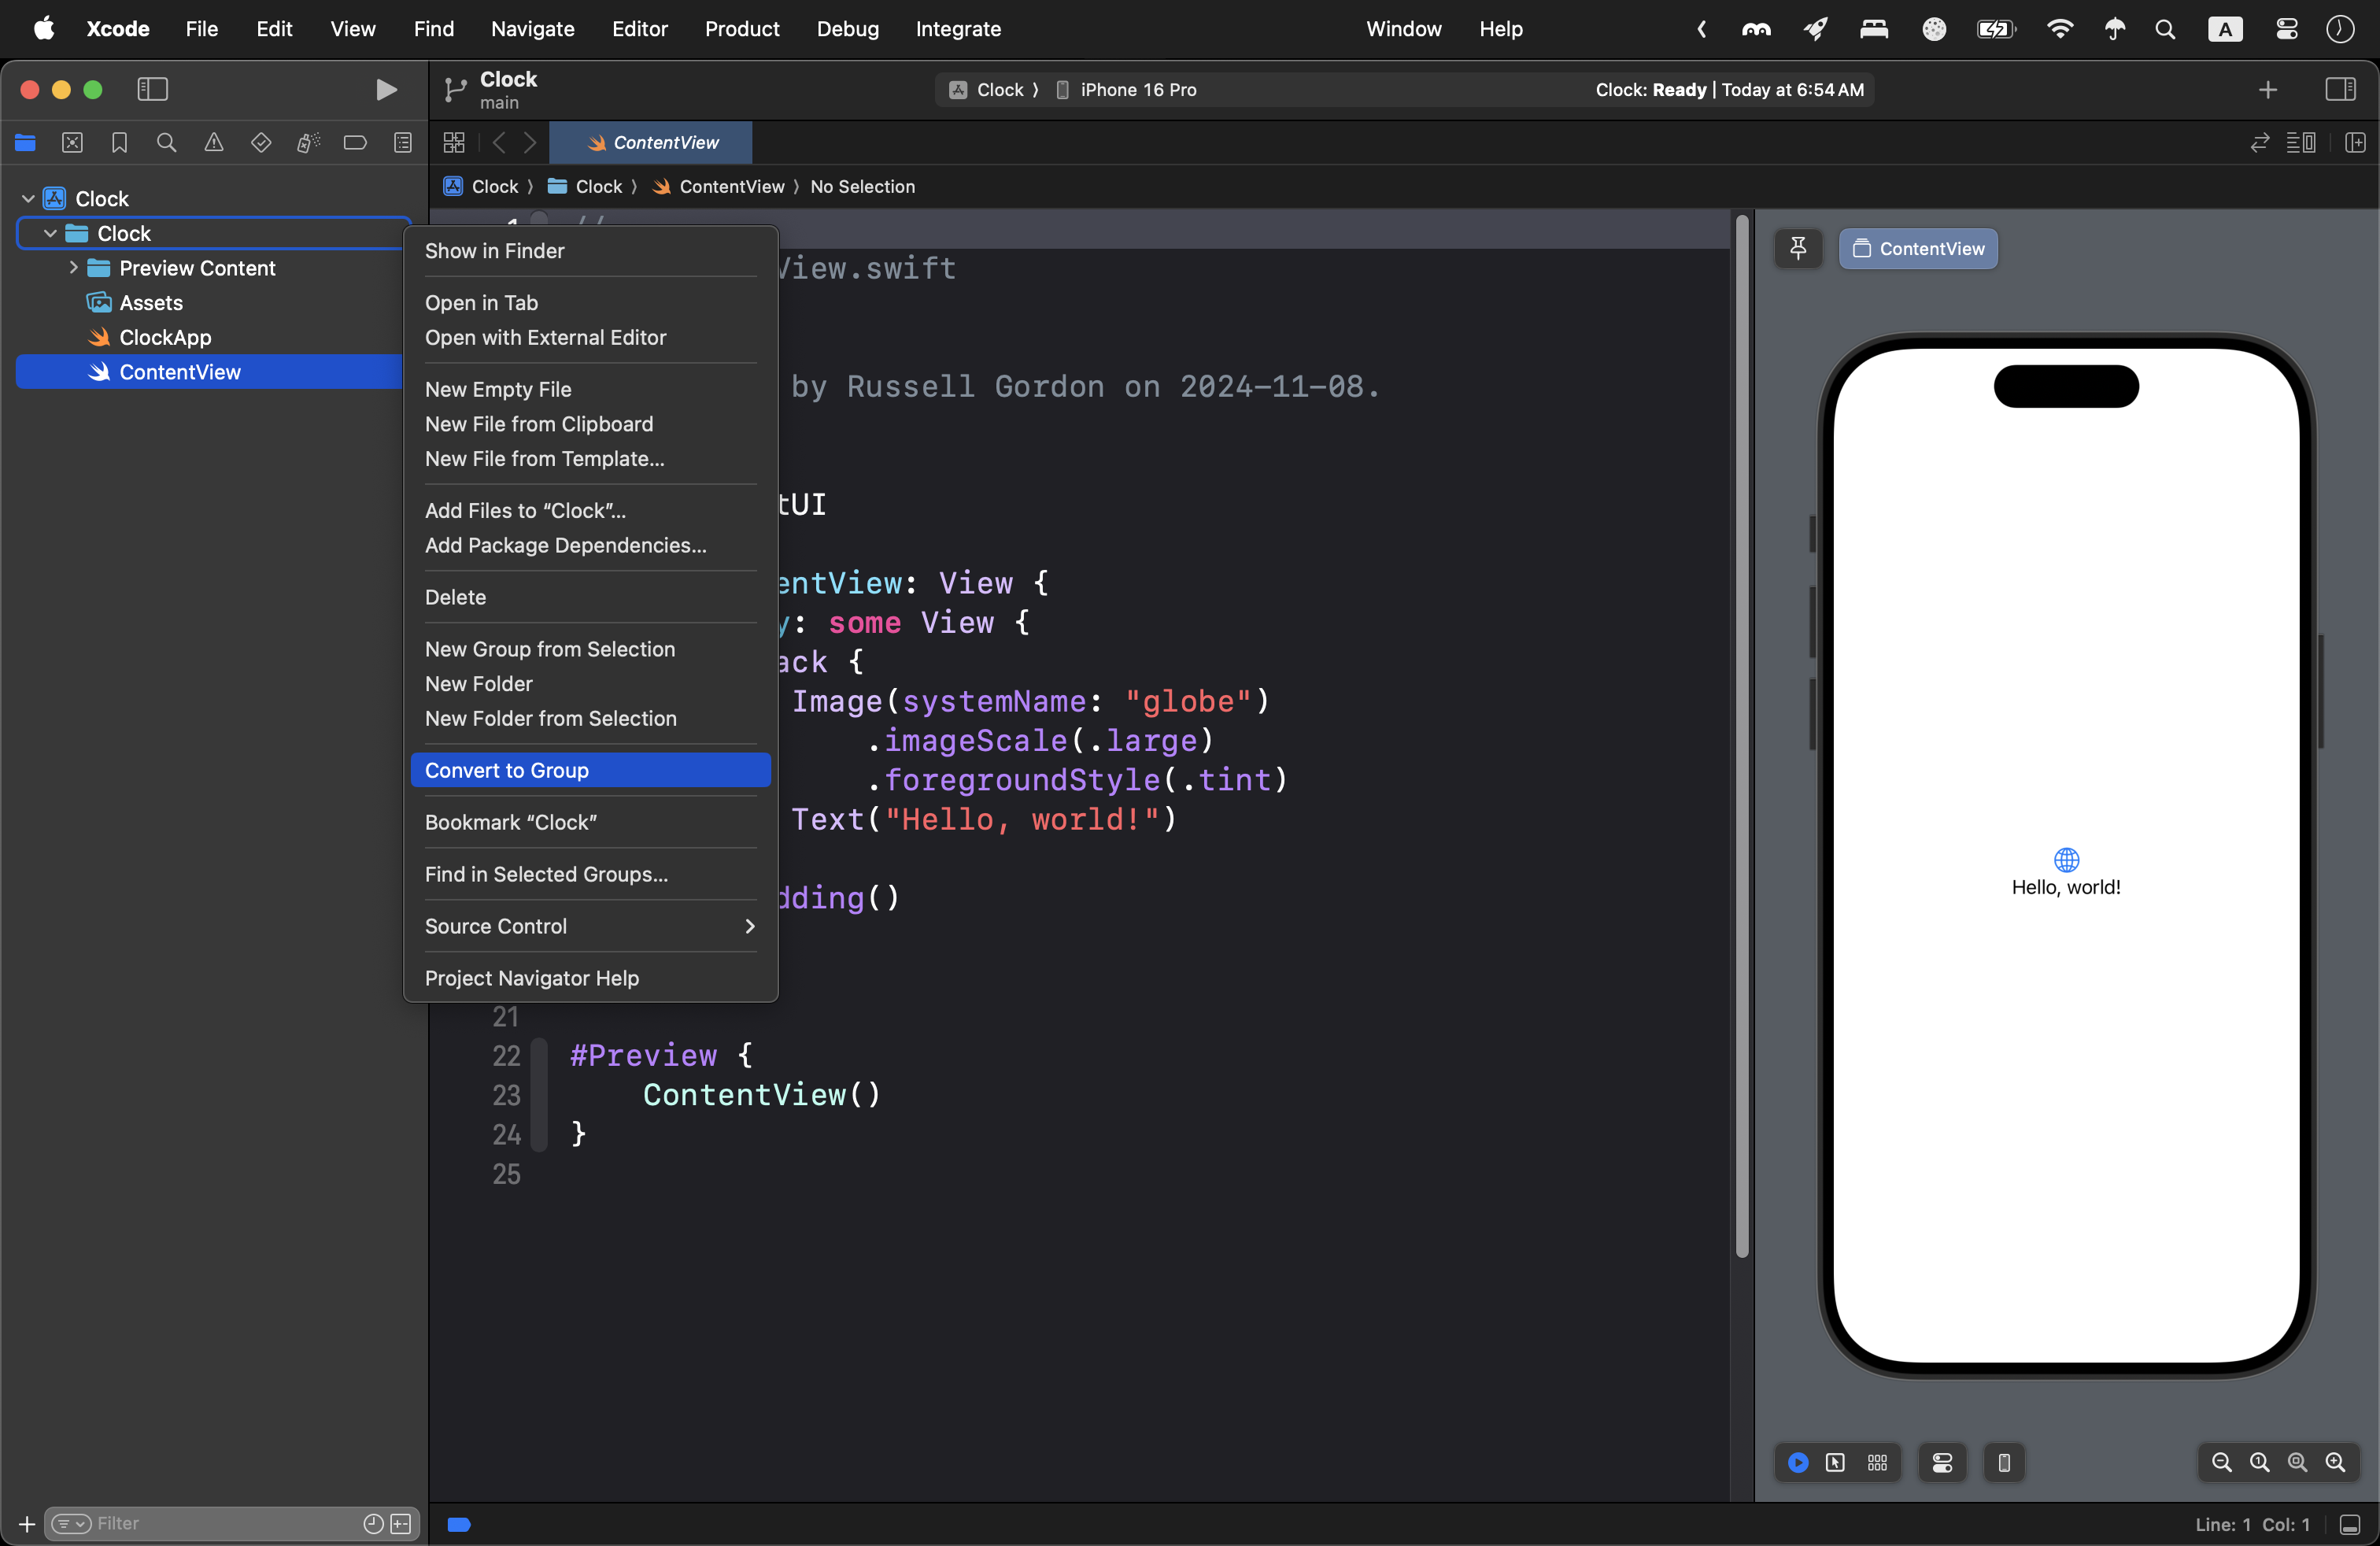
Two-finger tap or right-click on the Clock folder and choose Convert to Group:
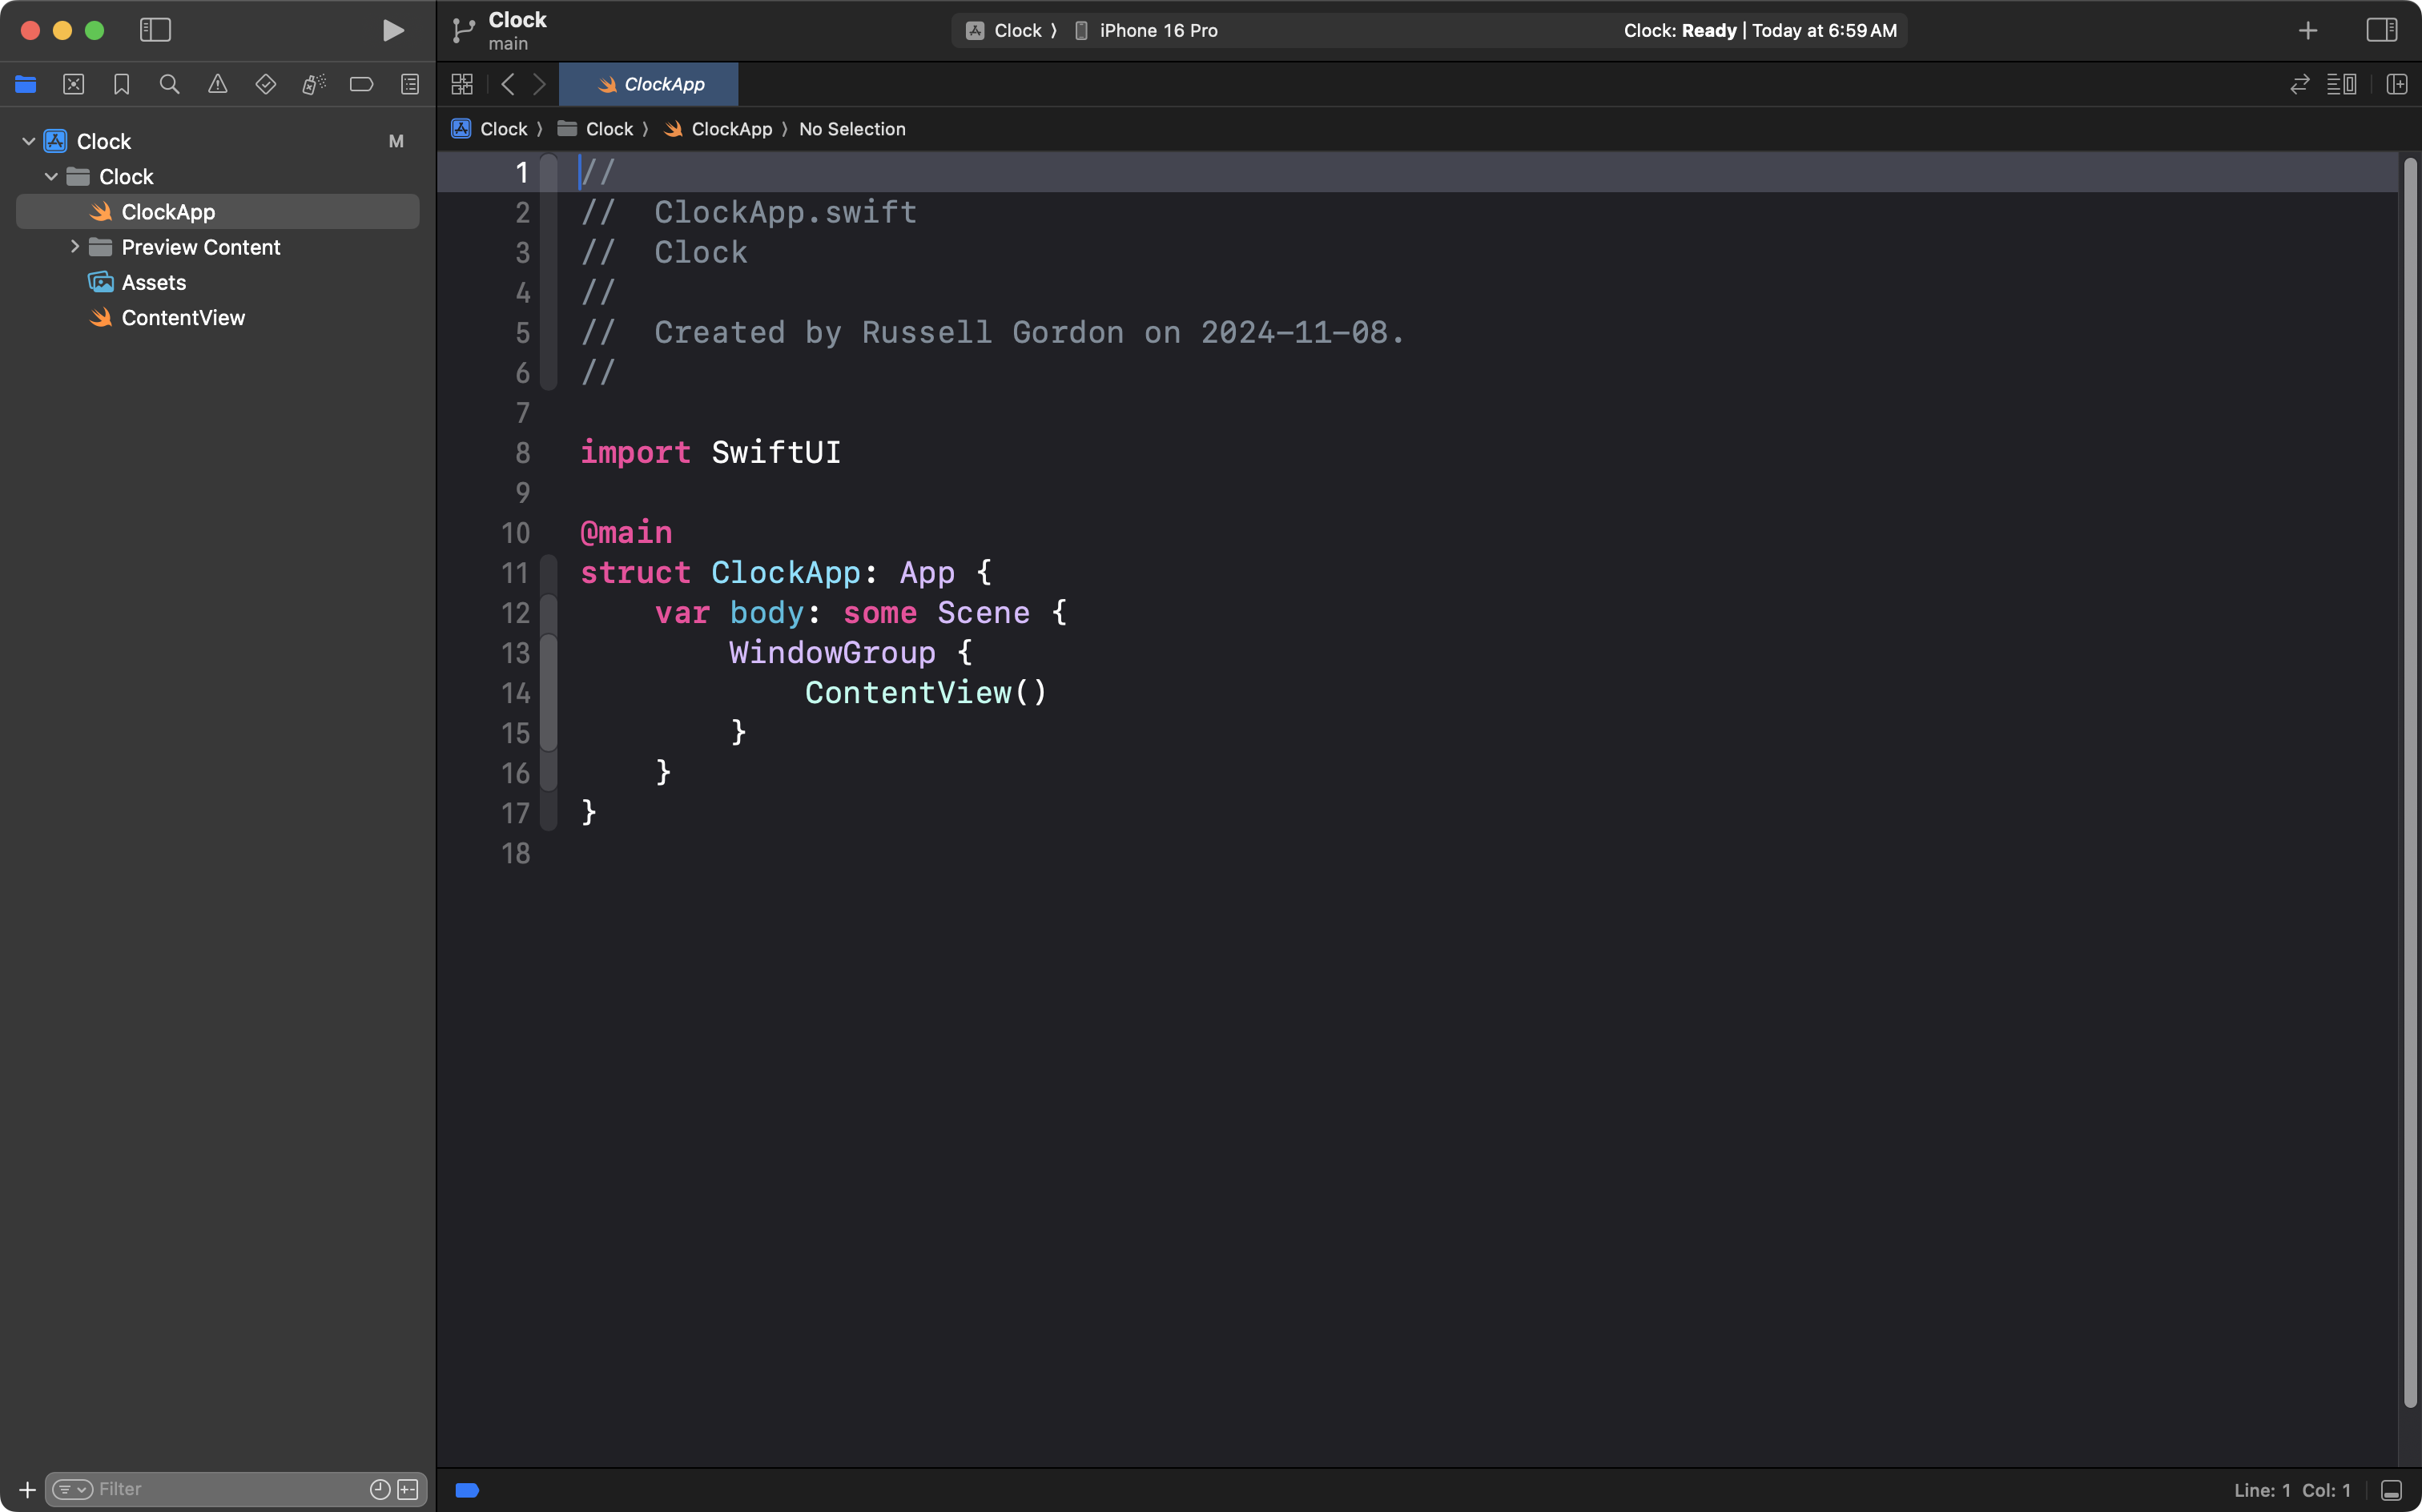
Drag and drop the ClockApp file, so it is between the Clock folder and the PreviewContent folder:
Two-finger tap or right-click on the Clock folder and make a new group:

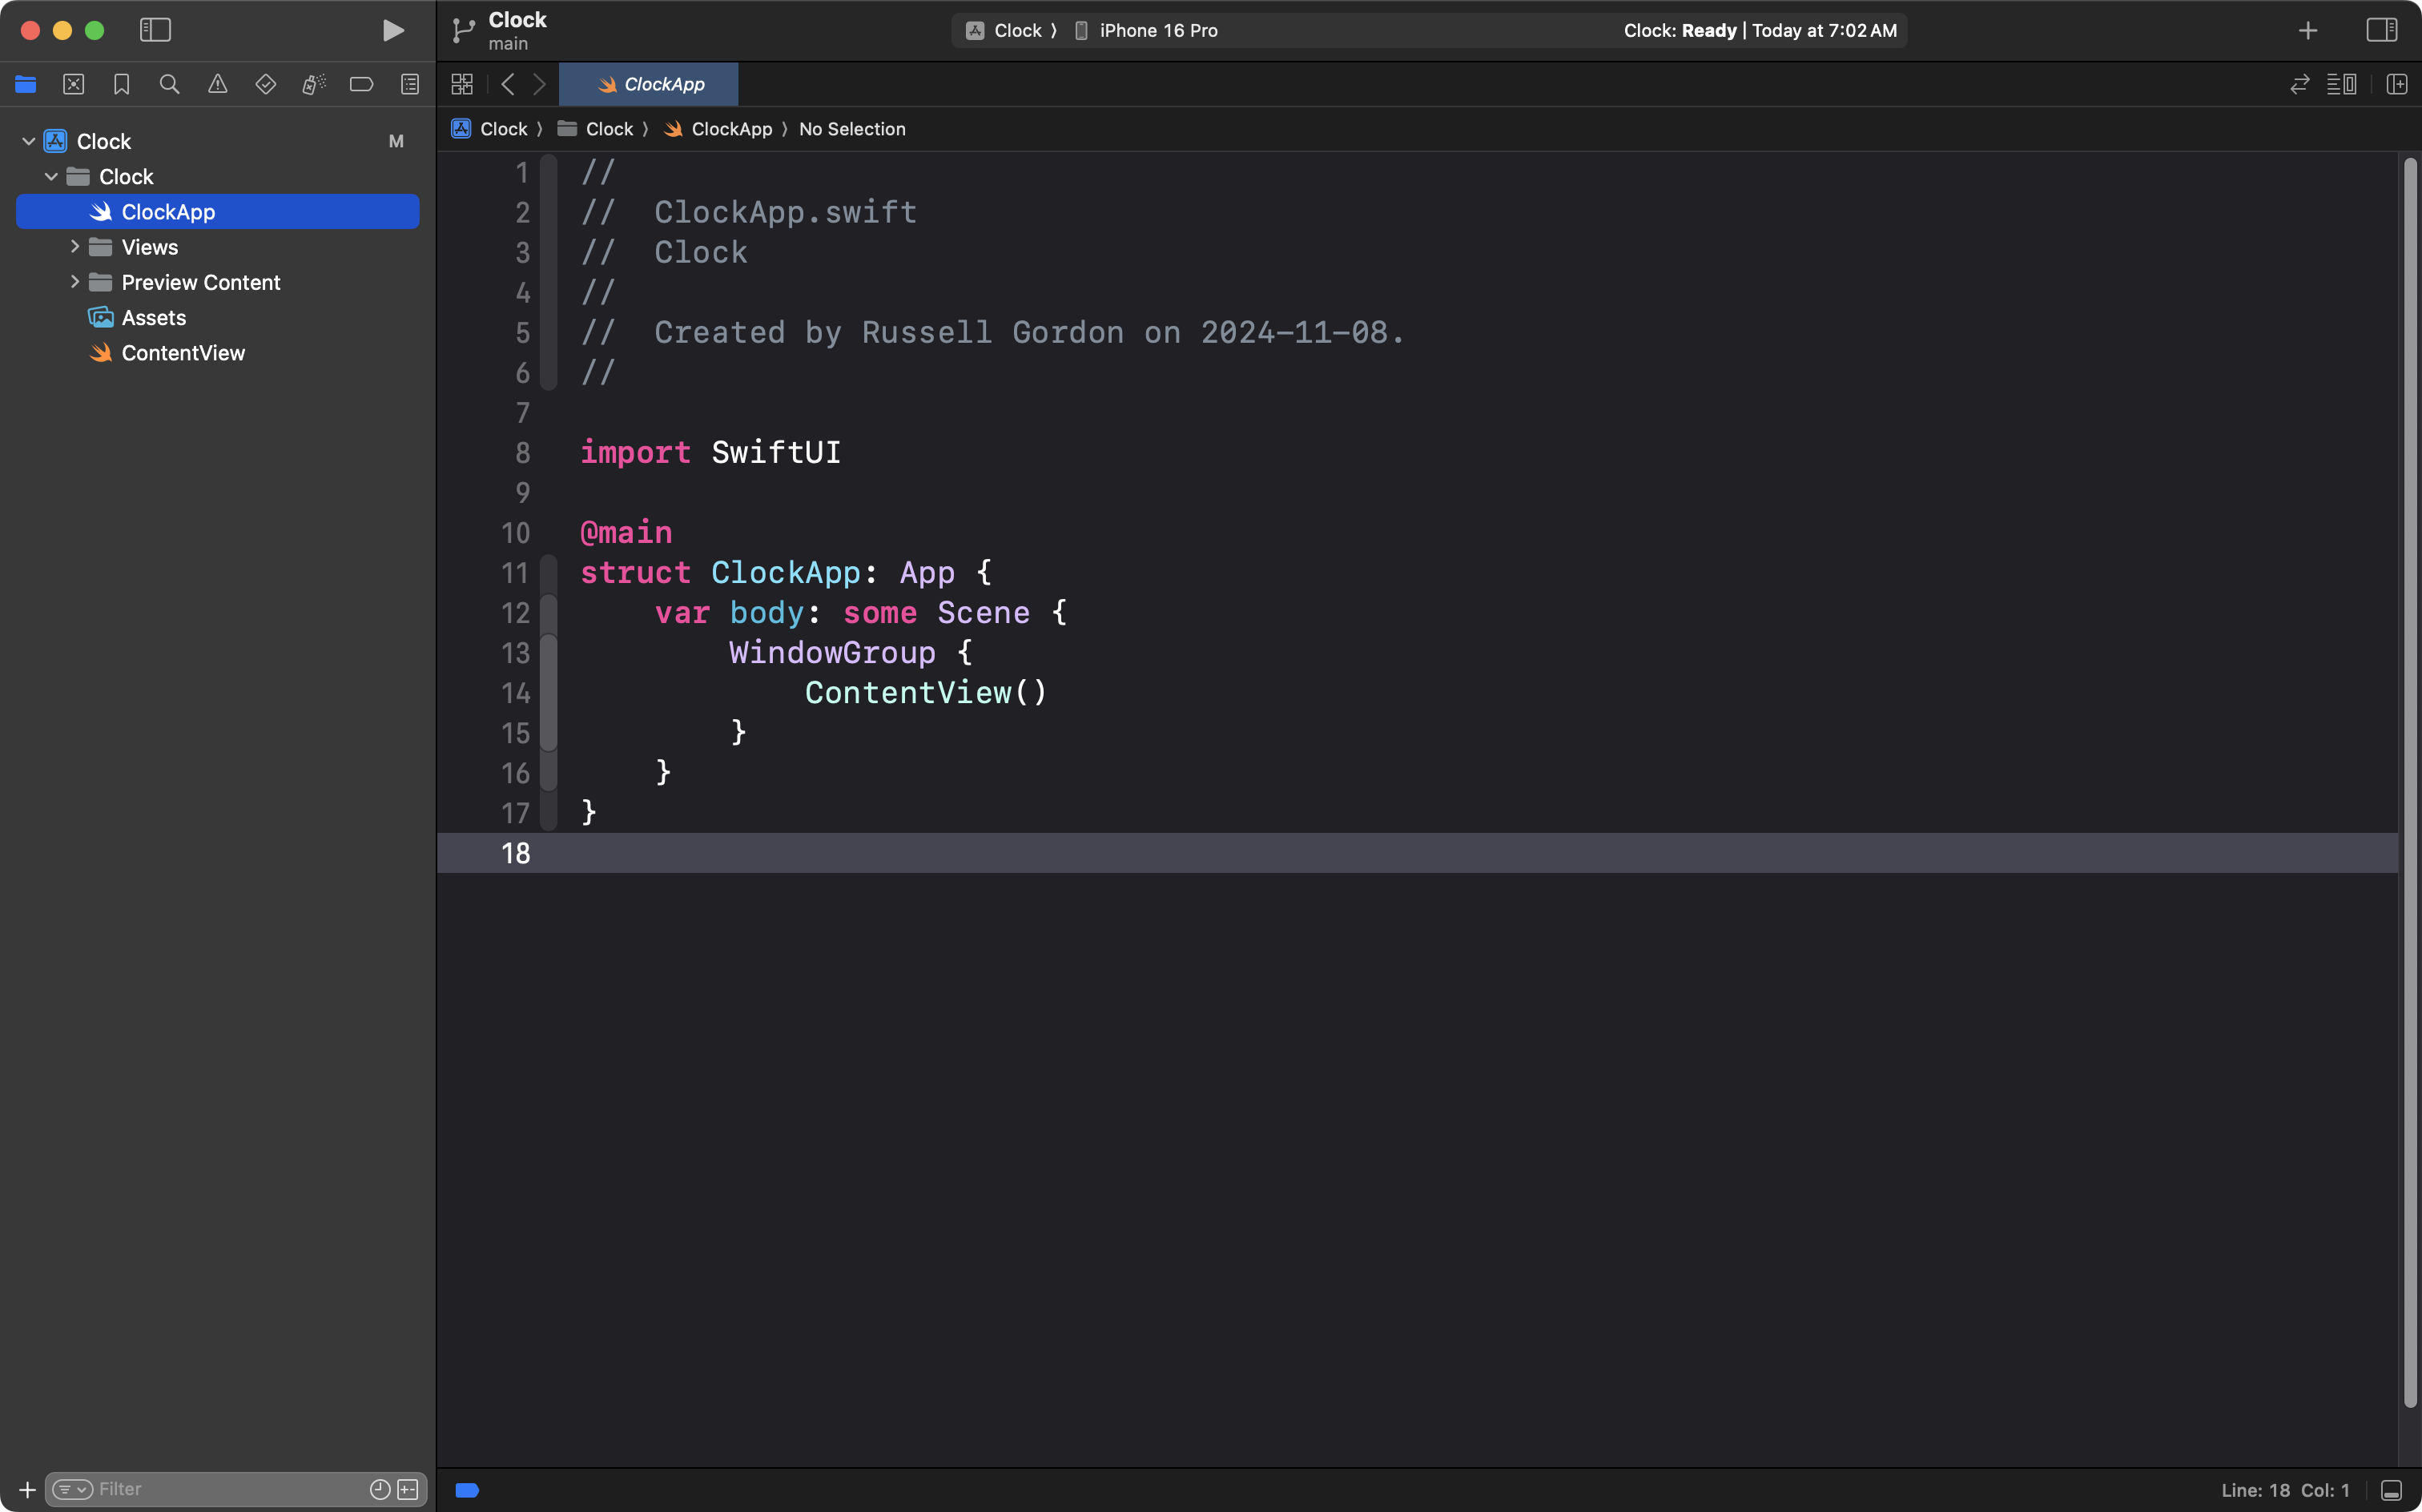
Name the new group Views:

Drag and drop the ClockApp file again, so it is between the Clock folder and the Views folder:
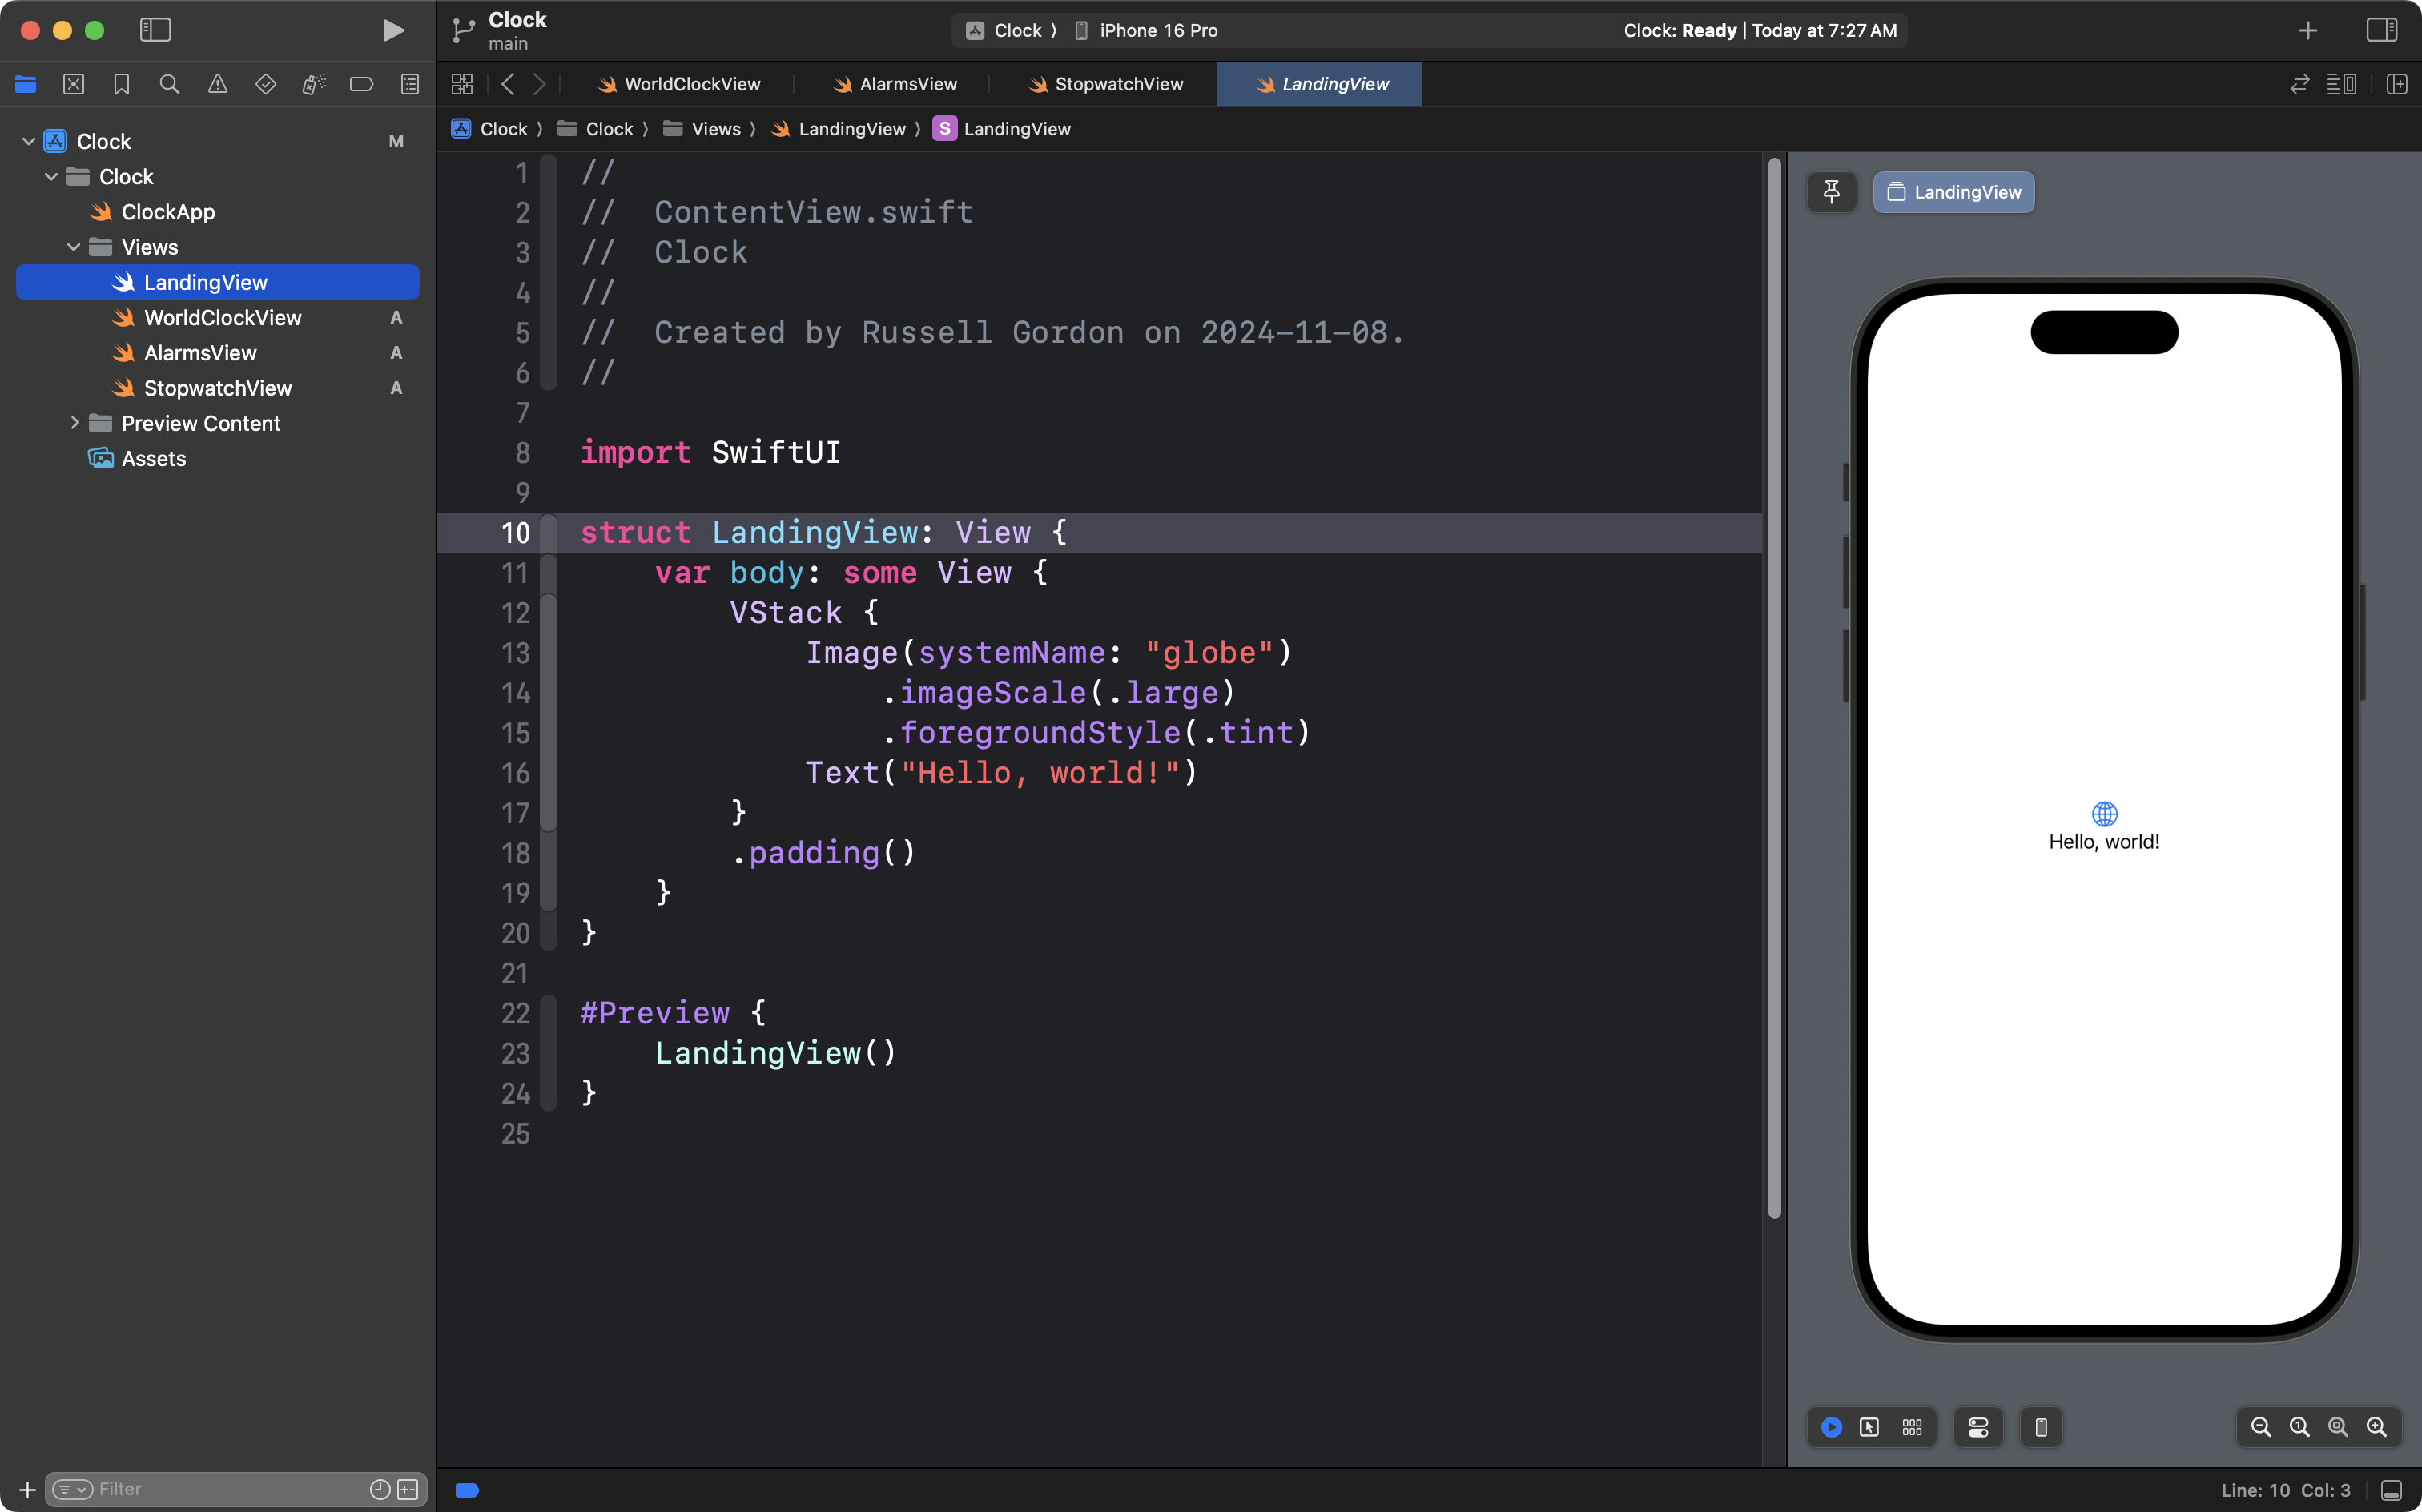
Select the ContentView file:
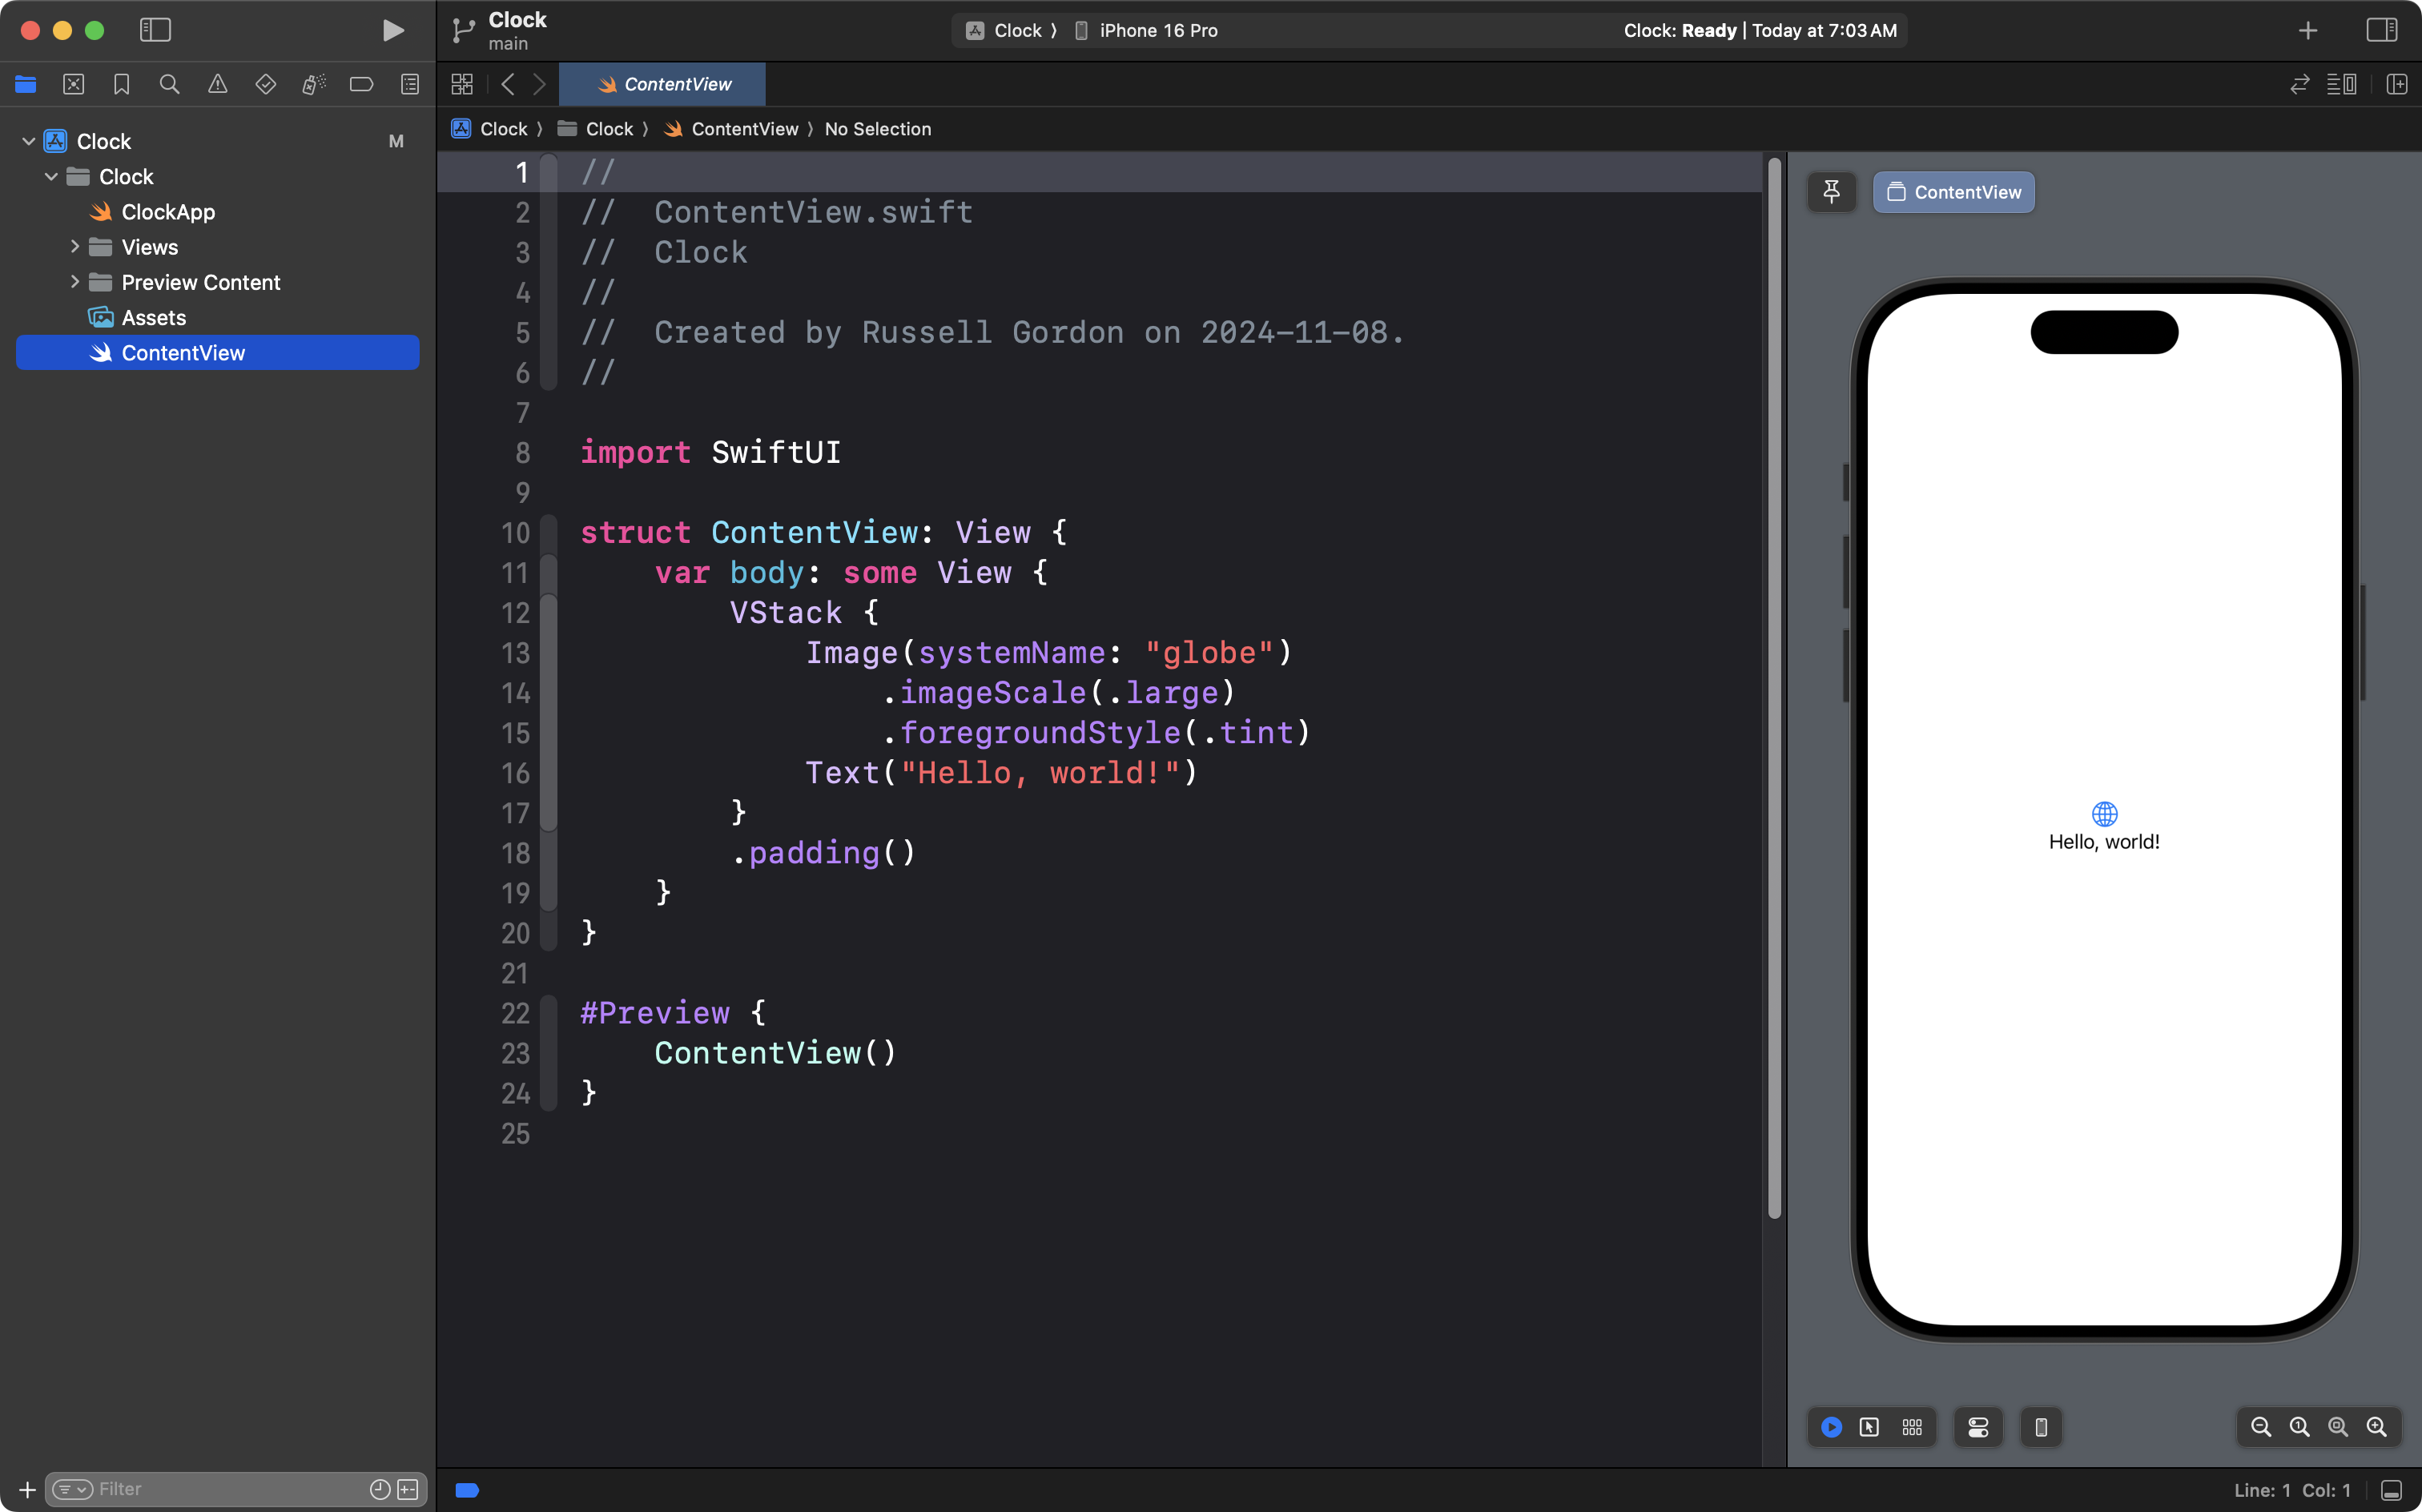
Place your cursor on line 10, where the structure name is defined:
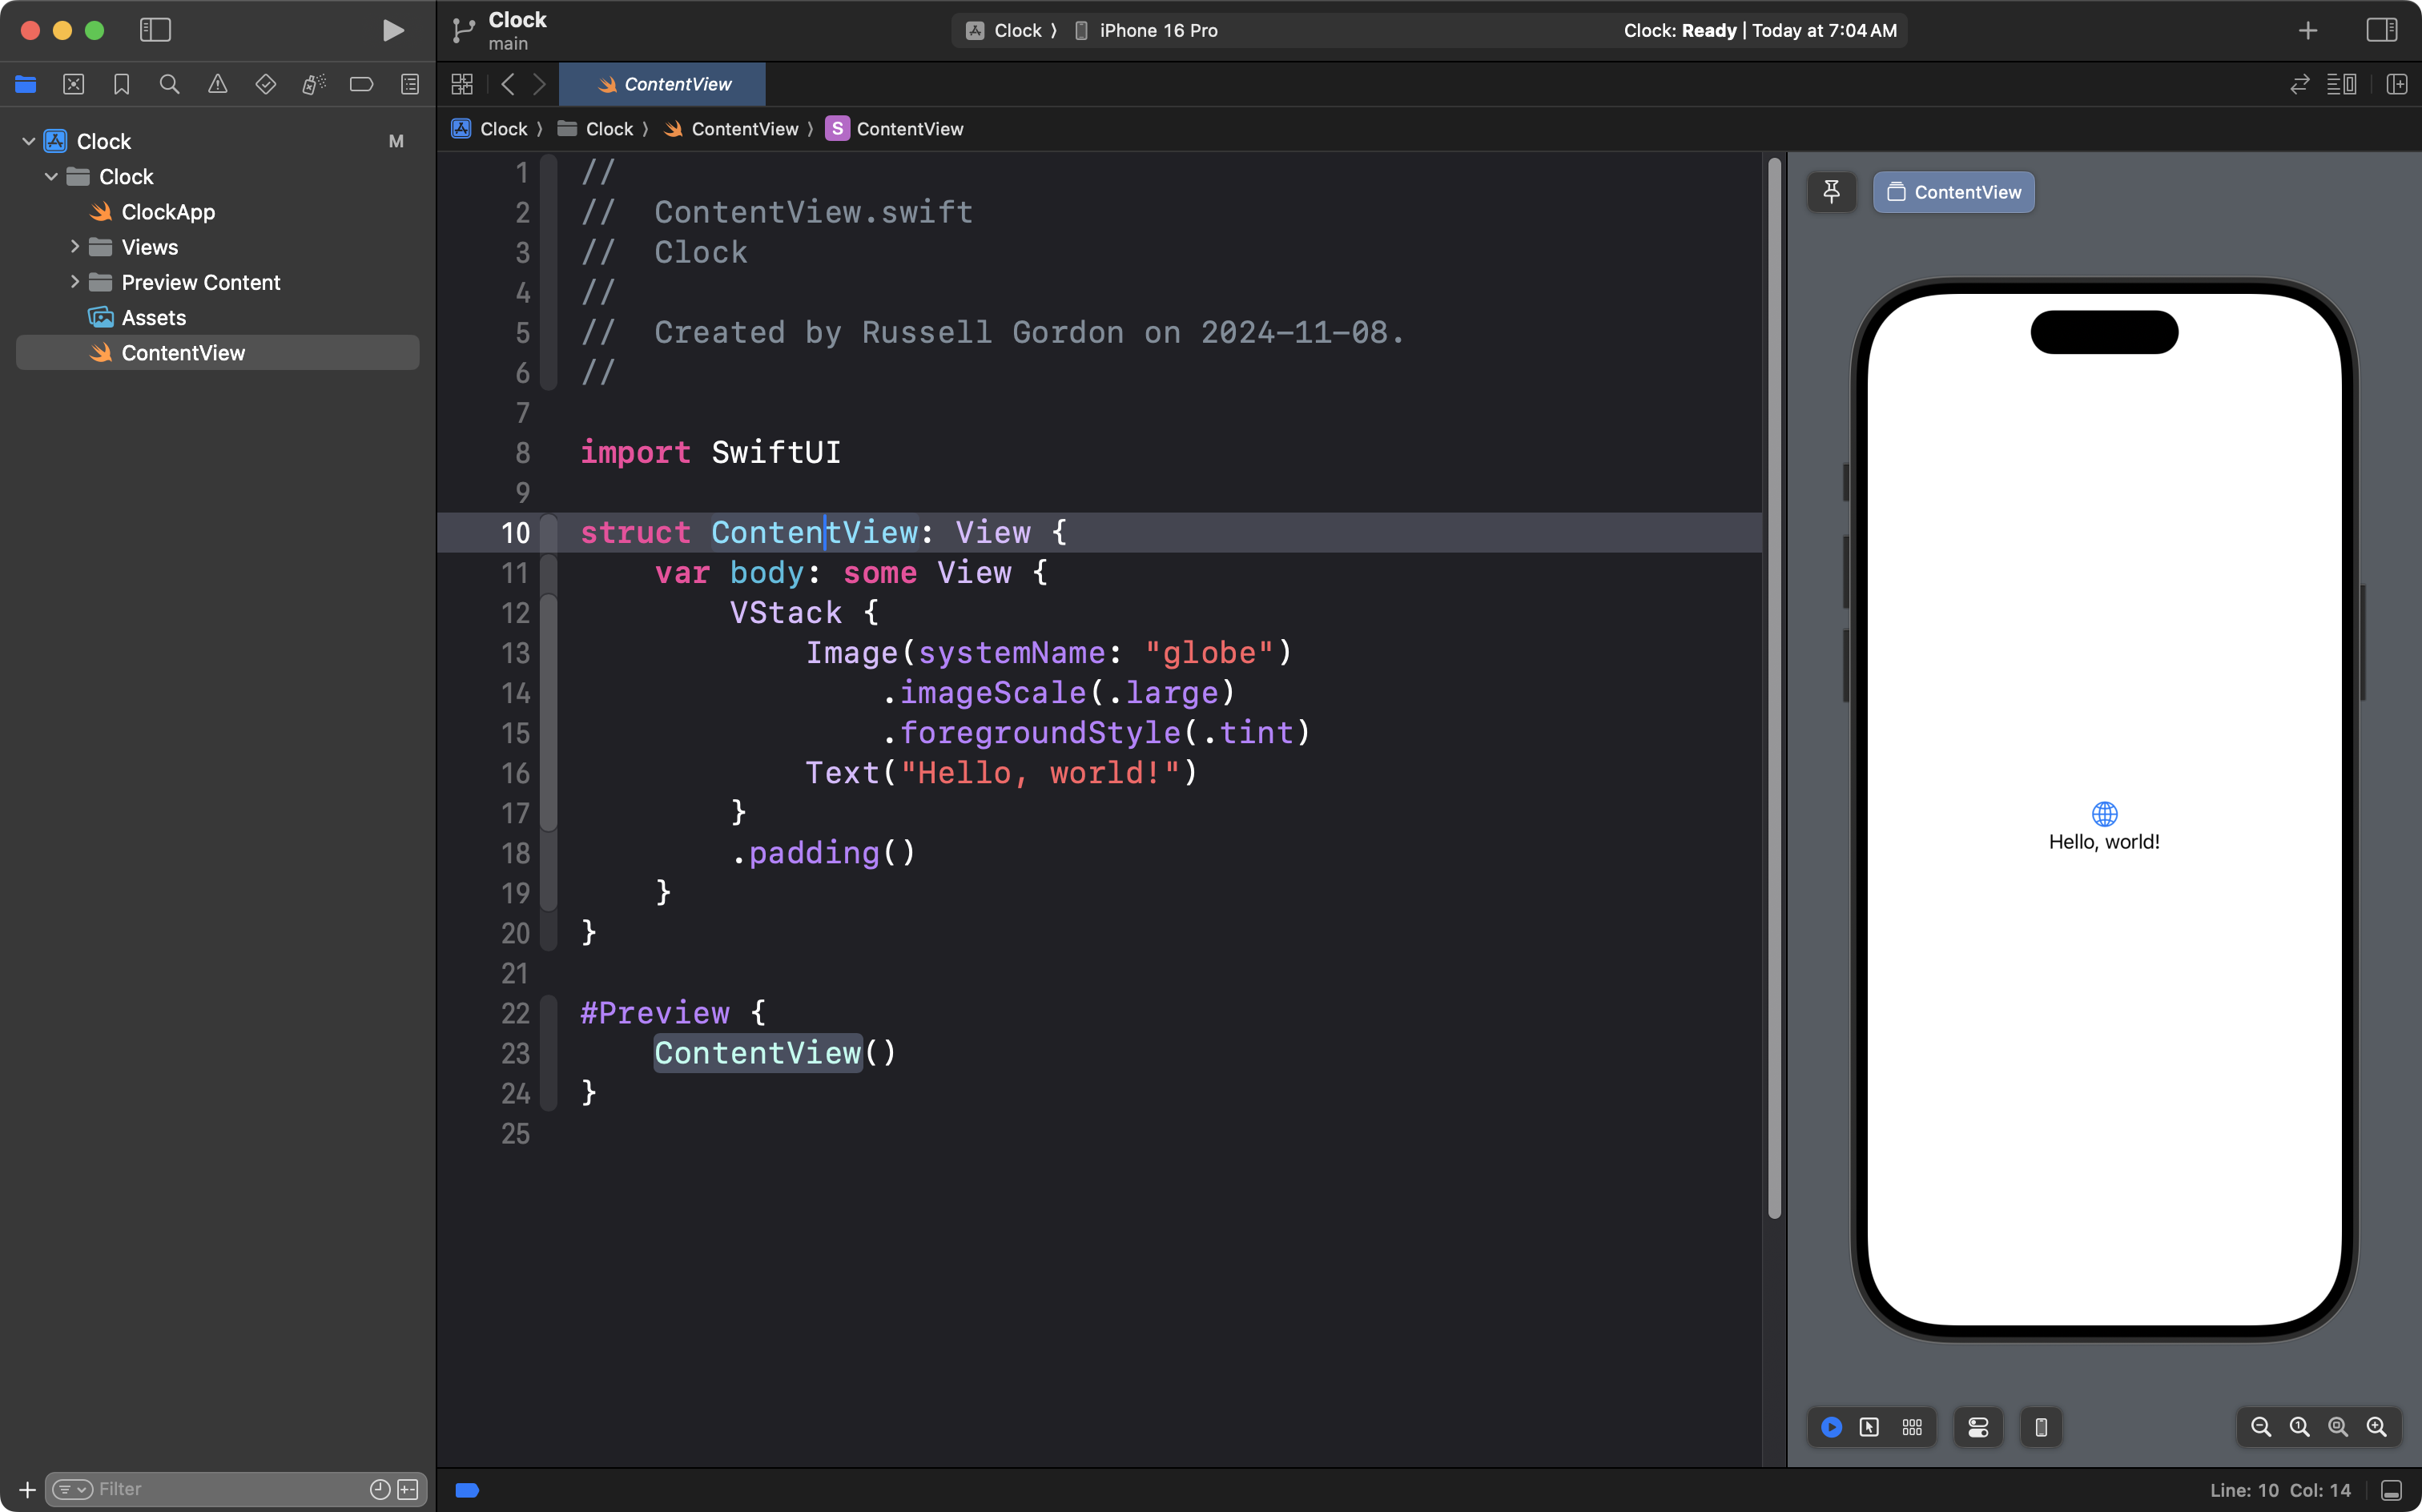
Two-finger tap at that location, choose Refactor and then Rename…:
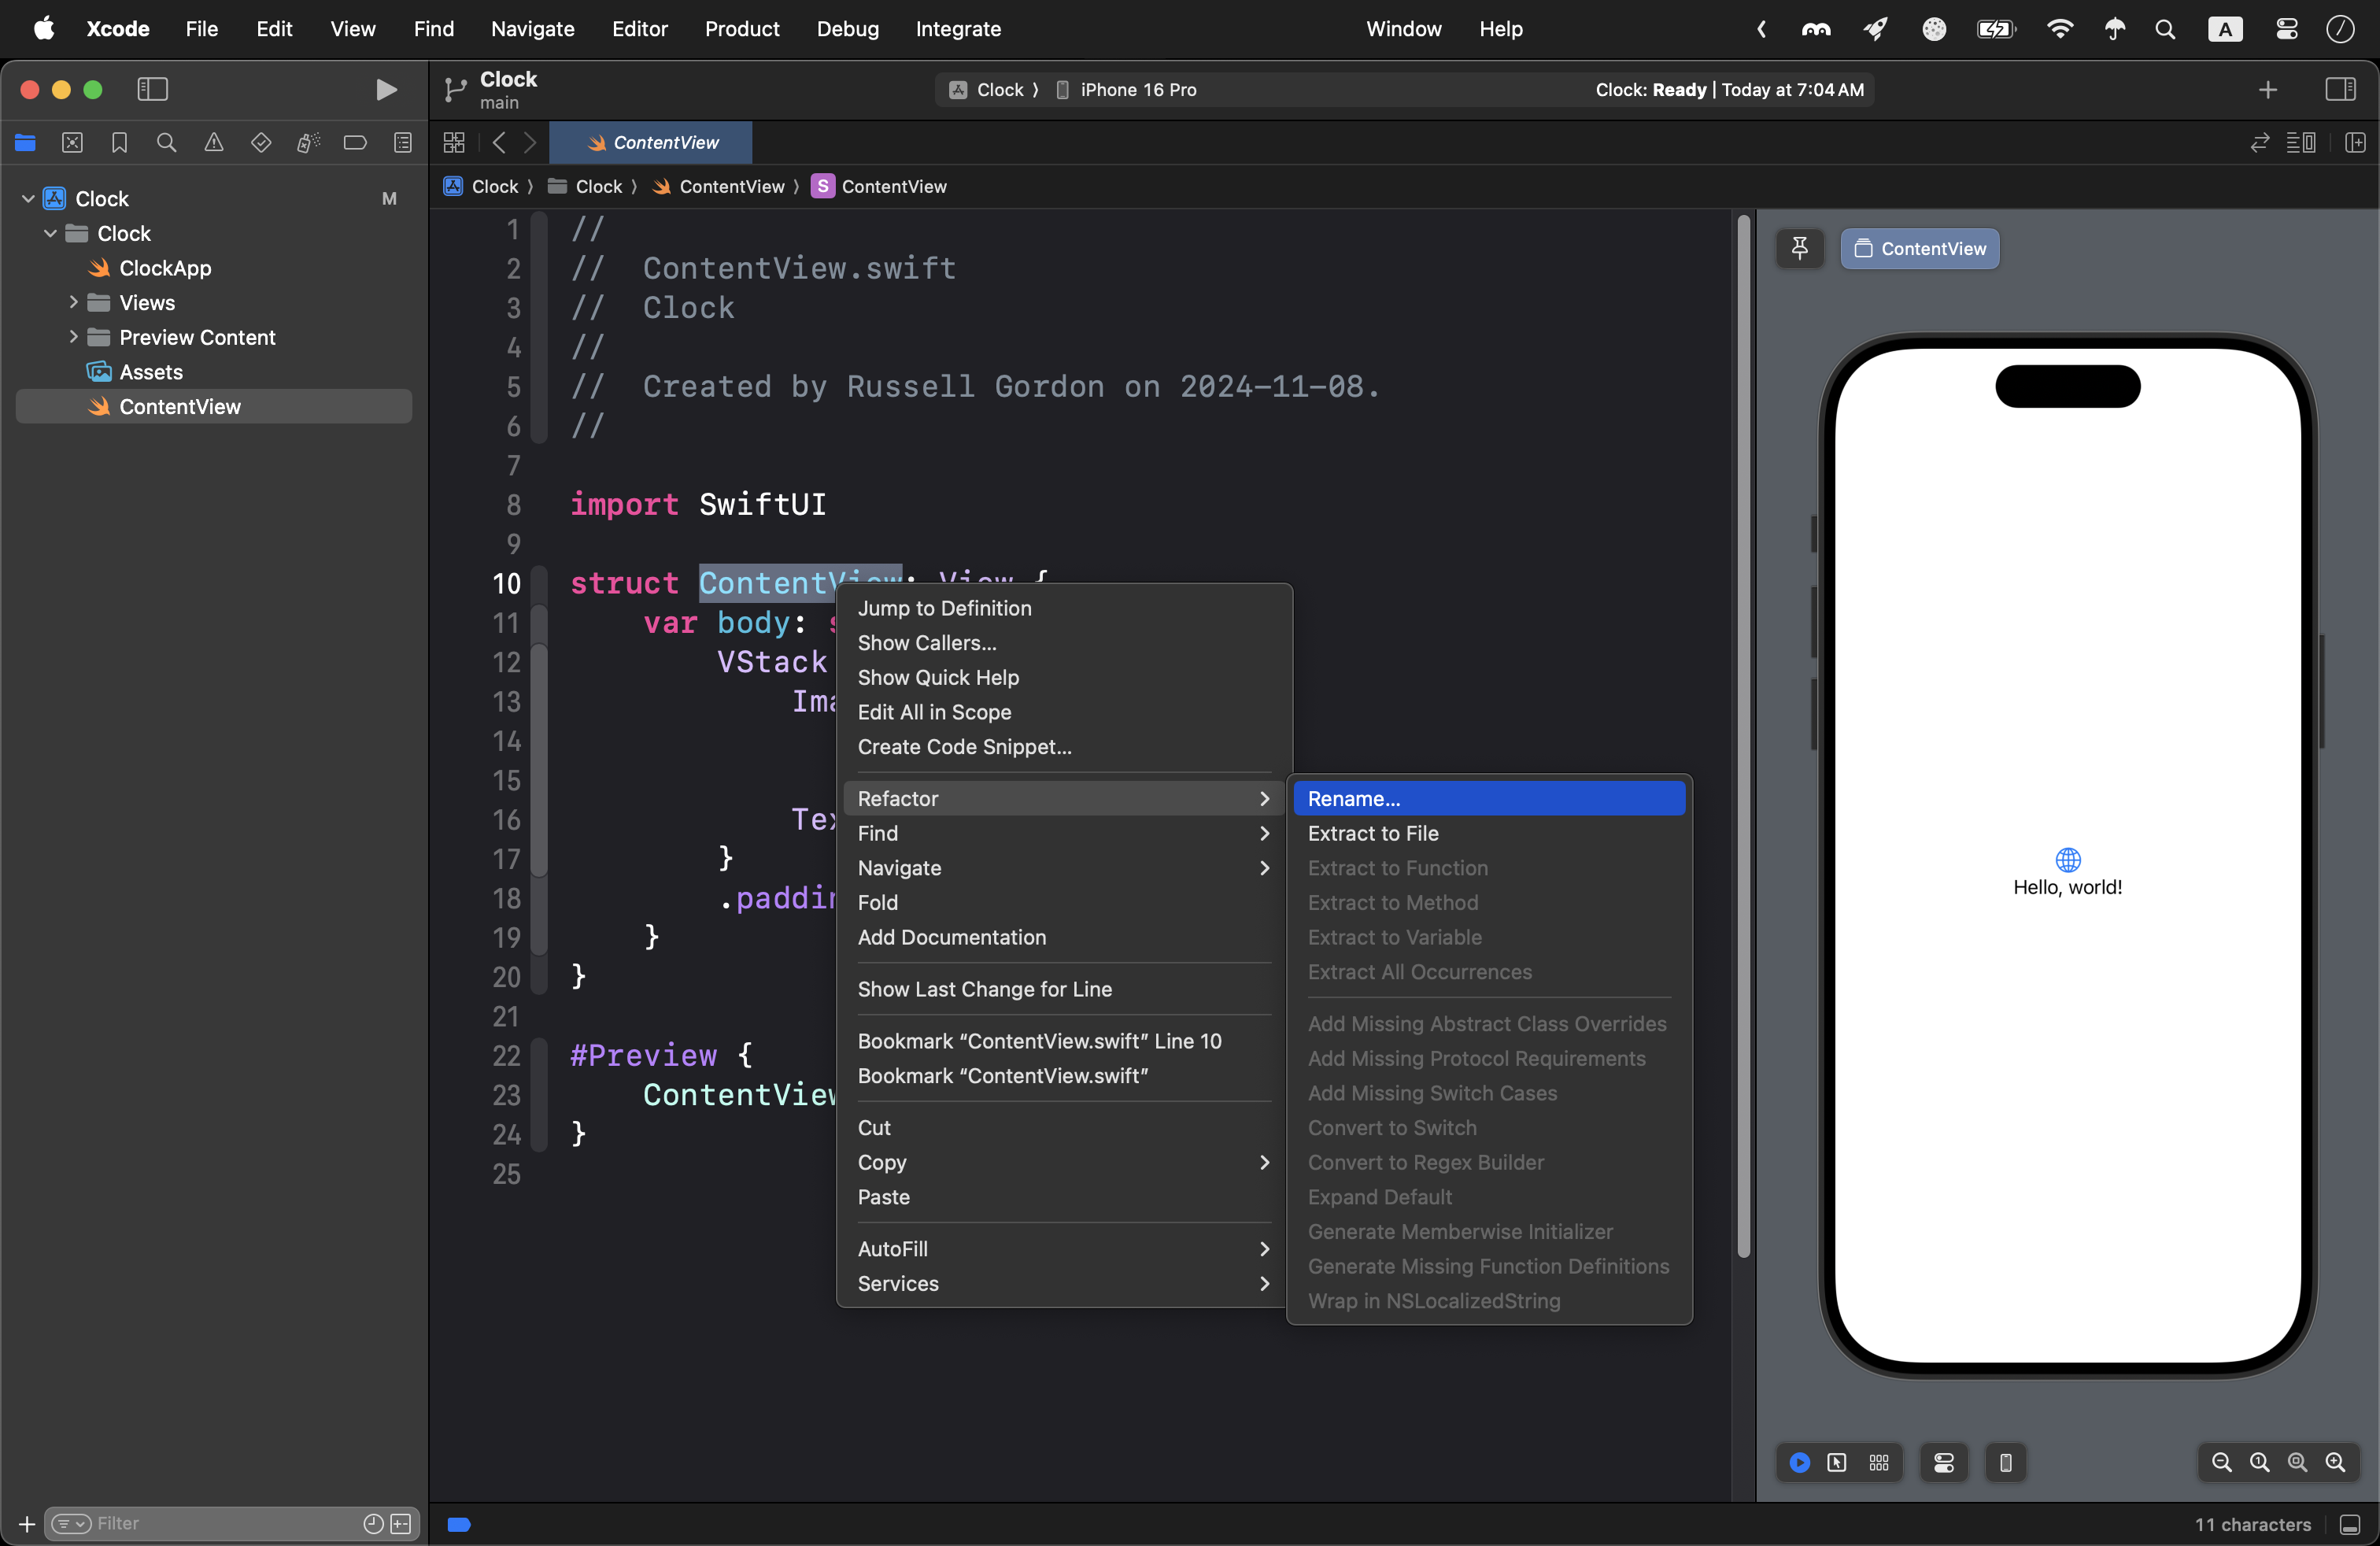
You will see something like this:
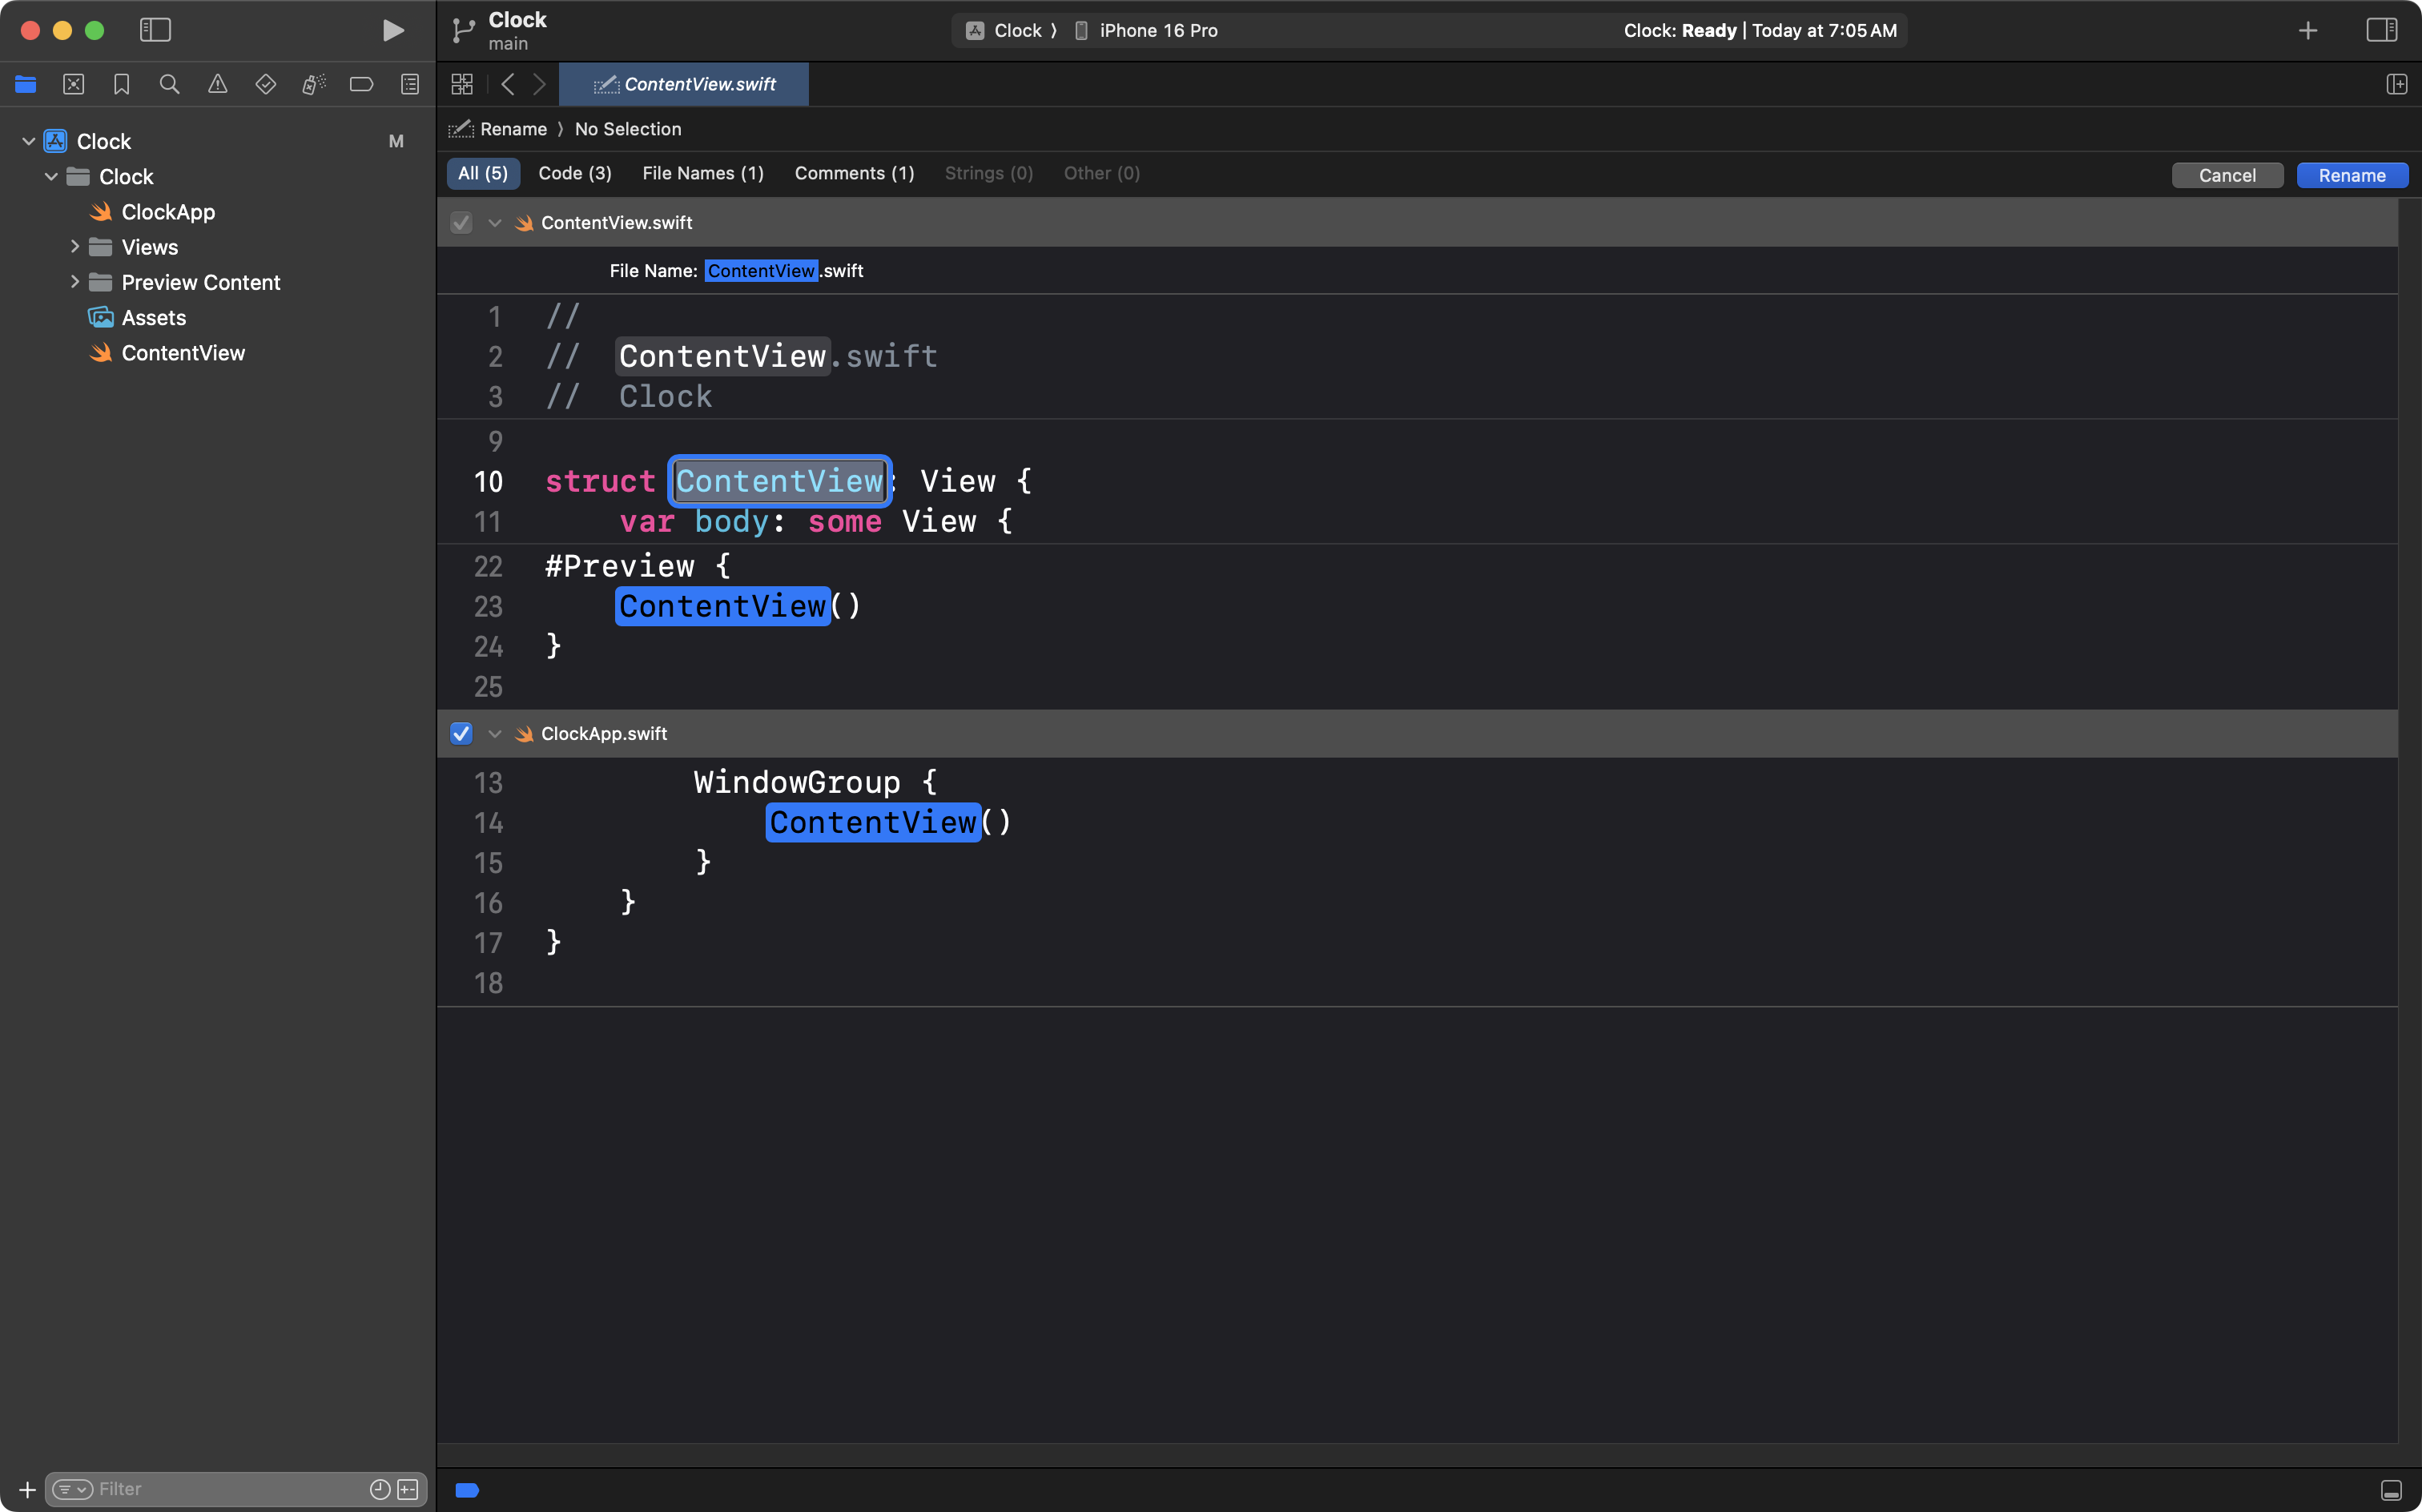
Change the name of the structure from ContentView to LandingView:
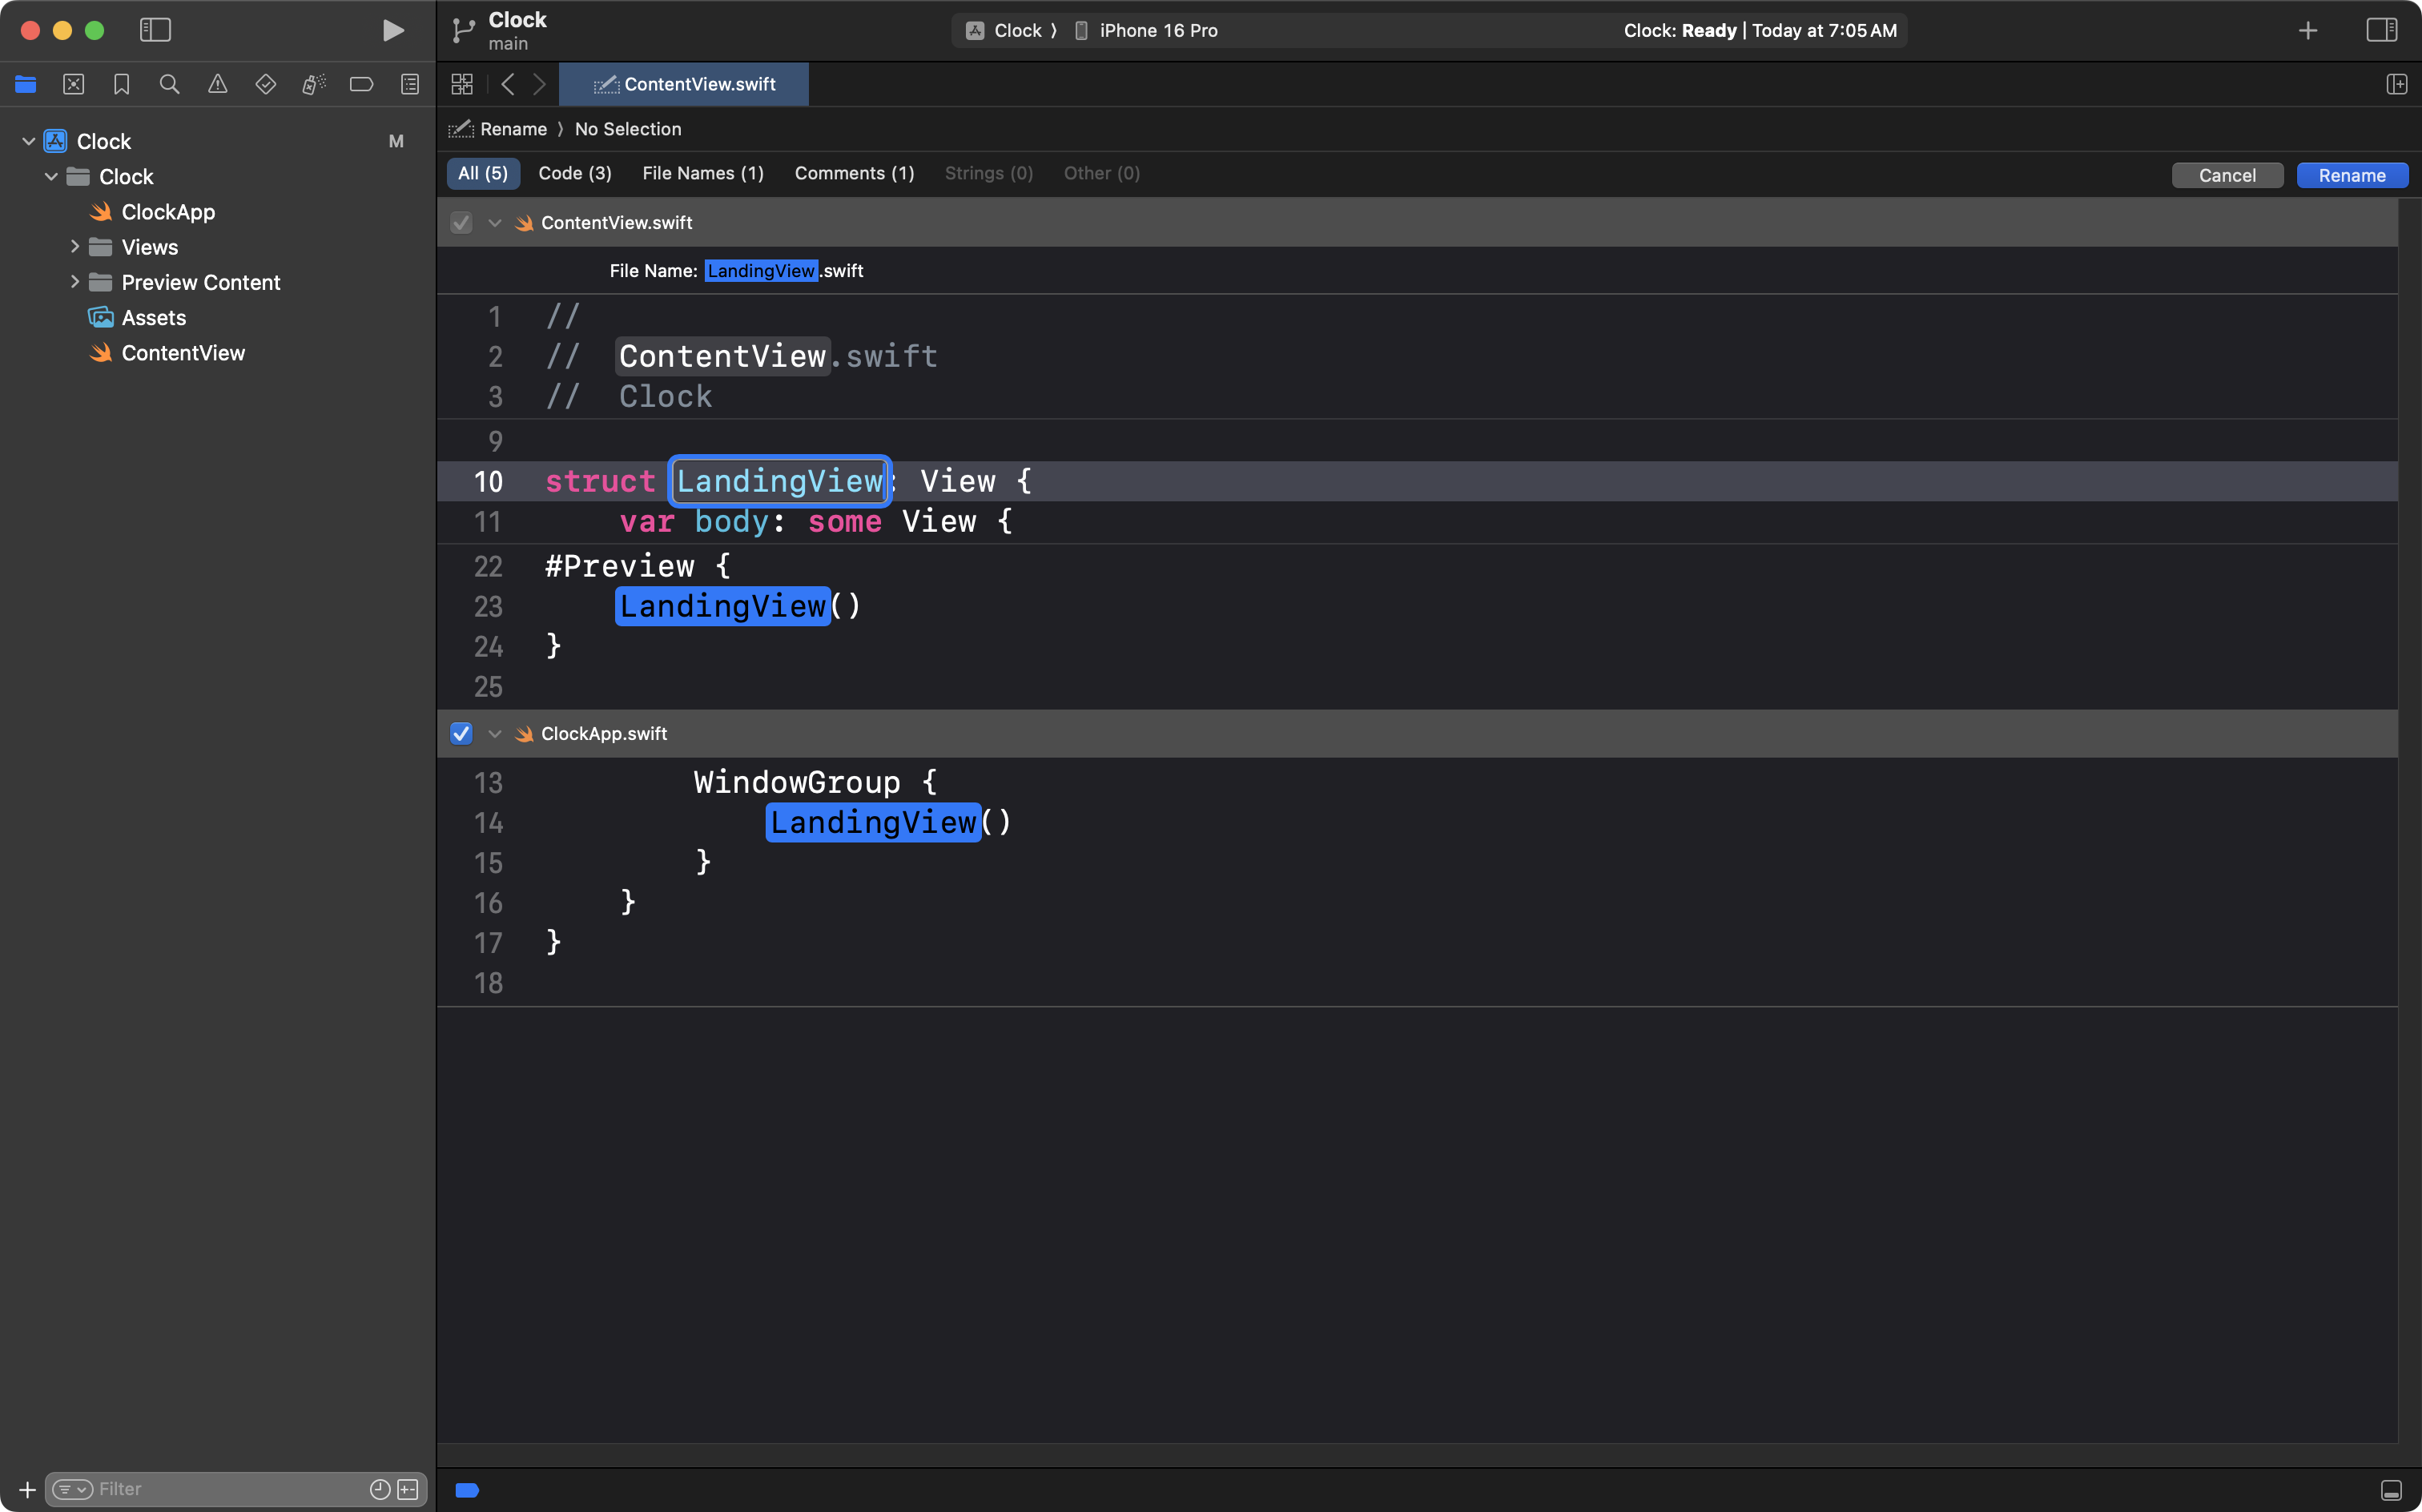
Press the Return key to save these changes.
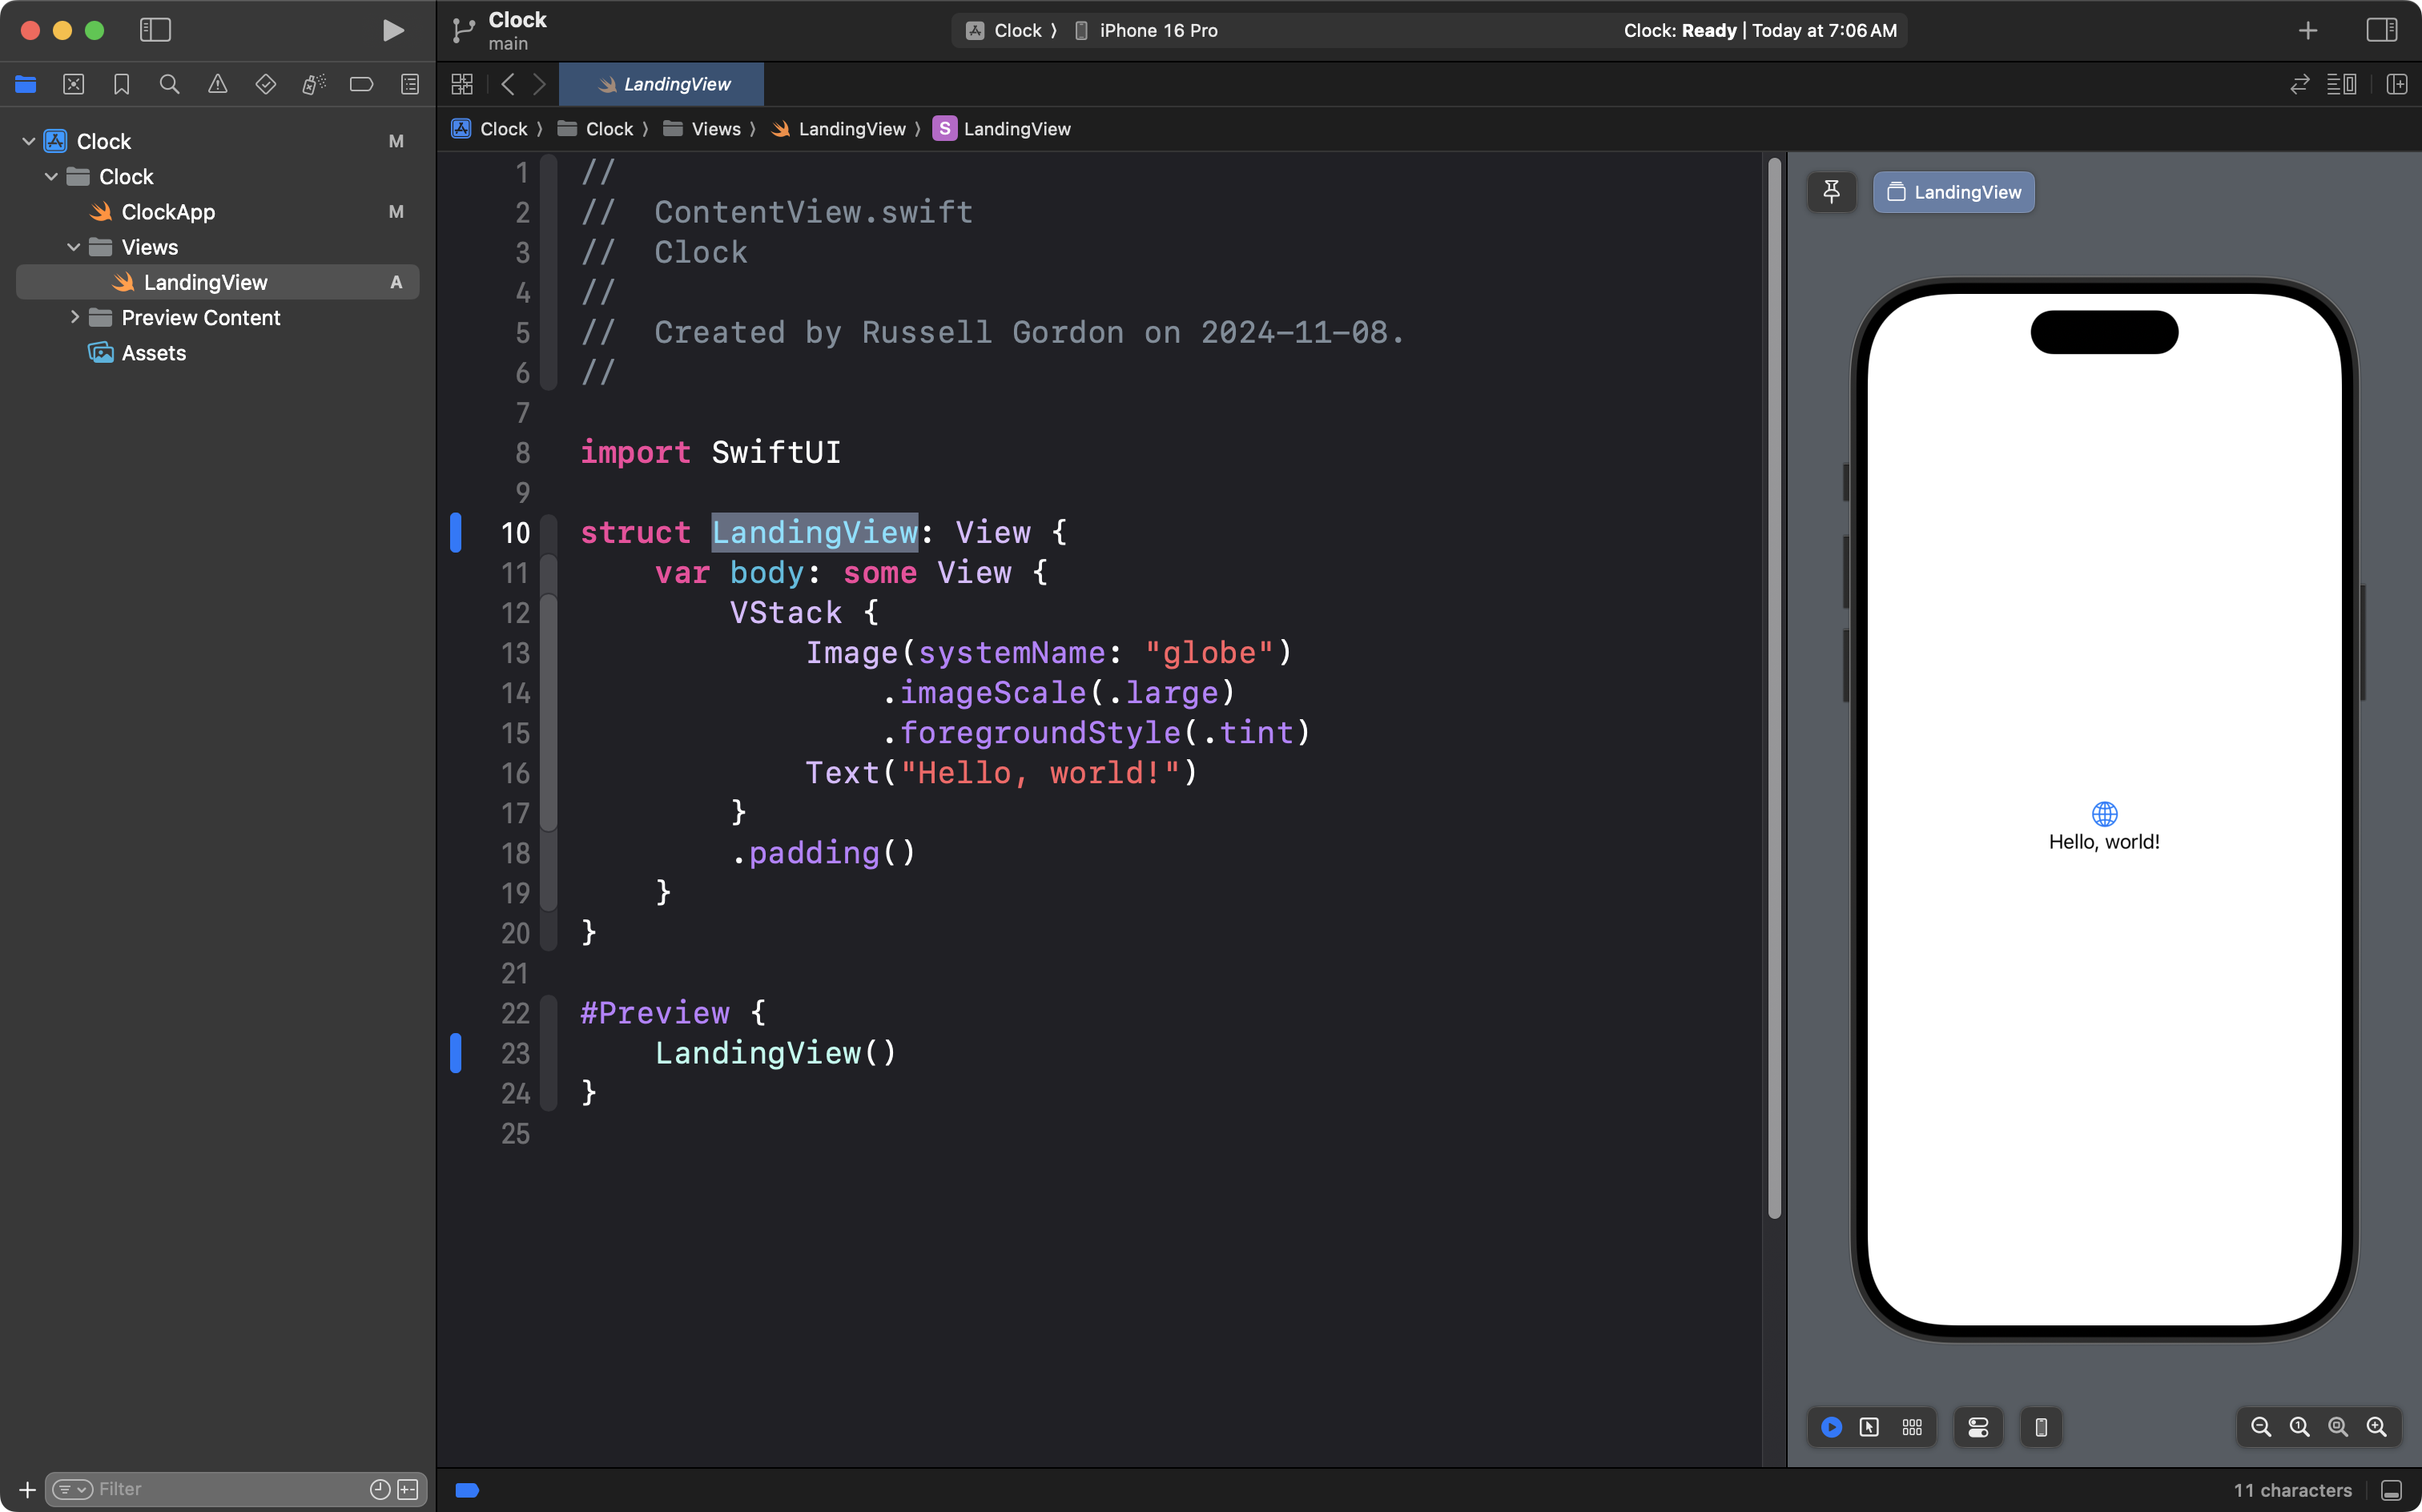
Finally, drag and drop the LandingView file into the Views group:
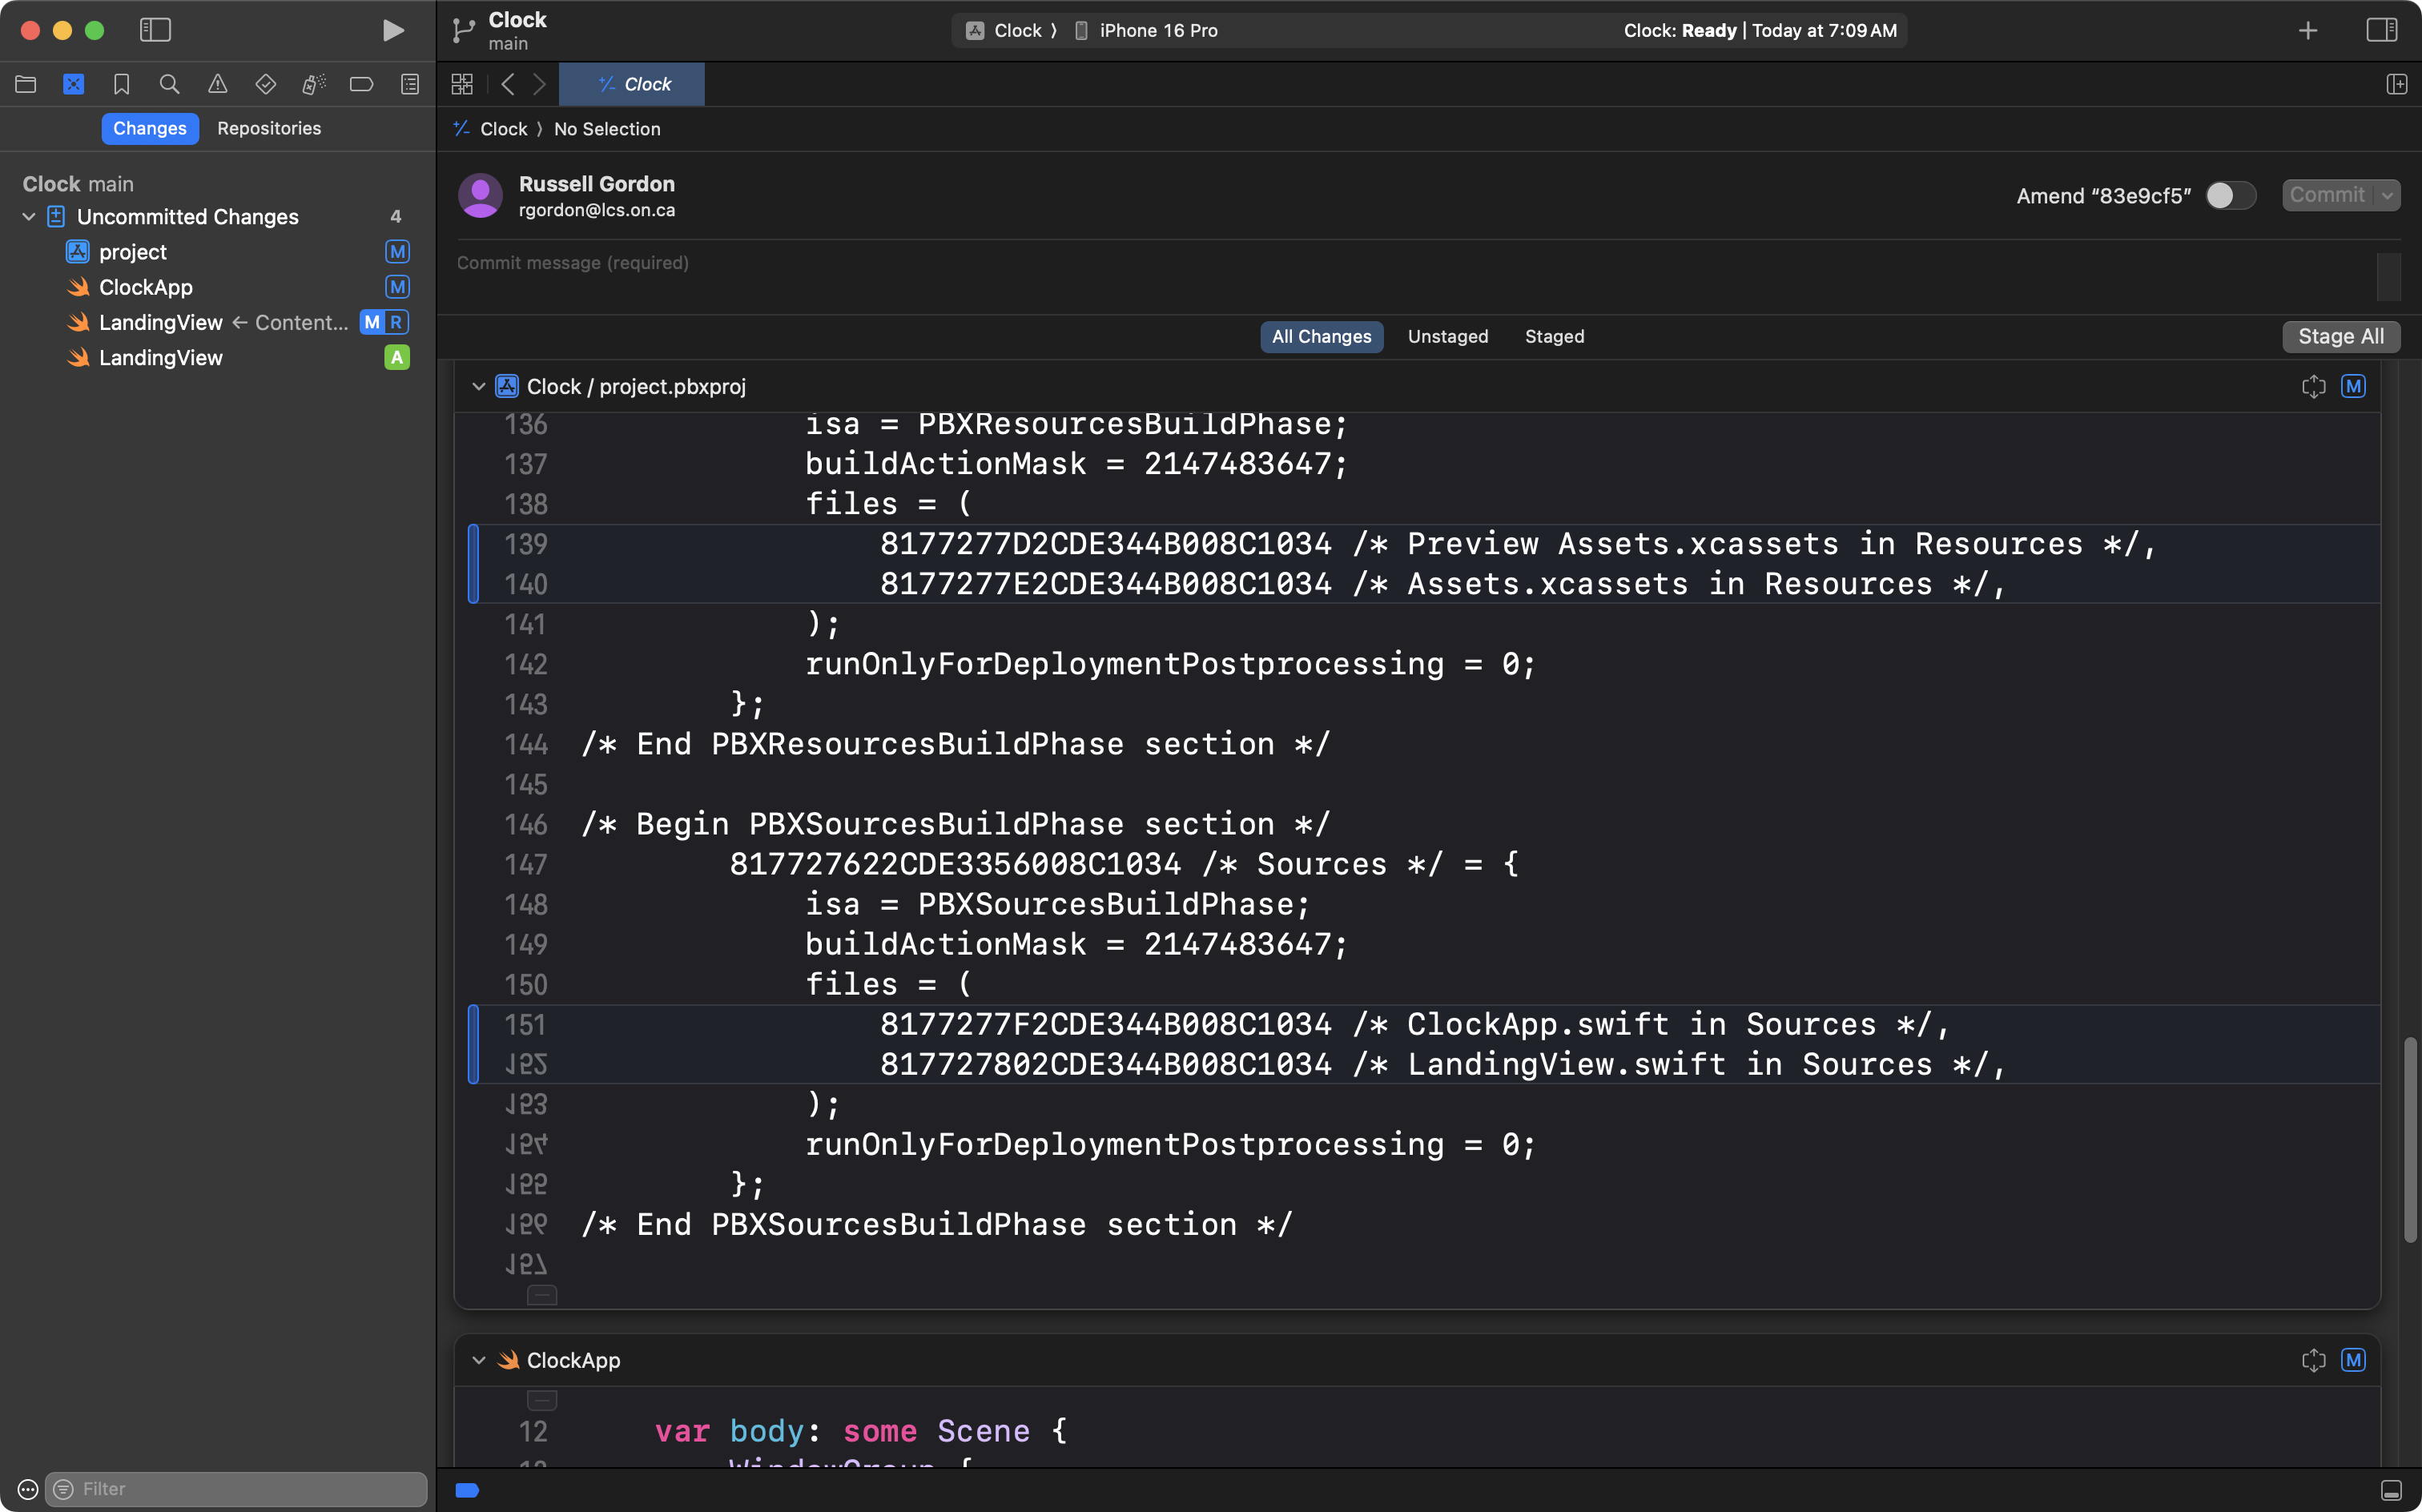
After completing this organization, now is a good time to commit your work. Use the Option-Command-C keyboard shortcut and you will see the interface that shows you recent changes:
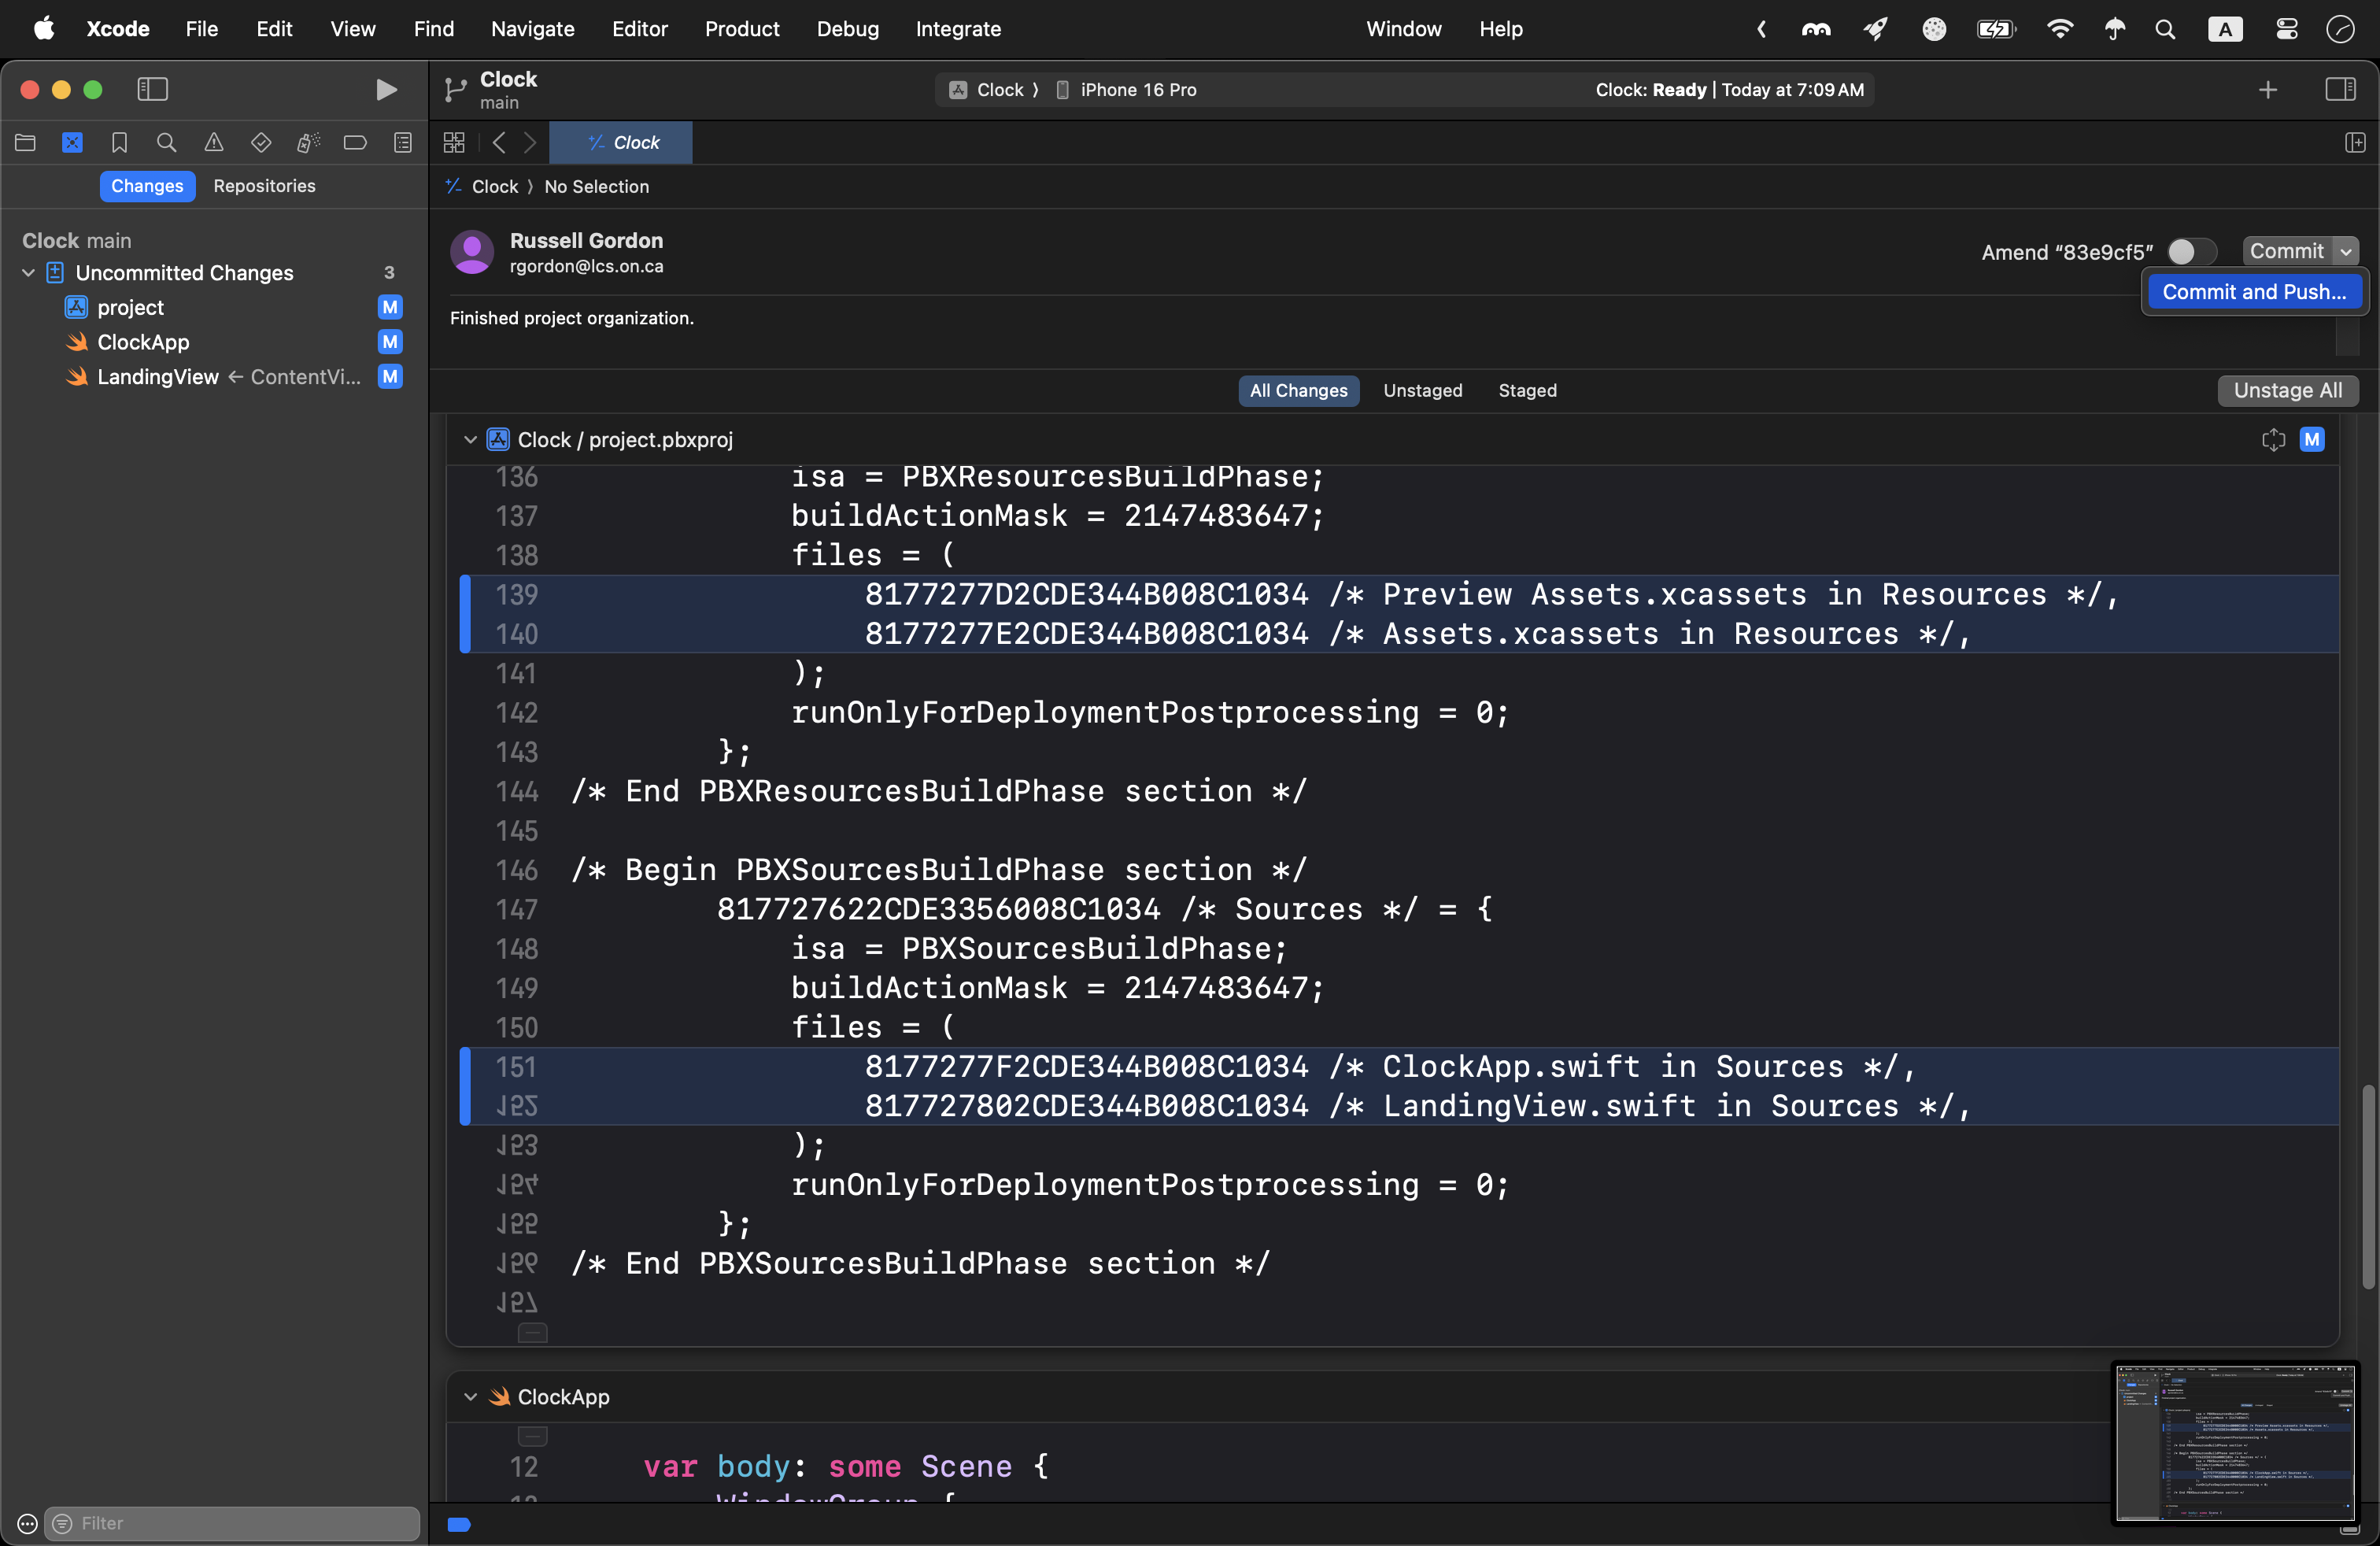
Type a commit message of:
Finished project organization.
… then press the Stage All button to indicate that you want to commit all the changes:

Finally, press the small down arrow beside the Commit button and choose Commit and Push:
Make the tab view
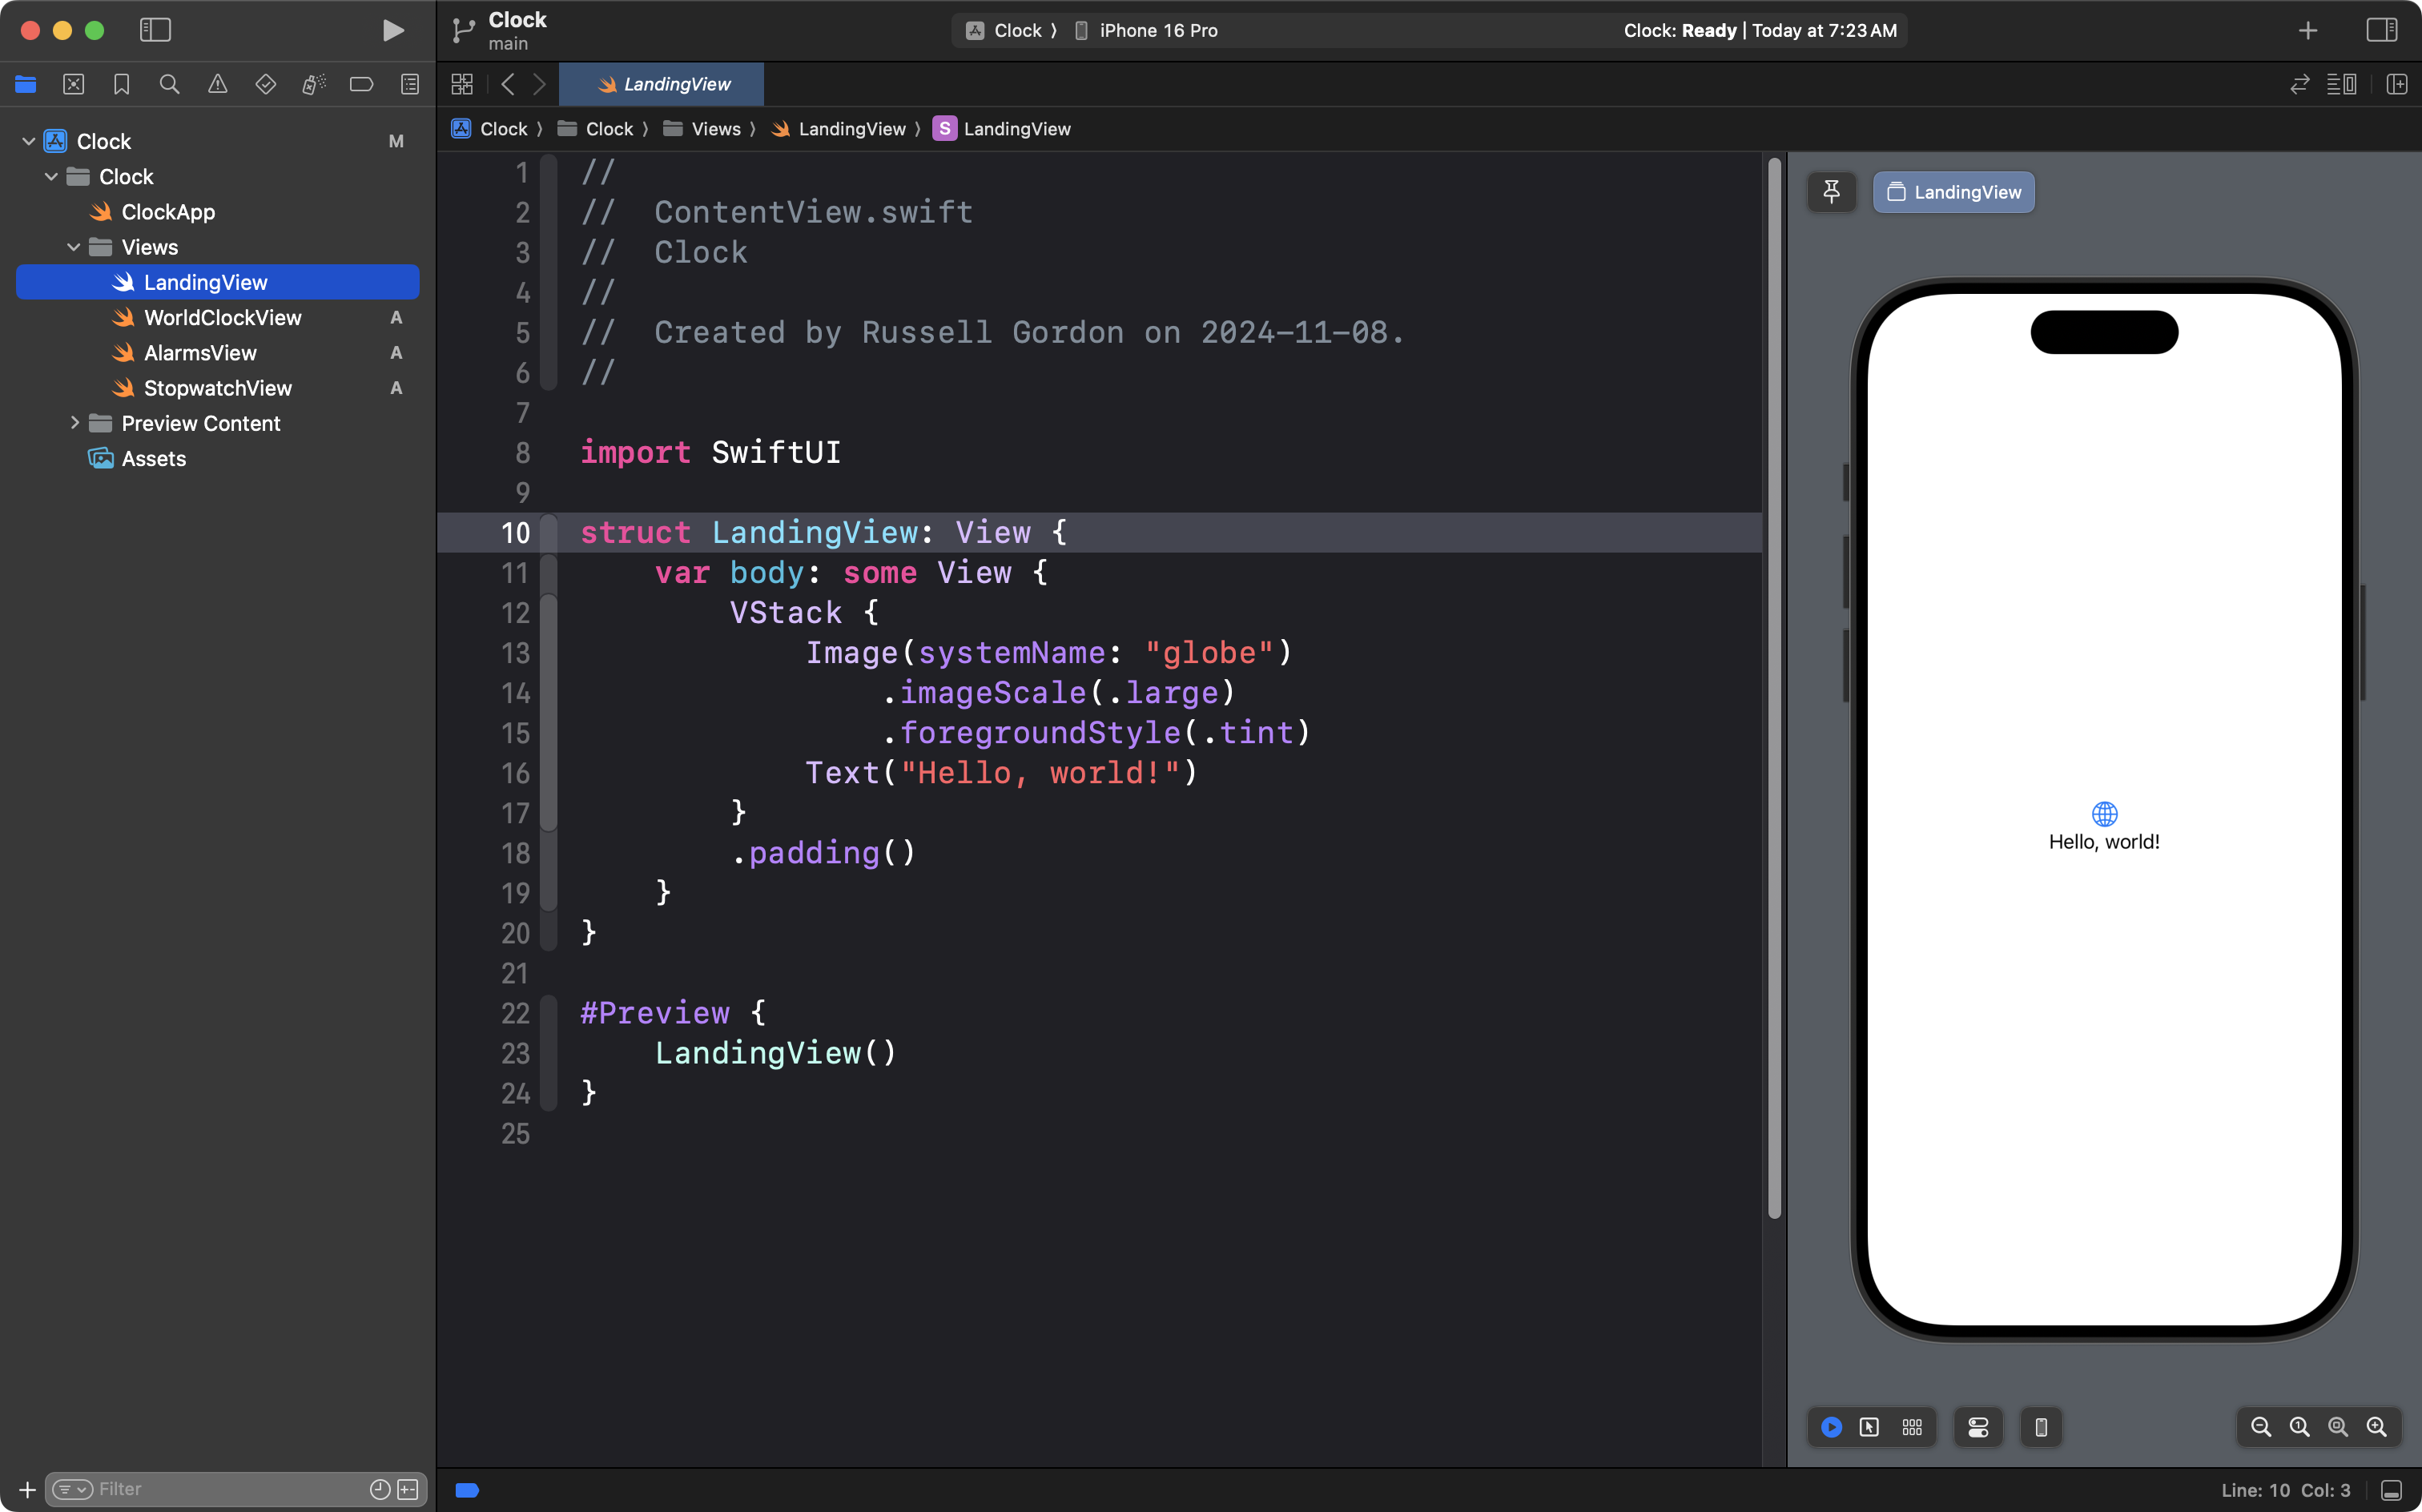
Return to the Project navigator by pressing Command-1, then select the LandingView file:

The landing view file is going to, very shortly, contain the tab view portion of the interface:
A tab view works by letting the user switch between multiple other views.
We need to create those views now.
Follow these same steps to create three files:
- WorldClockView
- AlarmsView
- StopwatchView
Here are the steps to create WorldClockView.
Two-finger tap on the Views group and select New file from template…
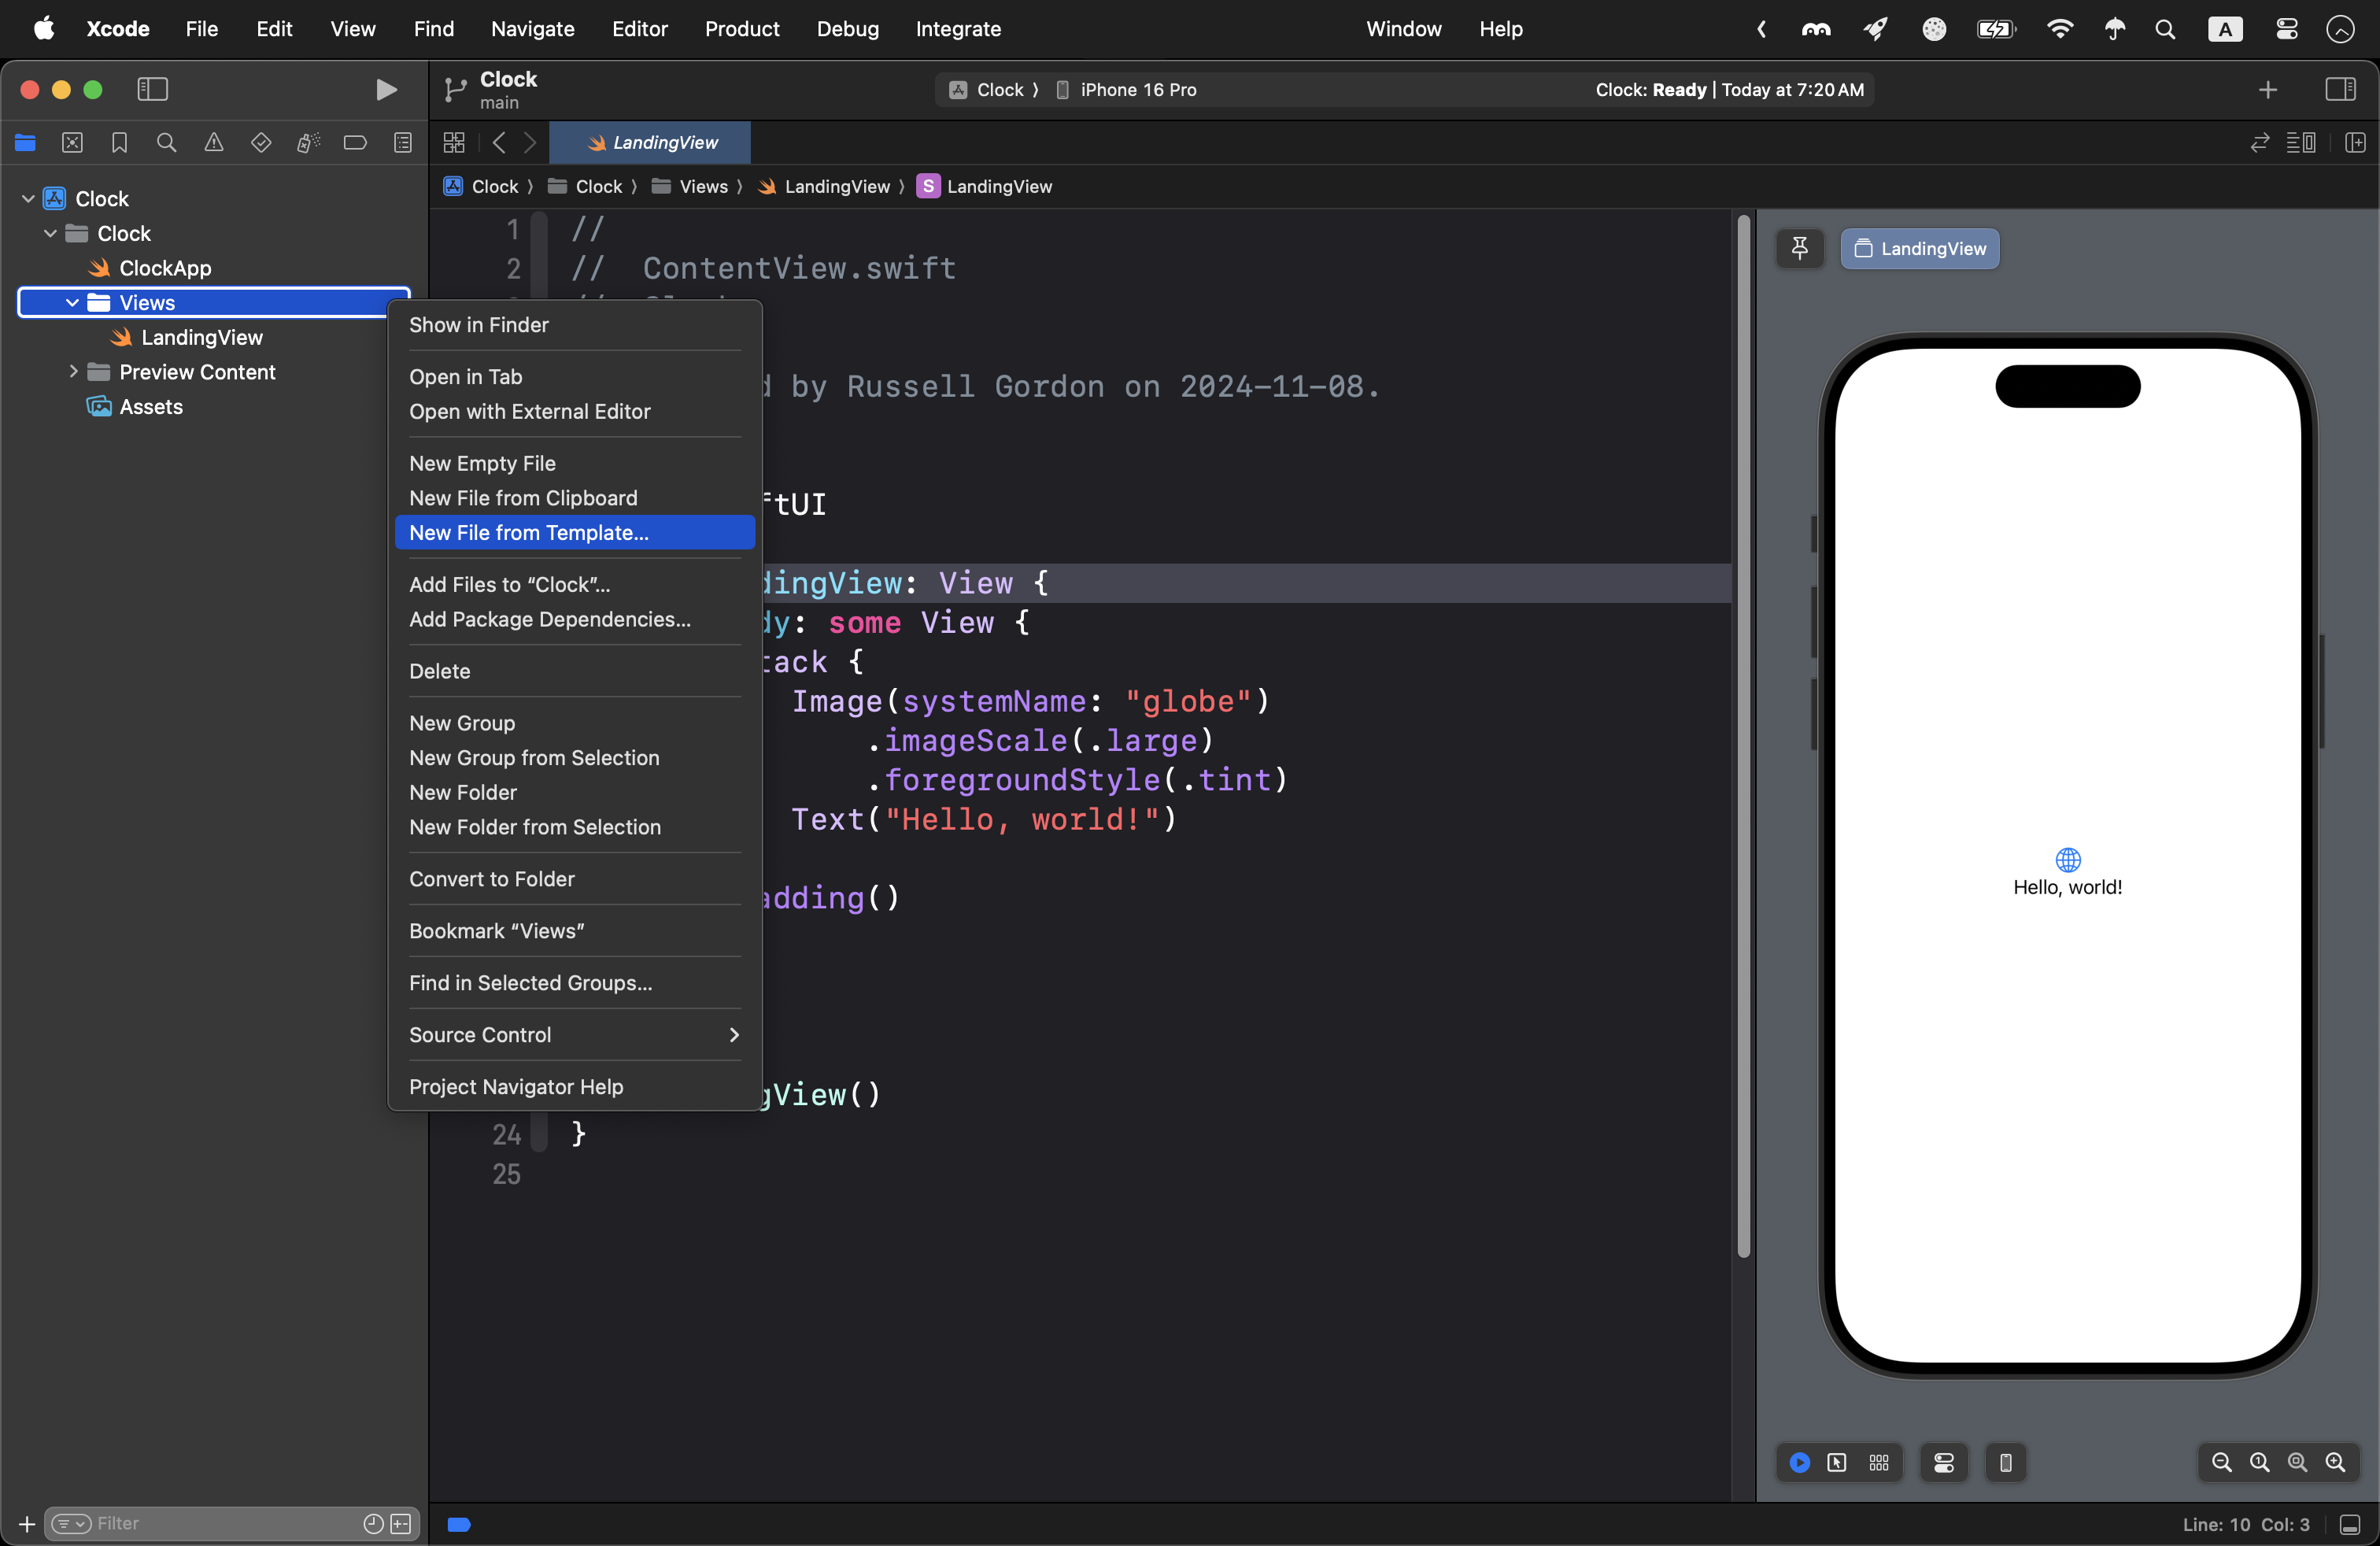
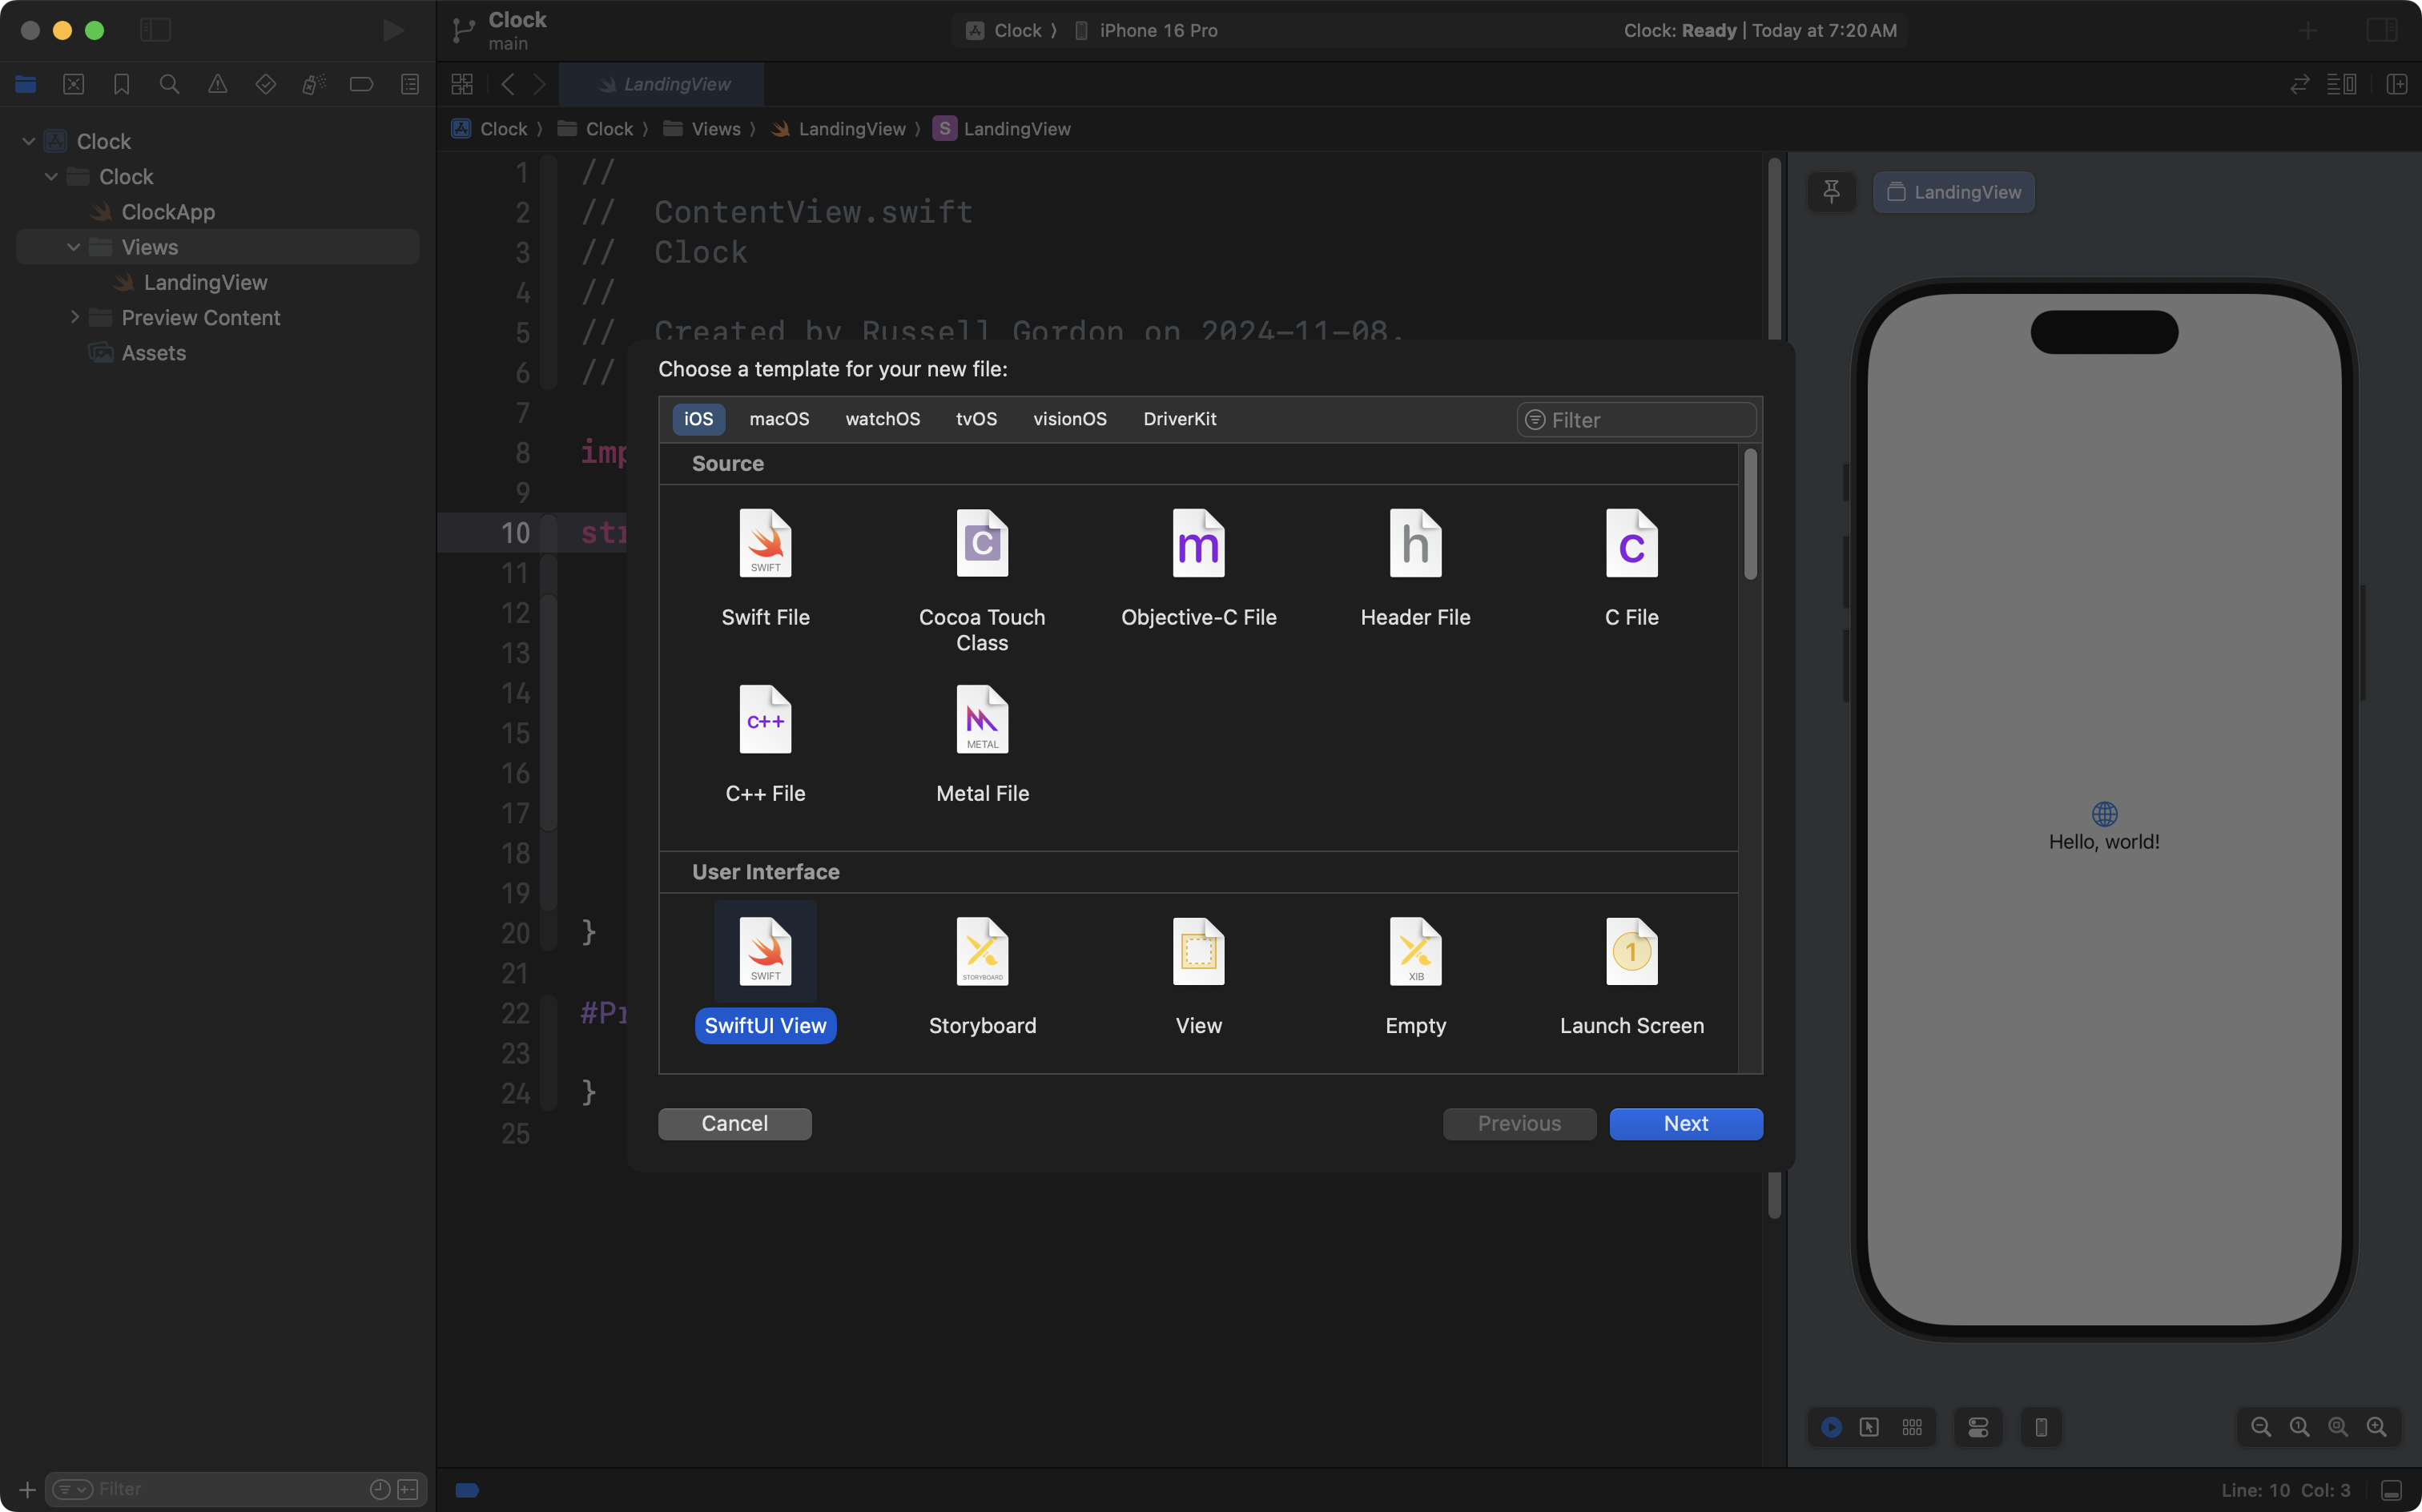
Then choose SwiftUI View and select Next:
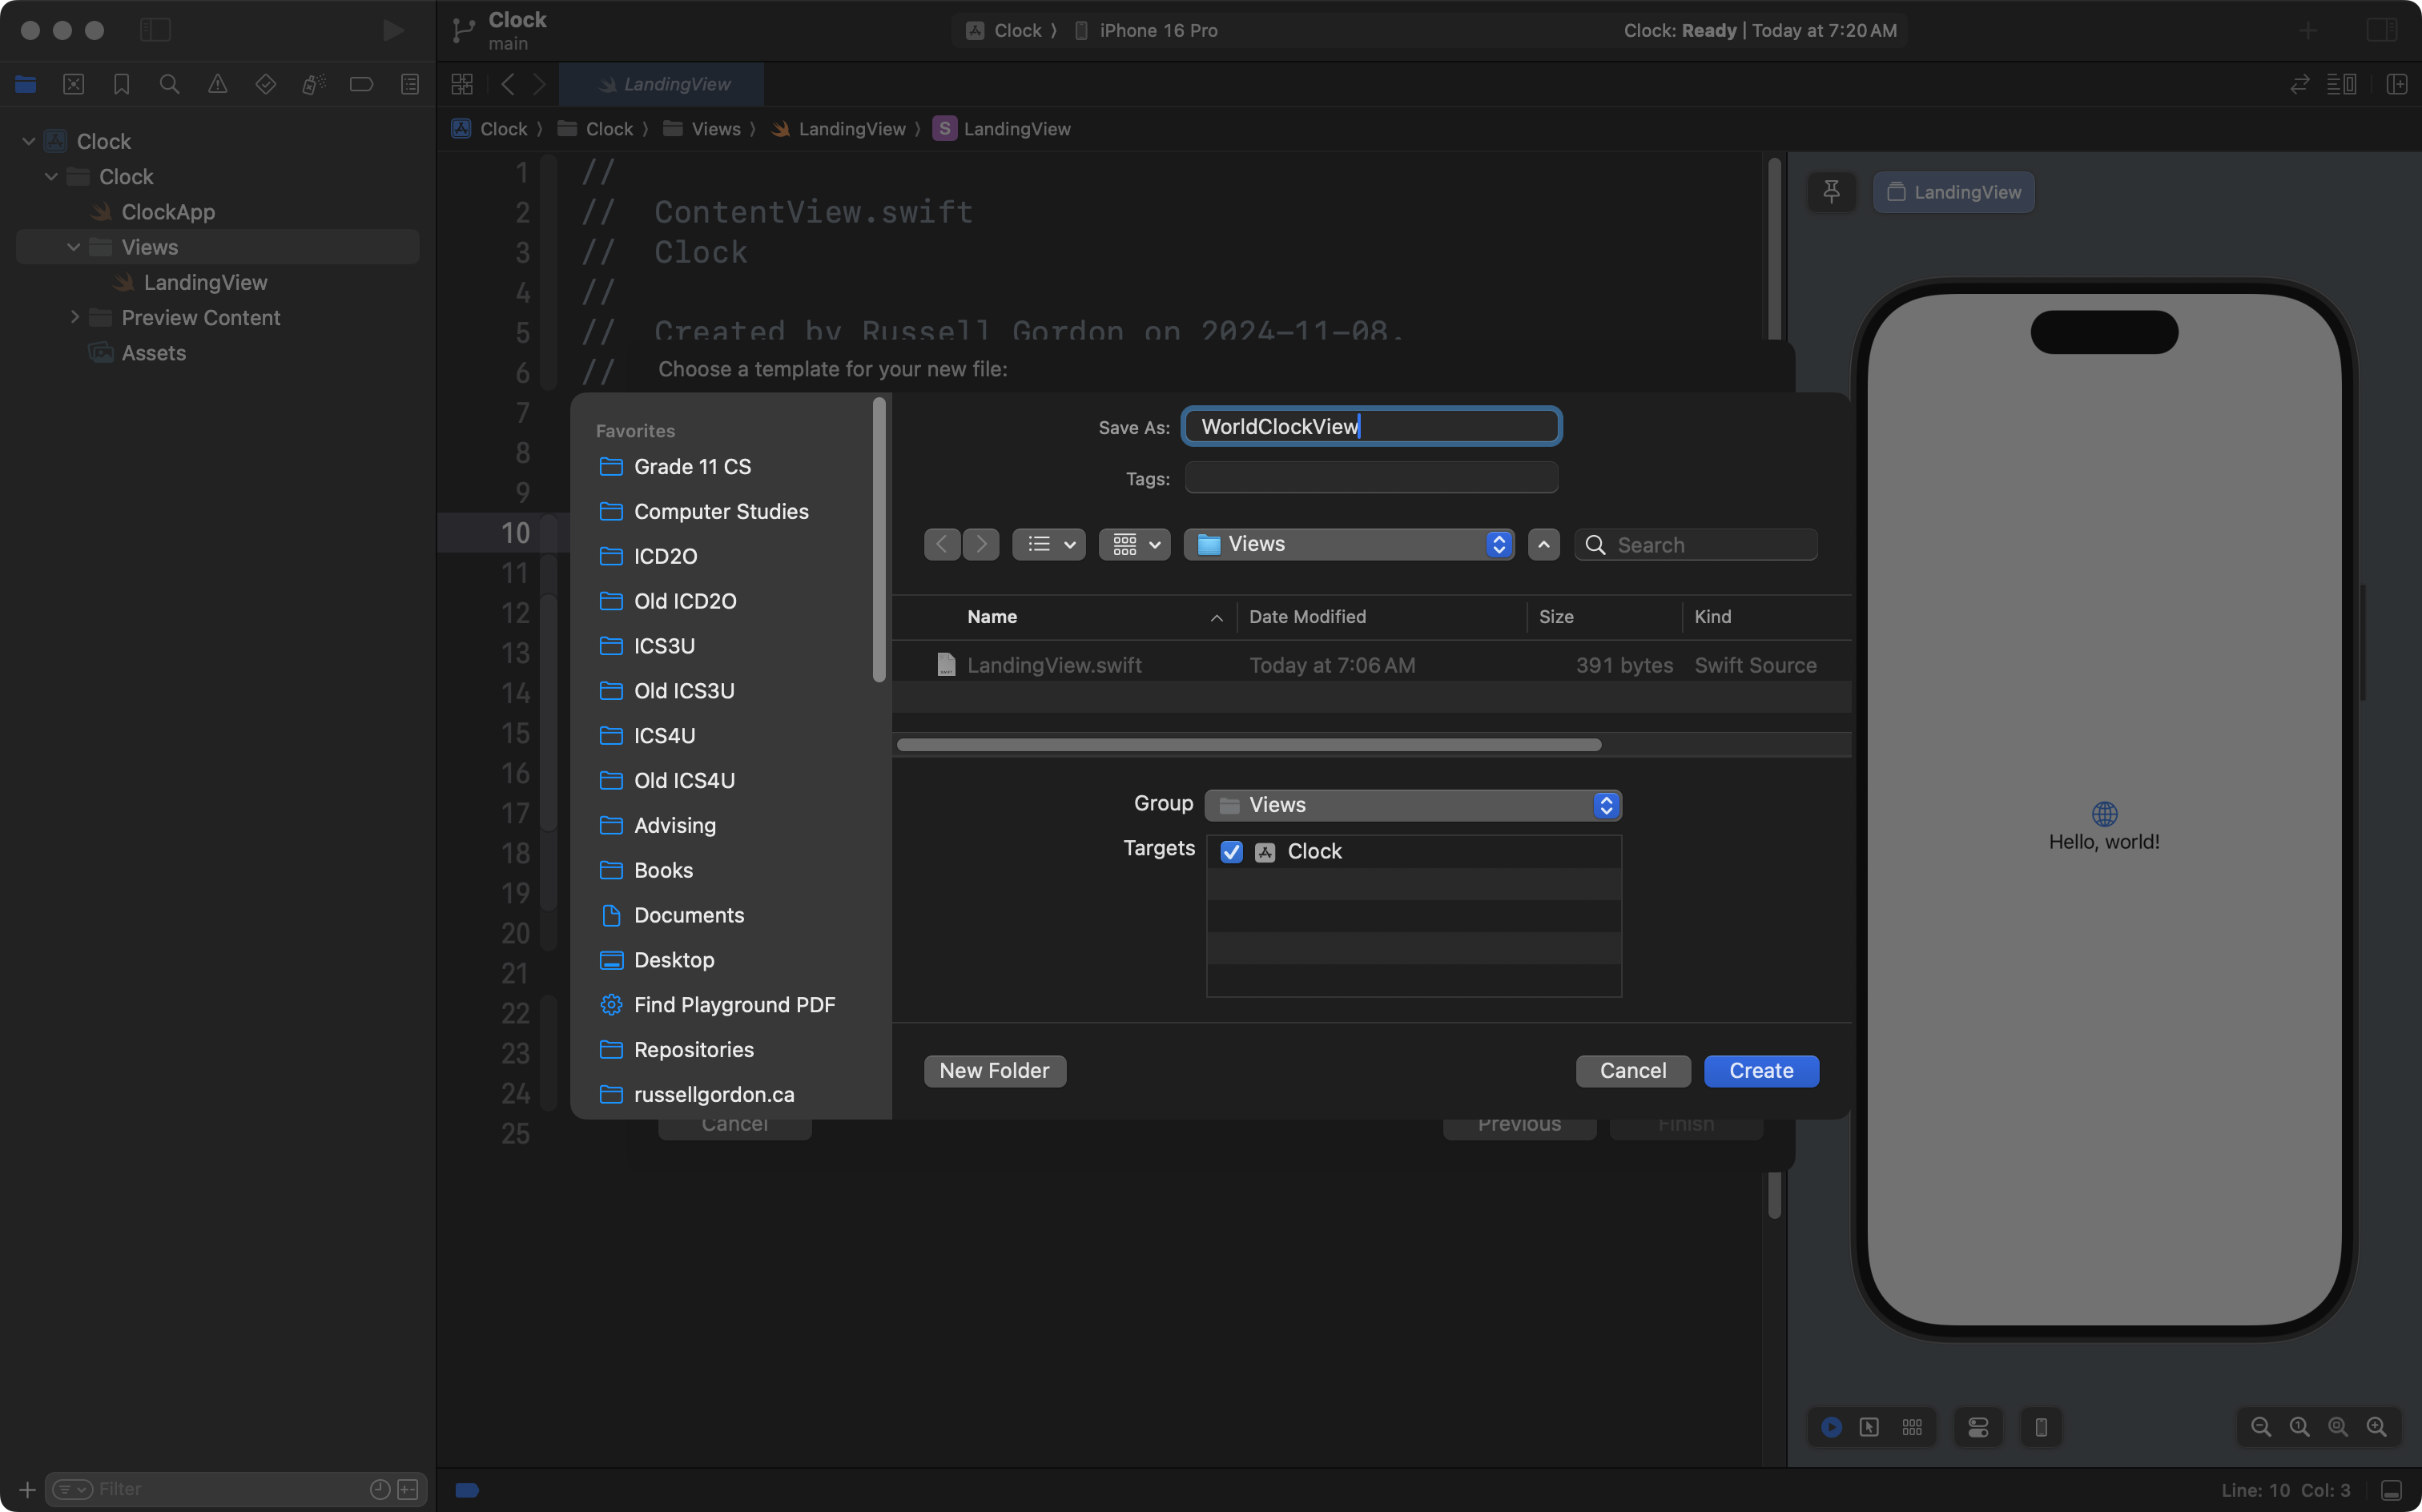
Name the file WorldClockView then press Create:
Again, follow these same steps to create the next two views – AlarmsView and StopwatchView.
When you are finished, your project will look like this:
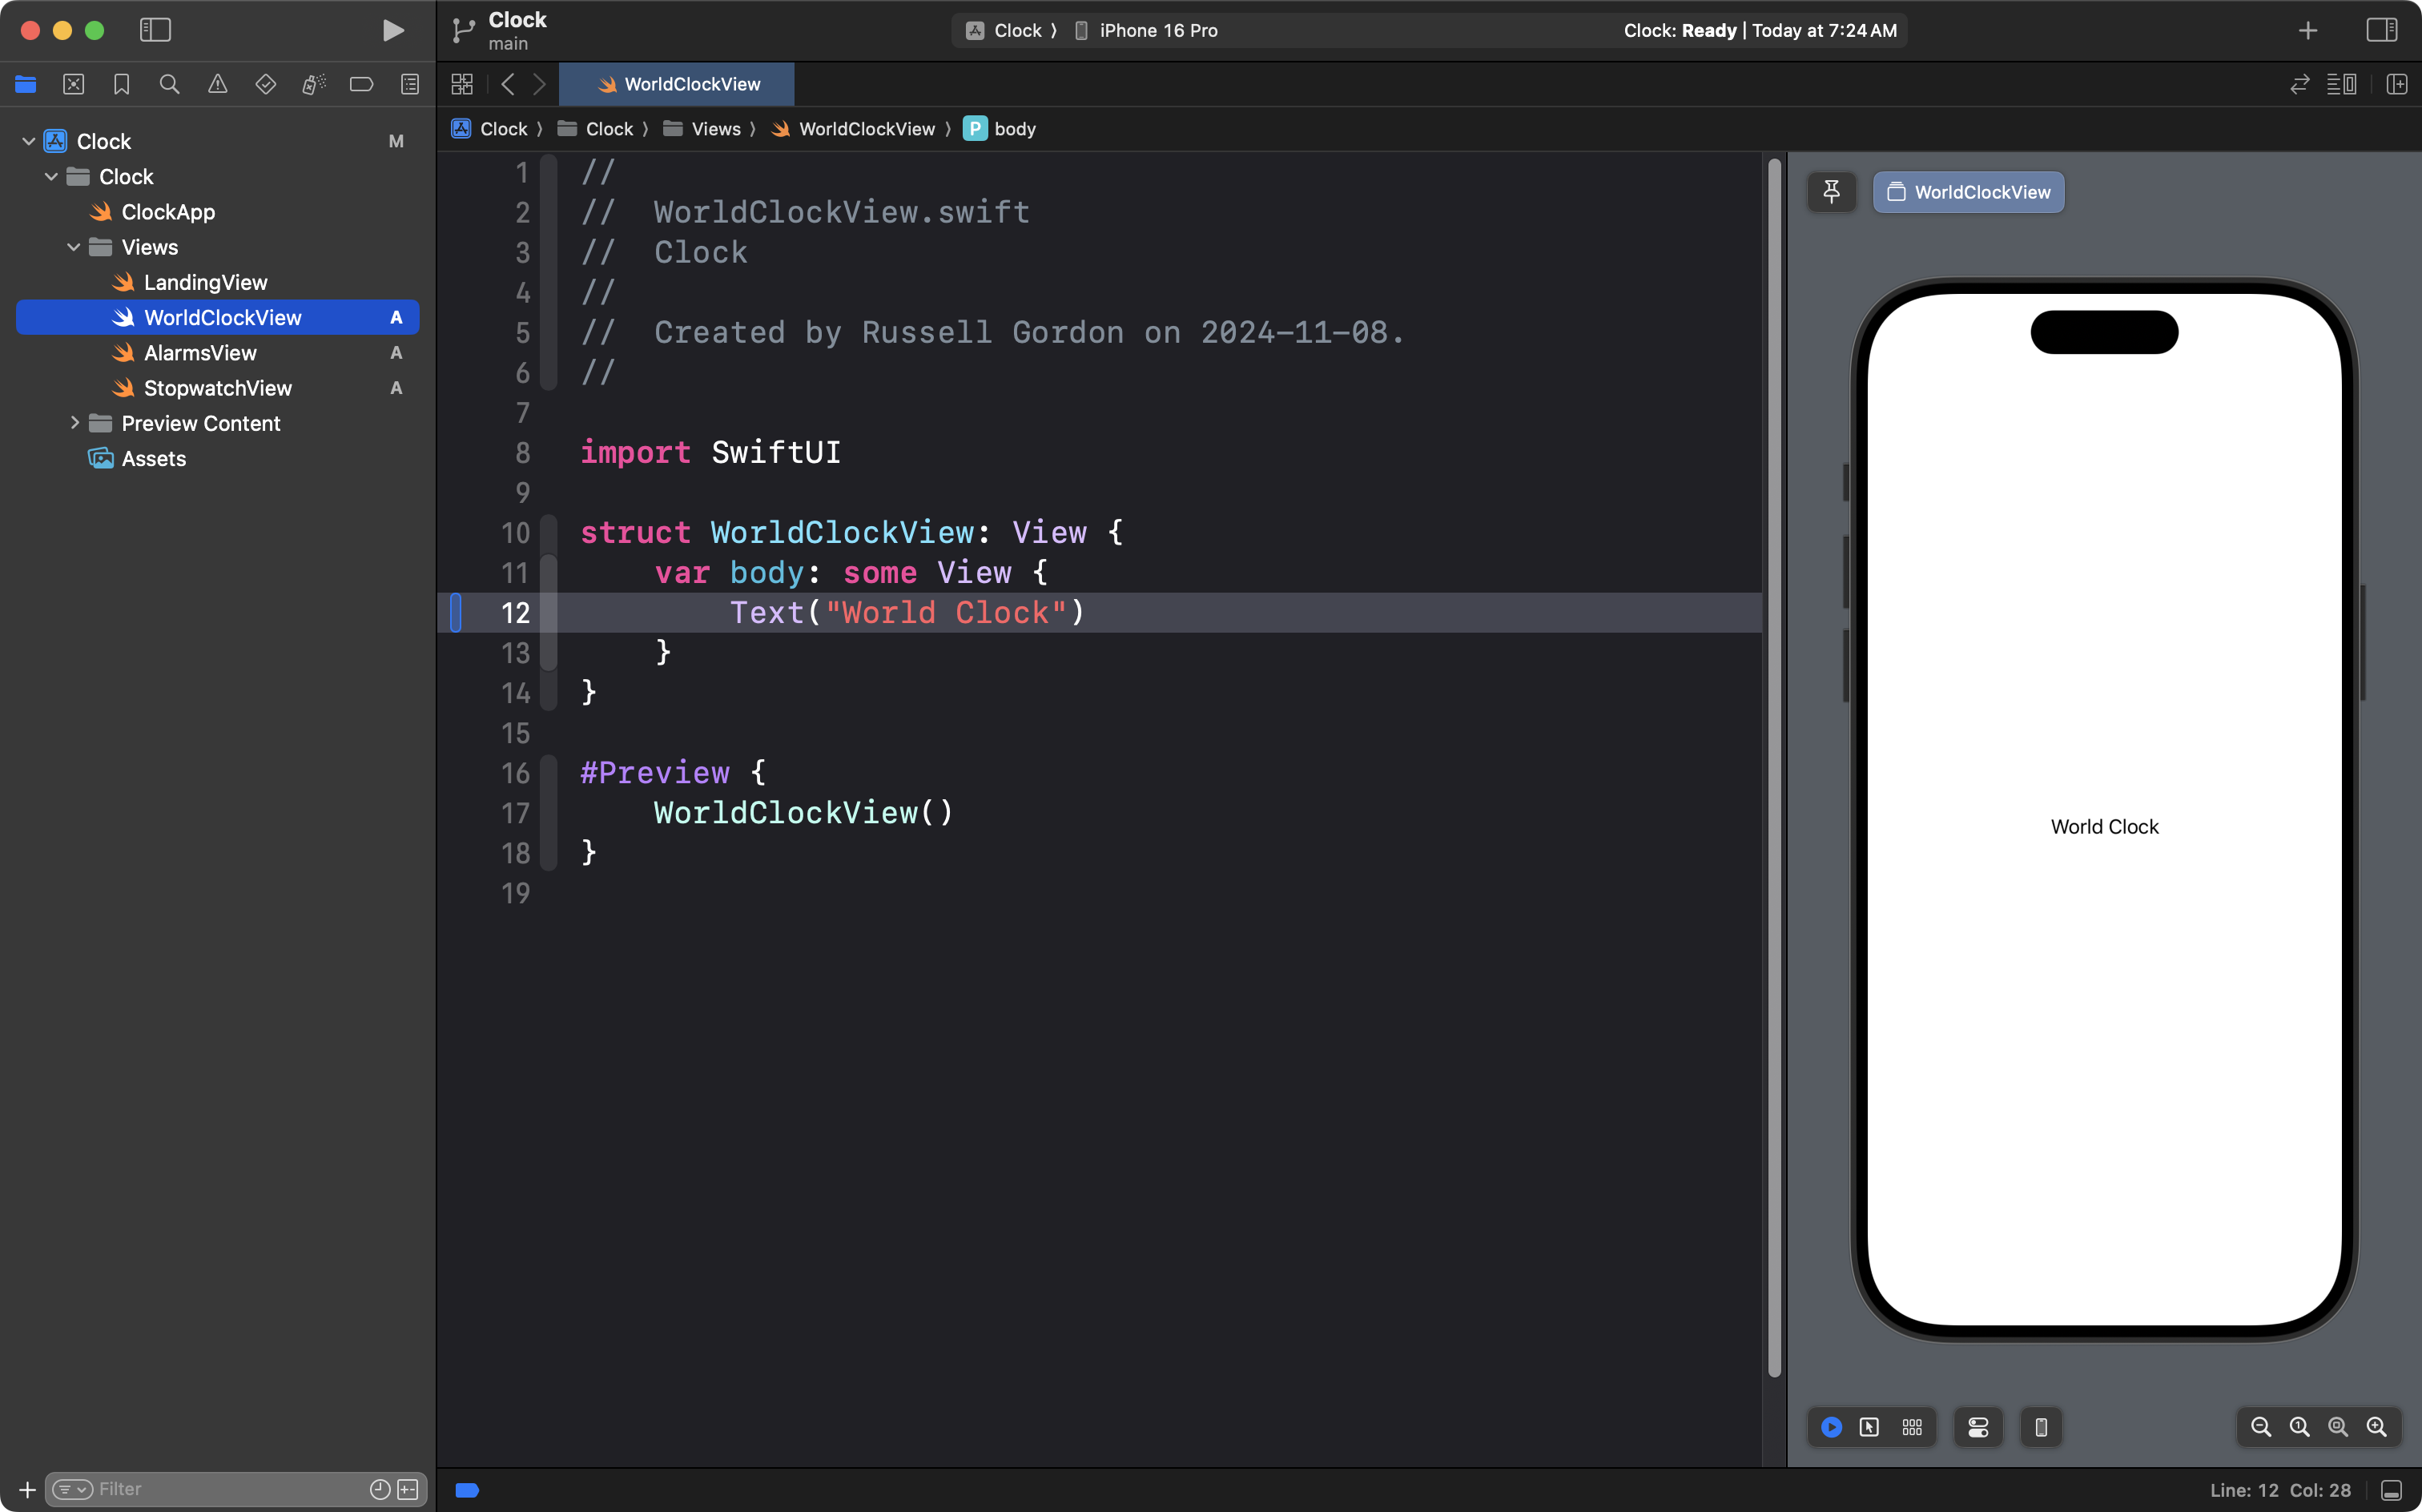
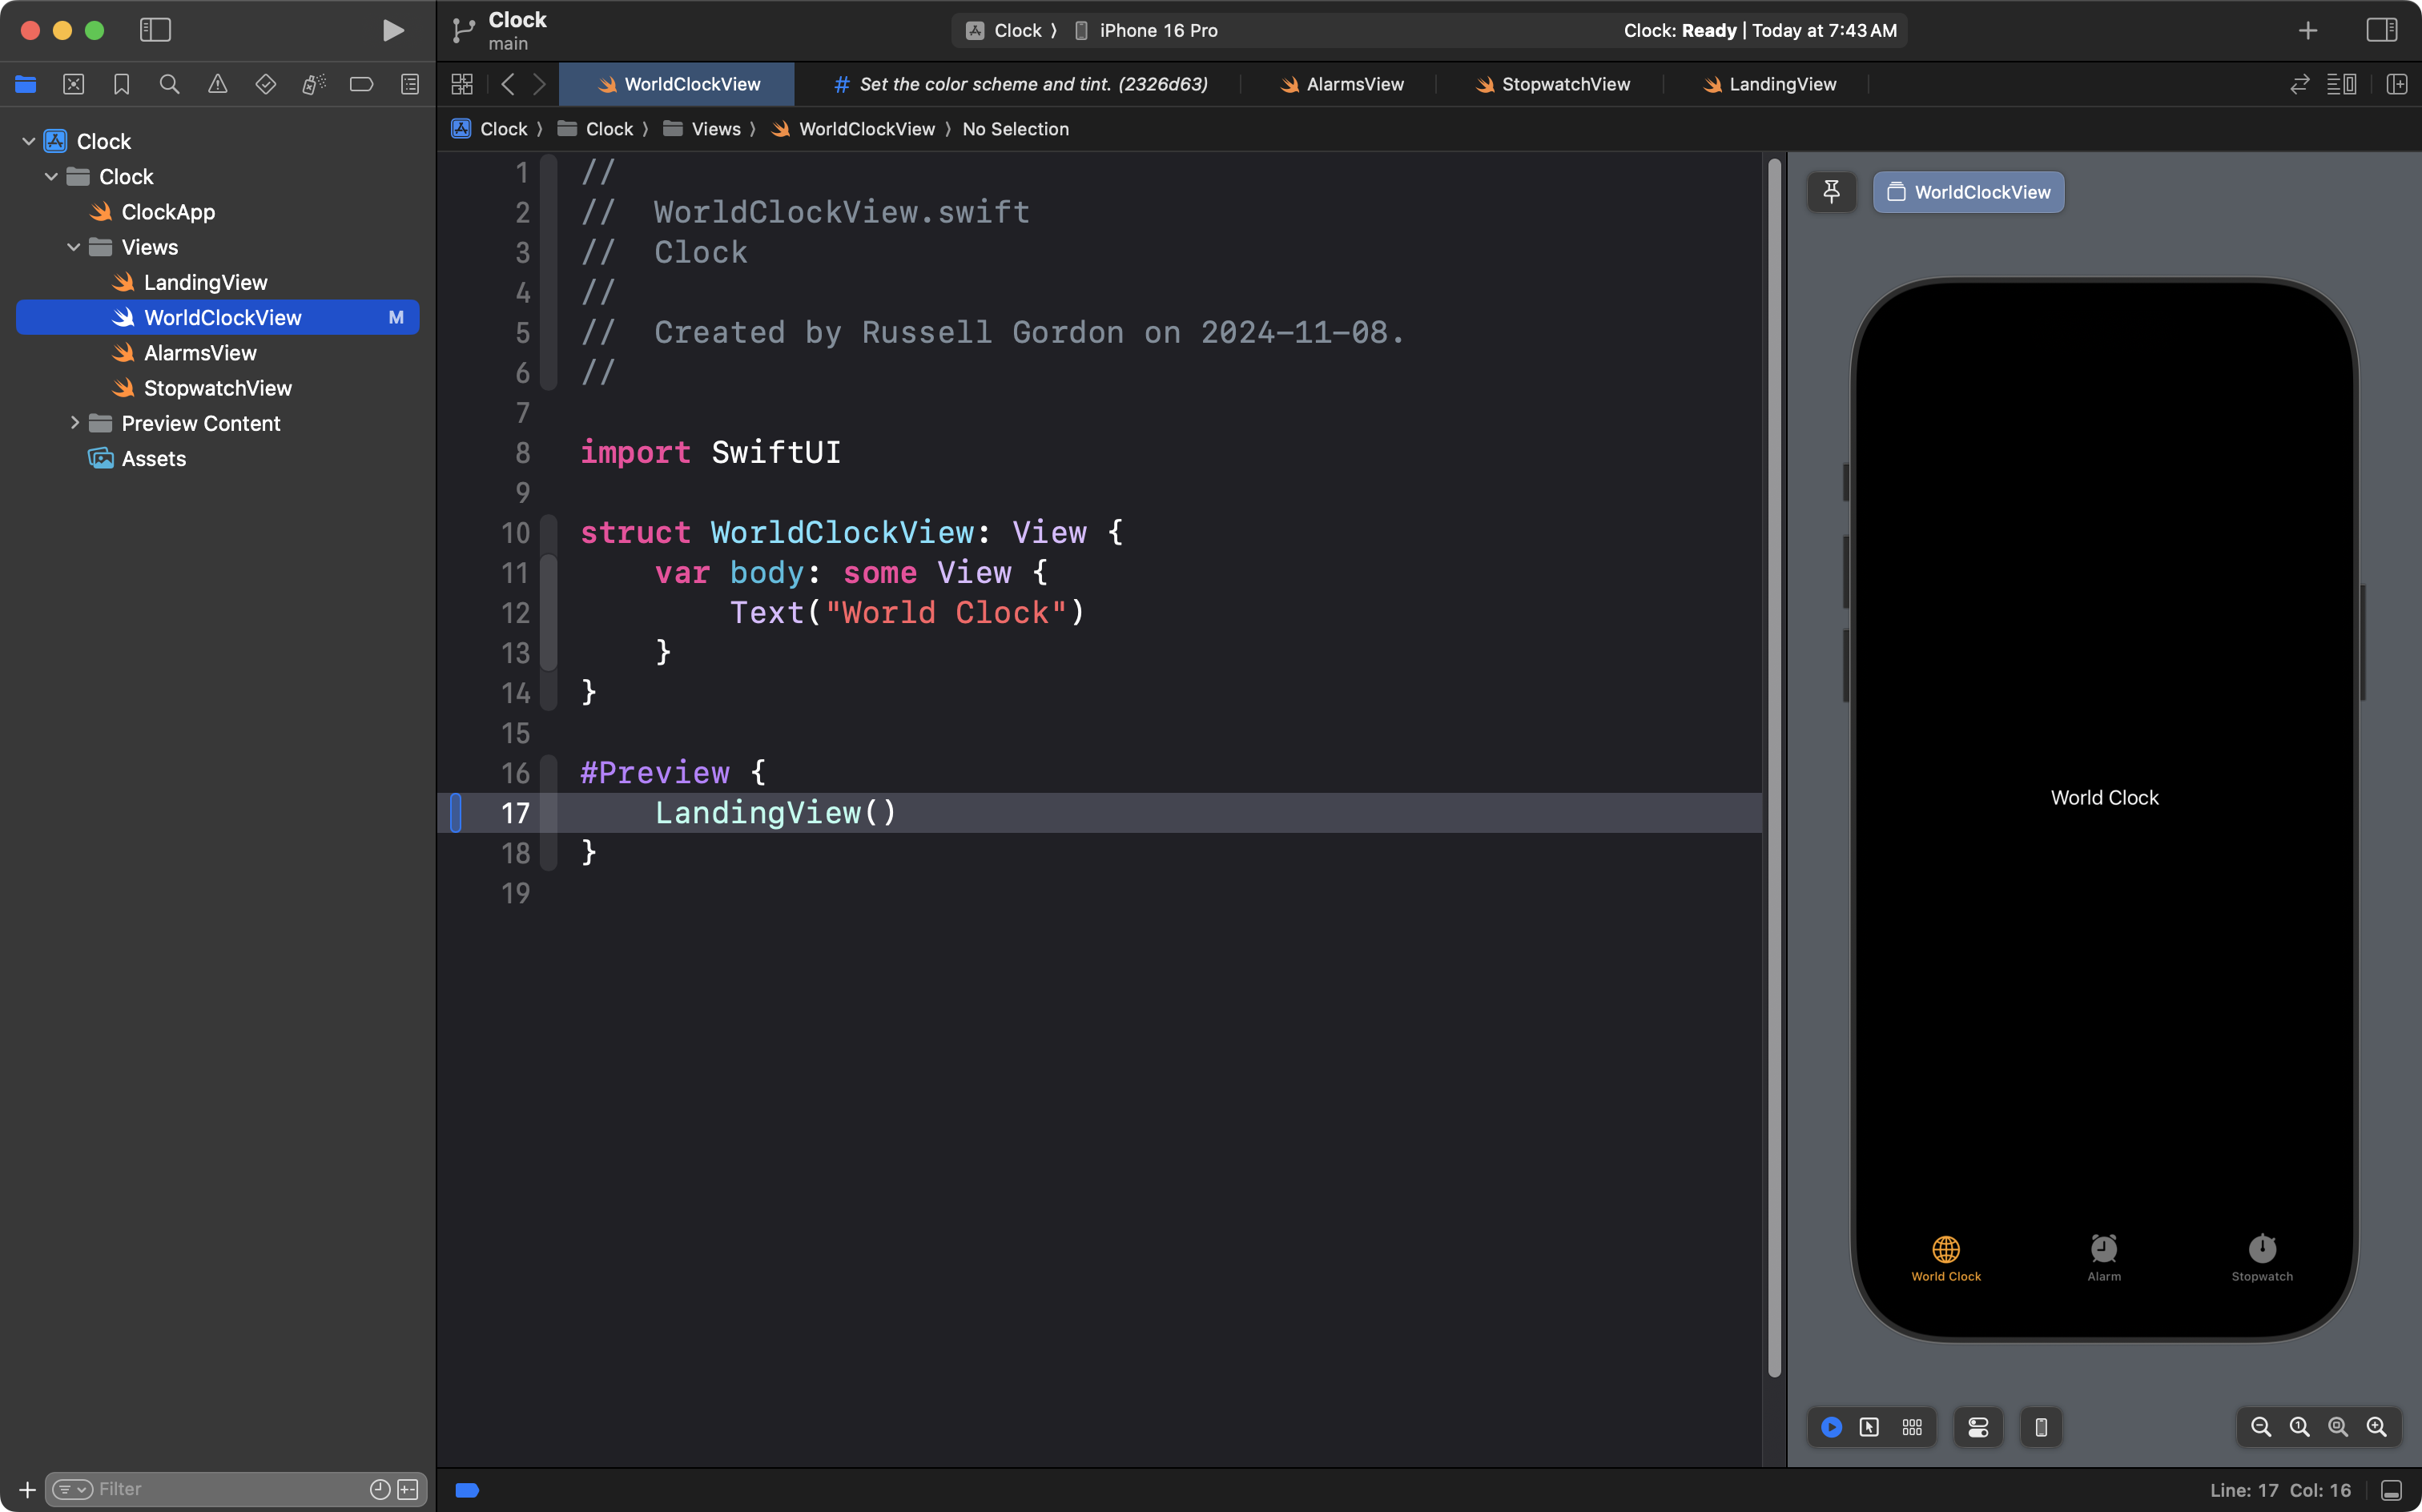
Switch to WorldClockView:
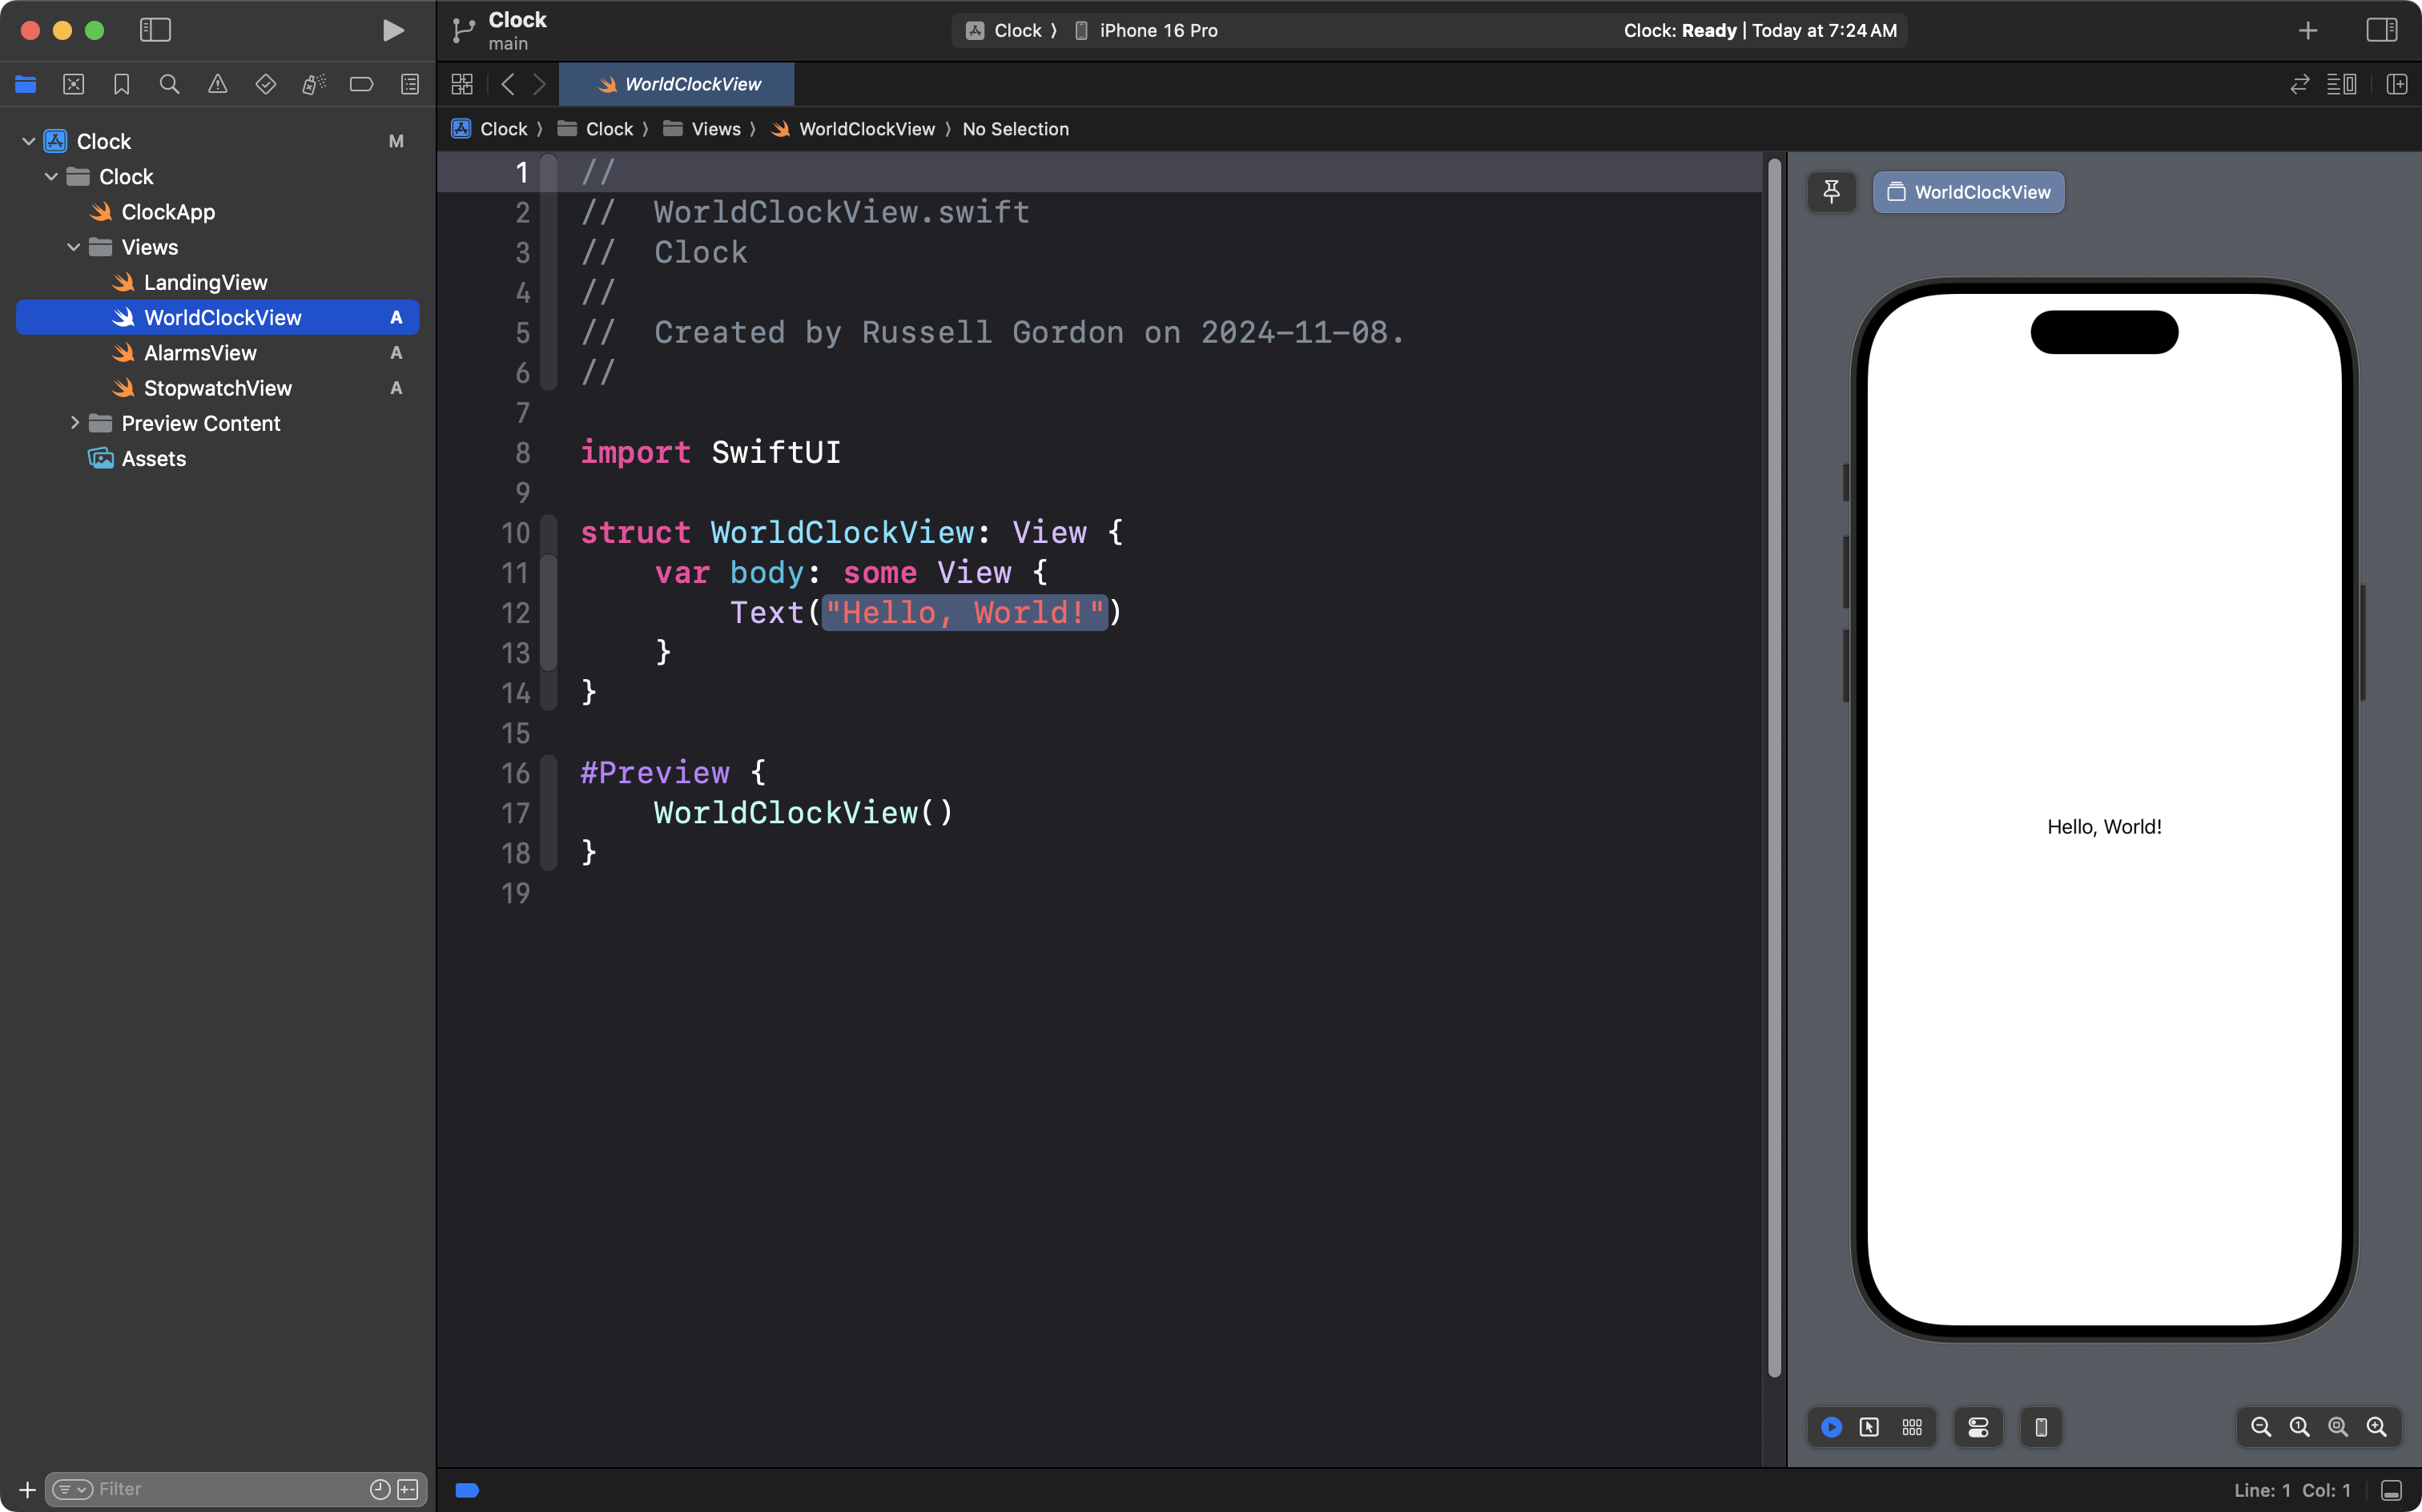
Change the Text structure so that it says World Clock:
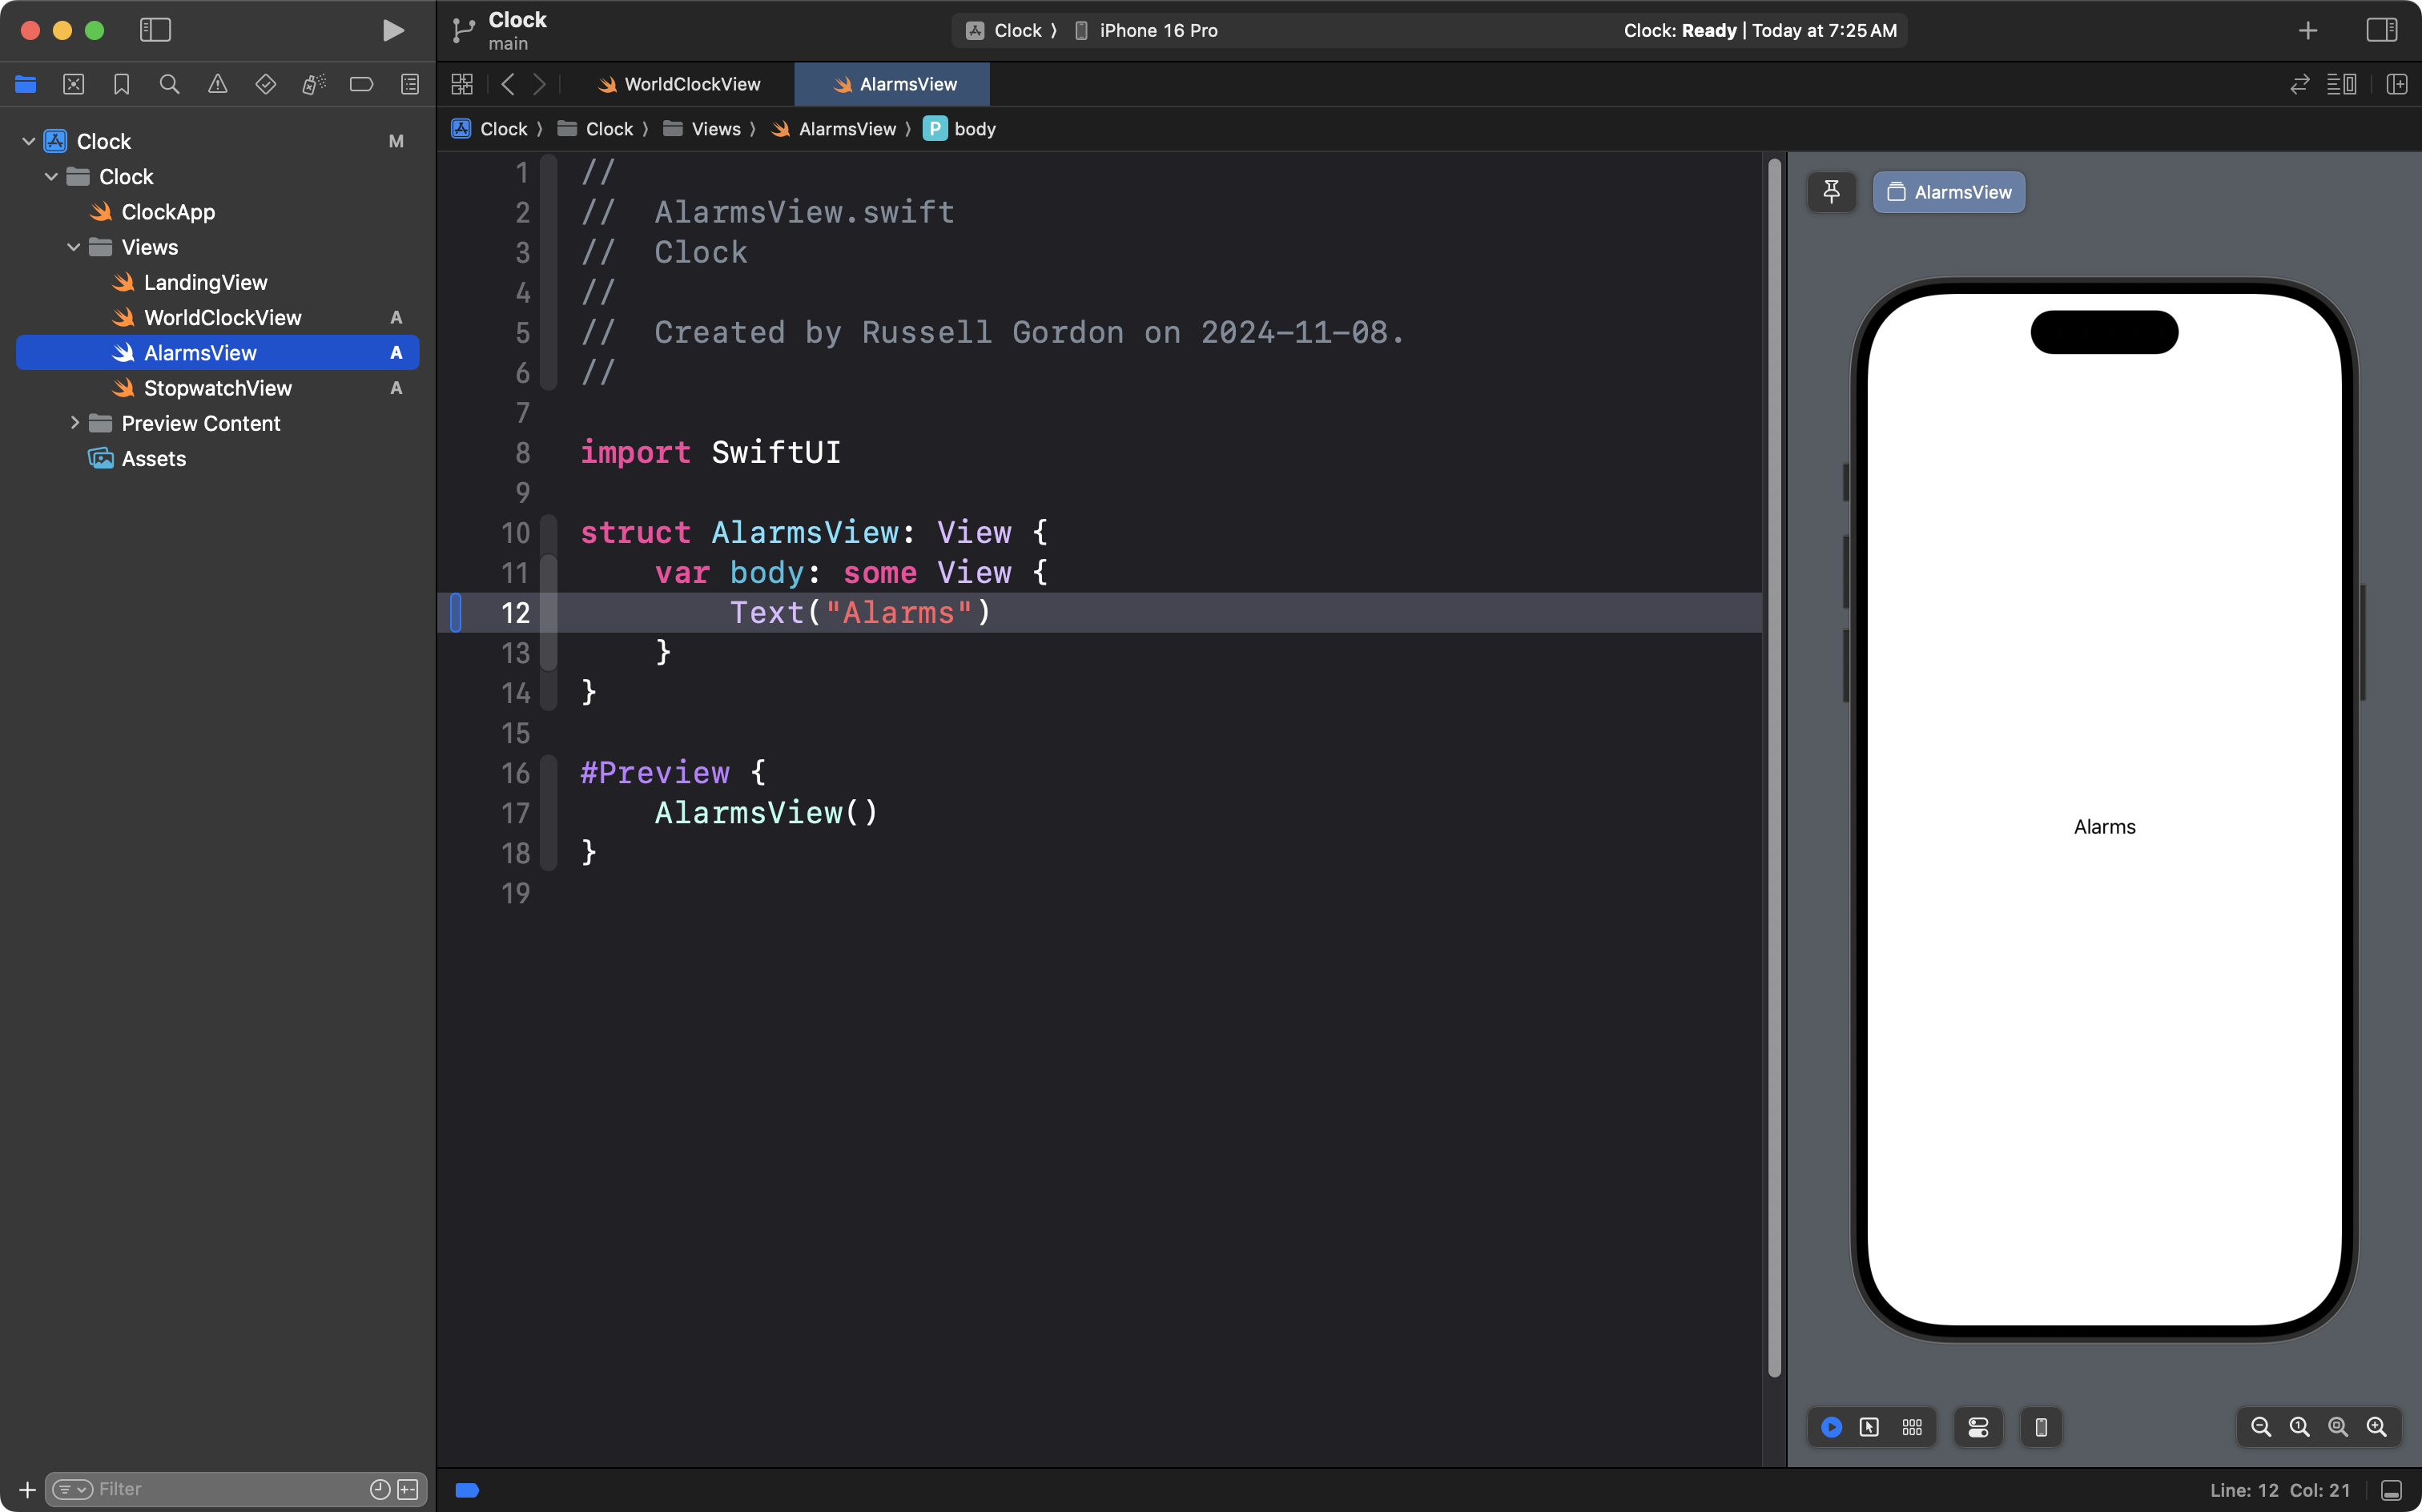
Do the same thing with AlarmsView:
And the same with StopwatchView:

This allows us to tell each of these views apart when we set up the tab view.
Now return to LandingView:
Replace the VStack with this code:
        TabView(selection: Binding.constant(1)) {

            WorldClockView()
                .tabItem {
                    Image(systemName: "globe")
                    Text("World Clock")
                }
                .tag(1)

            AlarmsView()
                .tabItem {
                    Image(systemName: "alarm.fill")
                    Text("Alarm")
                }
                .tag(2)

            StopwatchView()
                .tabItem {
                    Image(systemName: "stopwatch.fill")
                    Text("Stopwatch")
                }
                .tag(3)

        }
Your view will look like this:
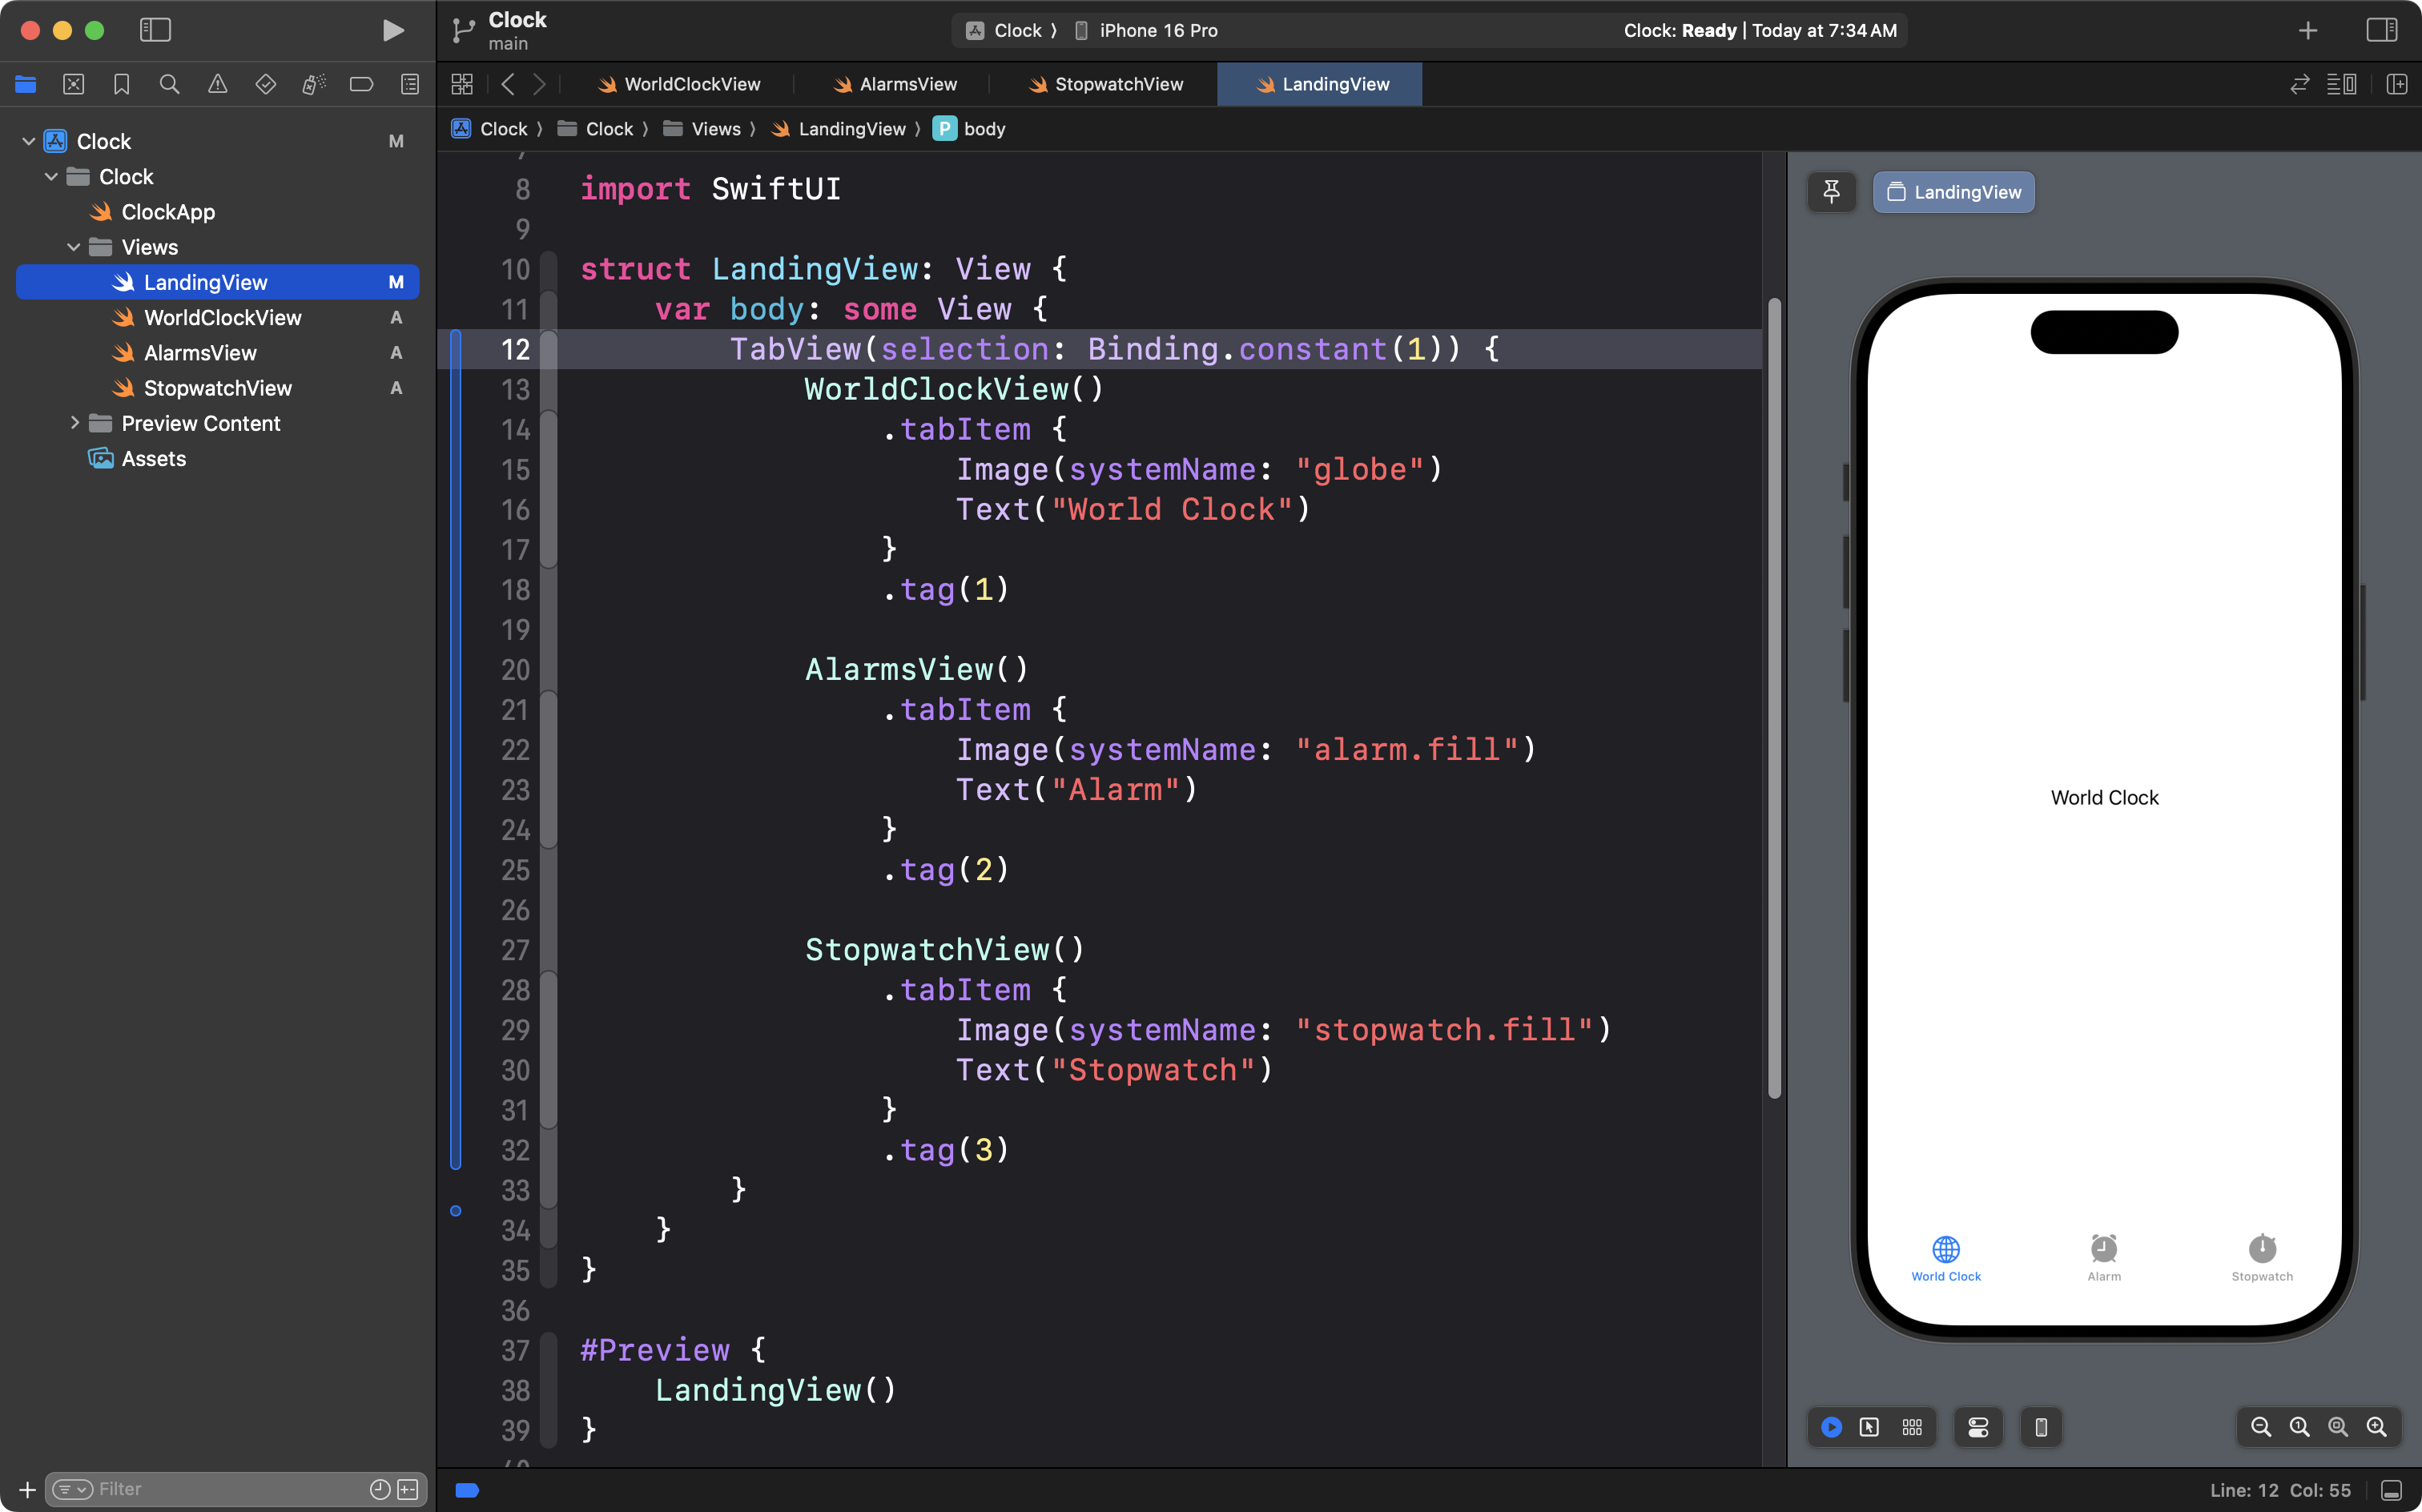
In the preview at right, you can now click between the tabs at the bottom of the interface.
Look for this line of code:
TabView(selection: Binding.constant(1)) {Try changing the value, 1, to 2 or 3. What happens? Why do you think that occurs?
This is a good time to commit and push your work. Use the usual steps and commit and push with this message:
Got the tab view set up.
Set dark mode and tint
The Clock app is a rare app that always presents a dark interface.
Return to LandingView and add the following view modifier on line 34, attached to the TabView structure:
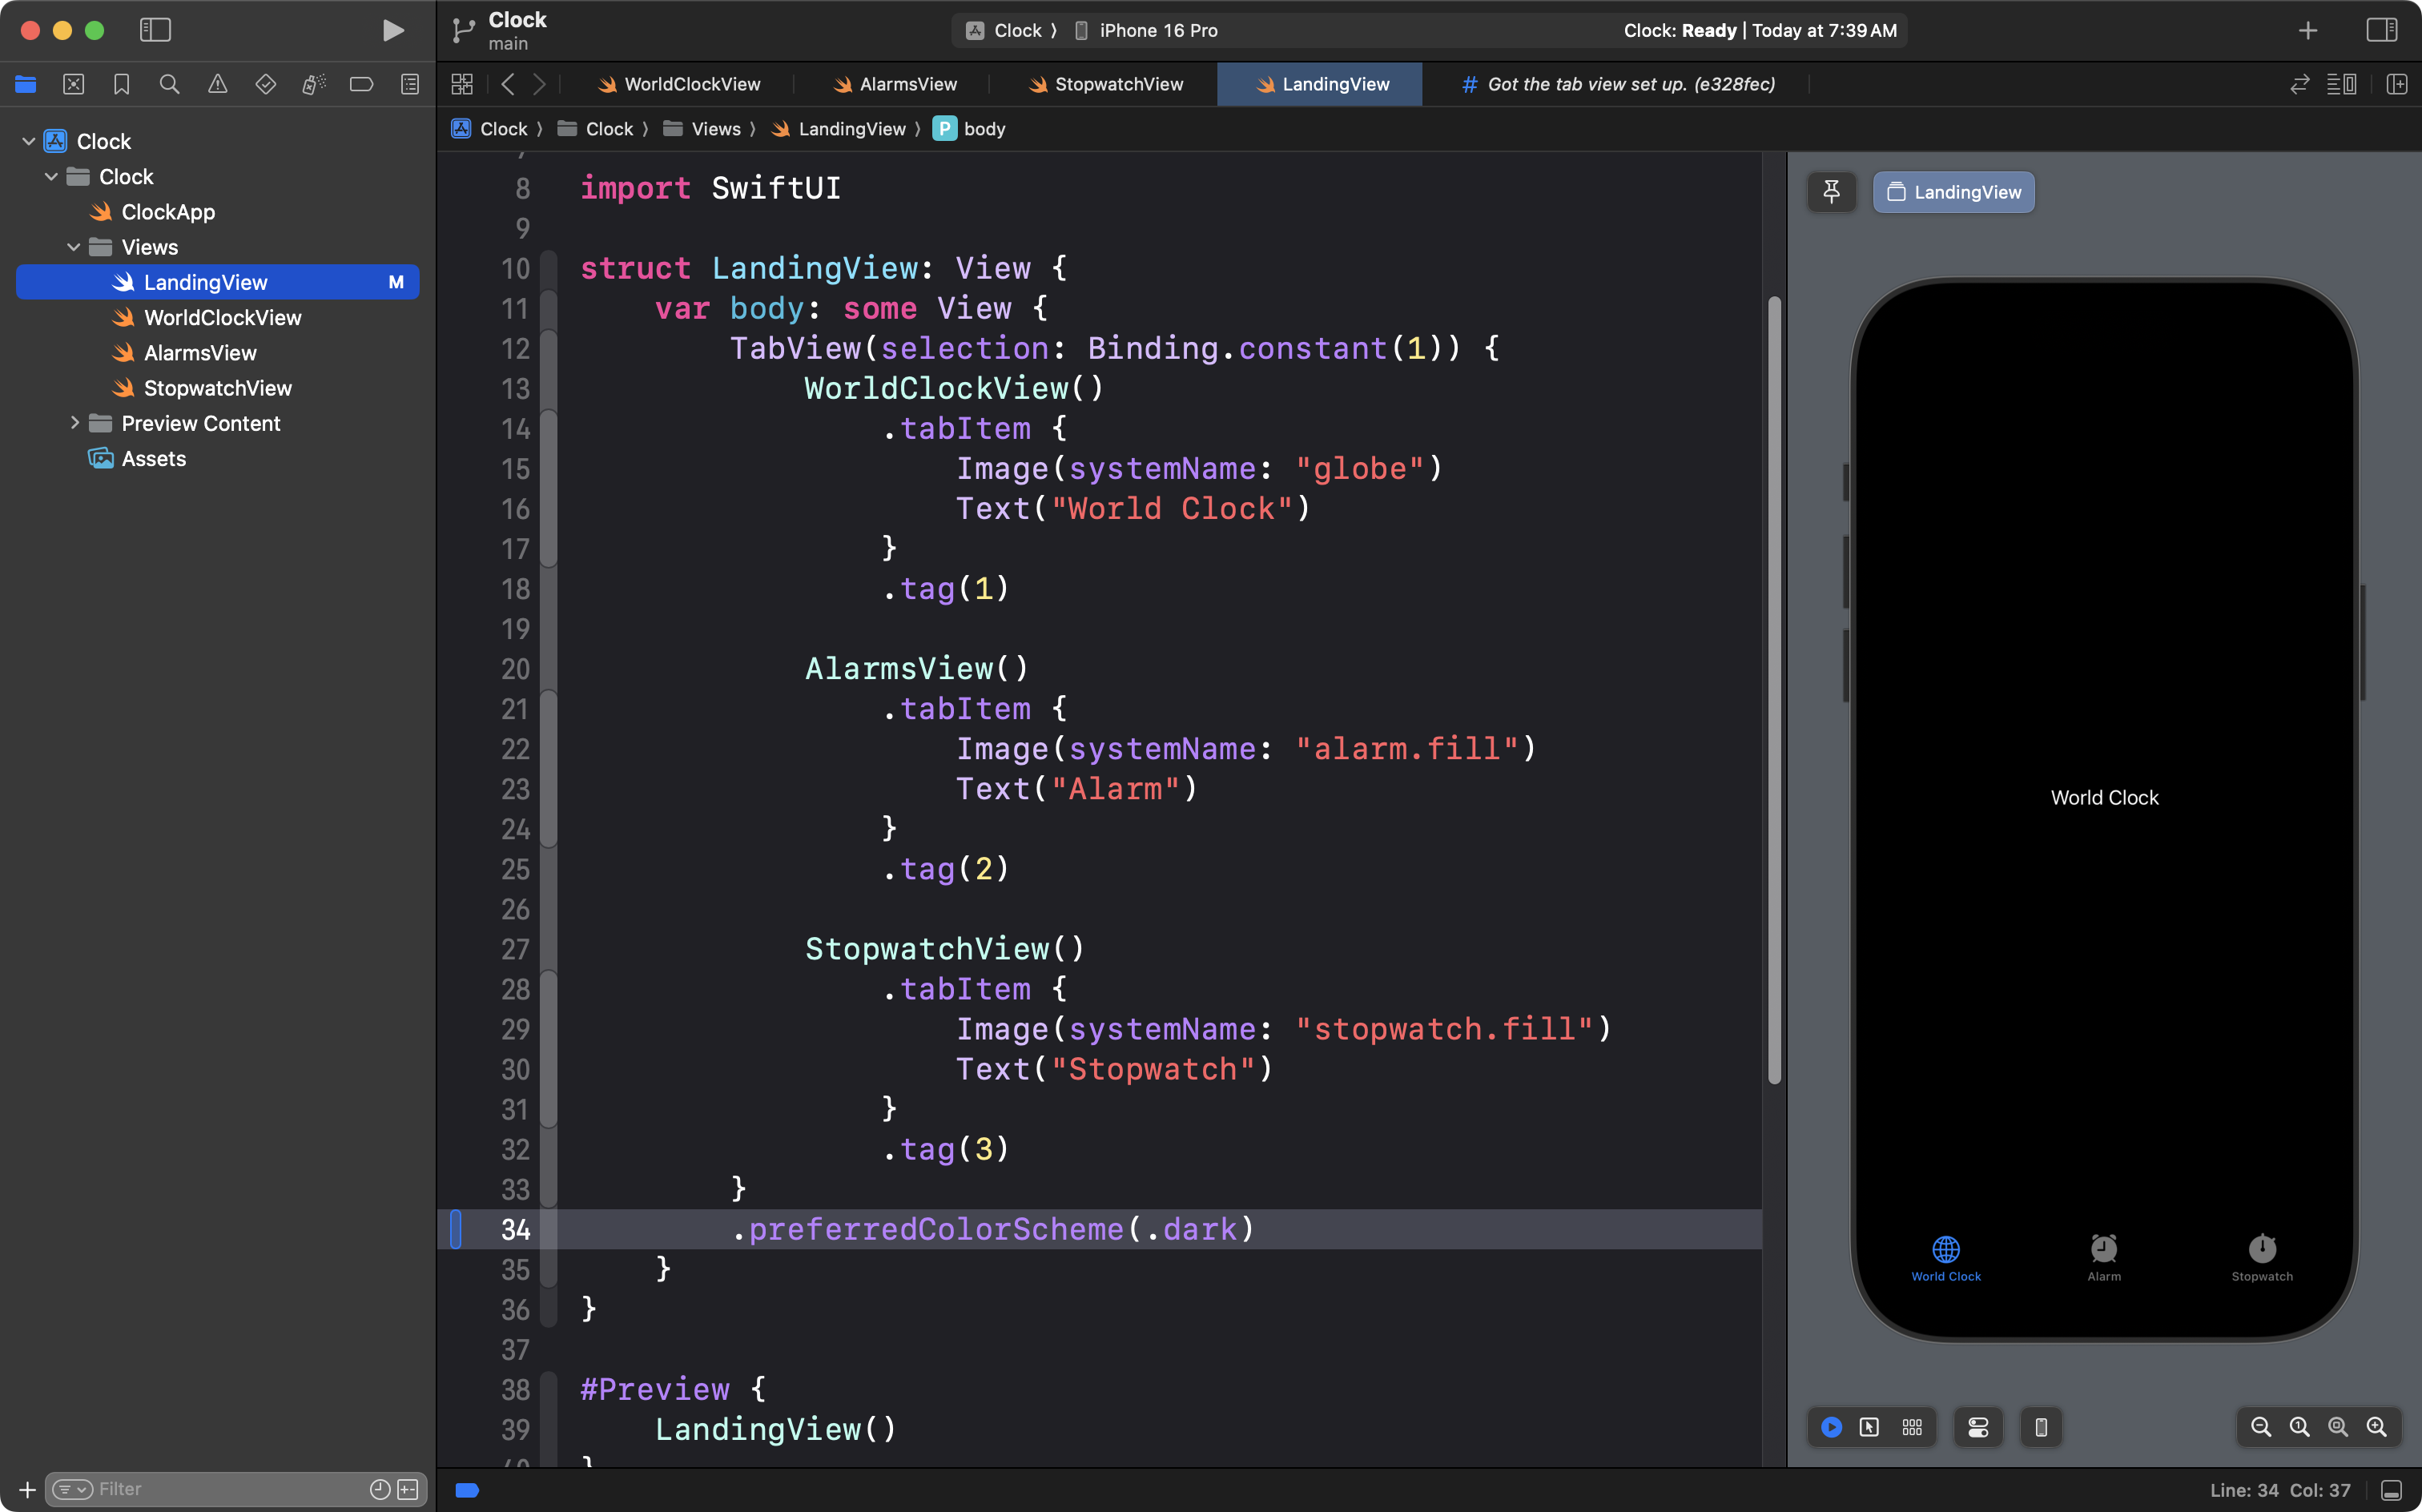
Now the interface appears in dark mode at all times.
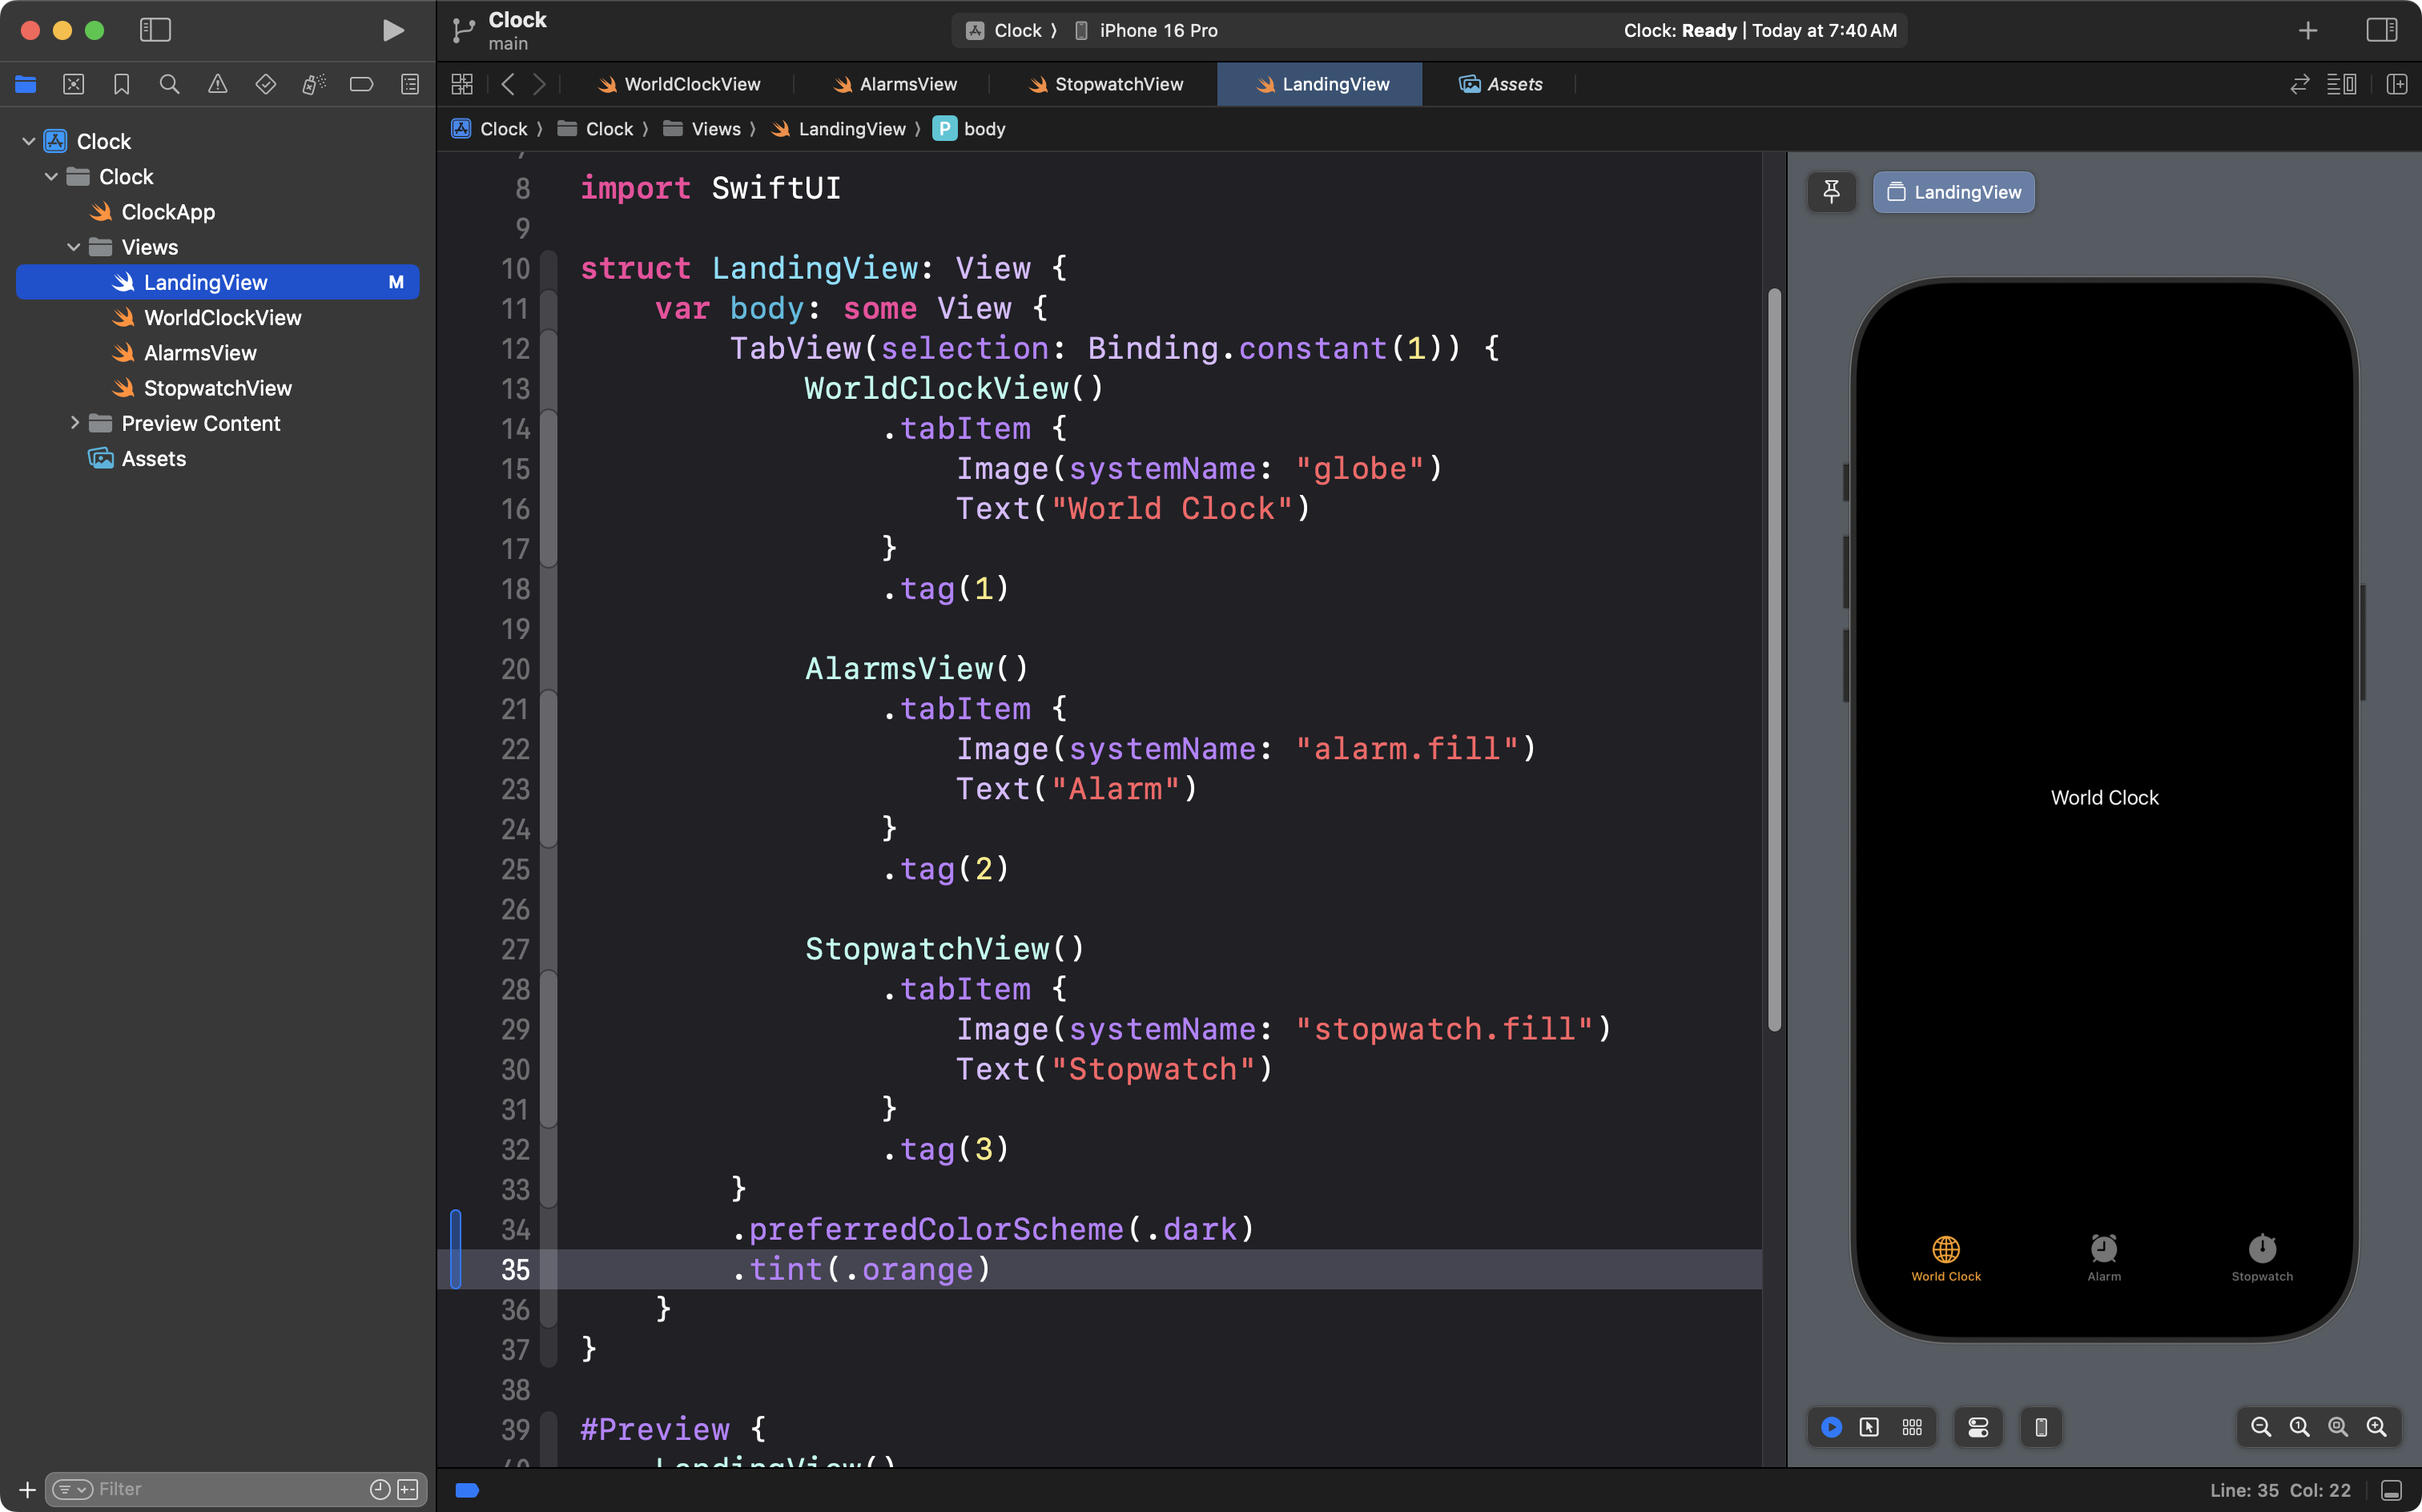
When a tab is highlighted, the default color of that highlight is blue. There are several ways to adjust this. We can do this now by adding the following line of code, on line 35:
Commit and push your work with this message:
Set the color scheme and tint.
World Clock
Adjust preview
Switch the WorldClockView file:

Notice that we no longer see the tab view or dark mode.
This is because the preview is directly showing us the WorldClockView structure:
#Preview {
    WorldClockView()
}
Instead, we should have this preview show us the LandingView structure.
Change the code on line 17 to do just that:
Now we can begin working on WorldClockView and see the tabs and correct color scheme.
TIP
If you don’t see the WorldClockView, go back to LandingView, and make sure that on line 12, the value for the selection on the tab view is set to
Binding.constant(1).
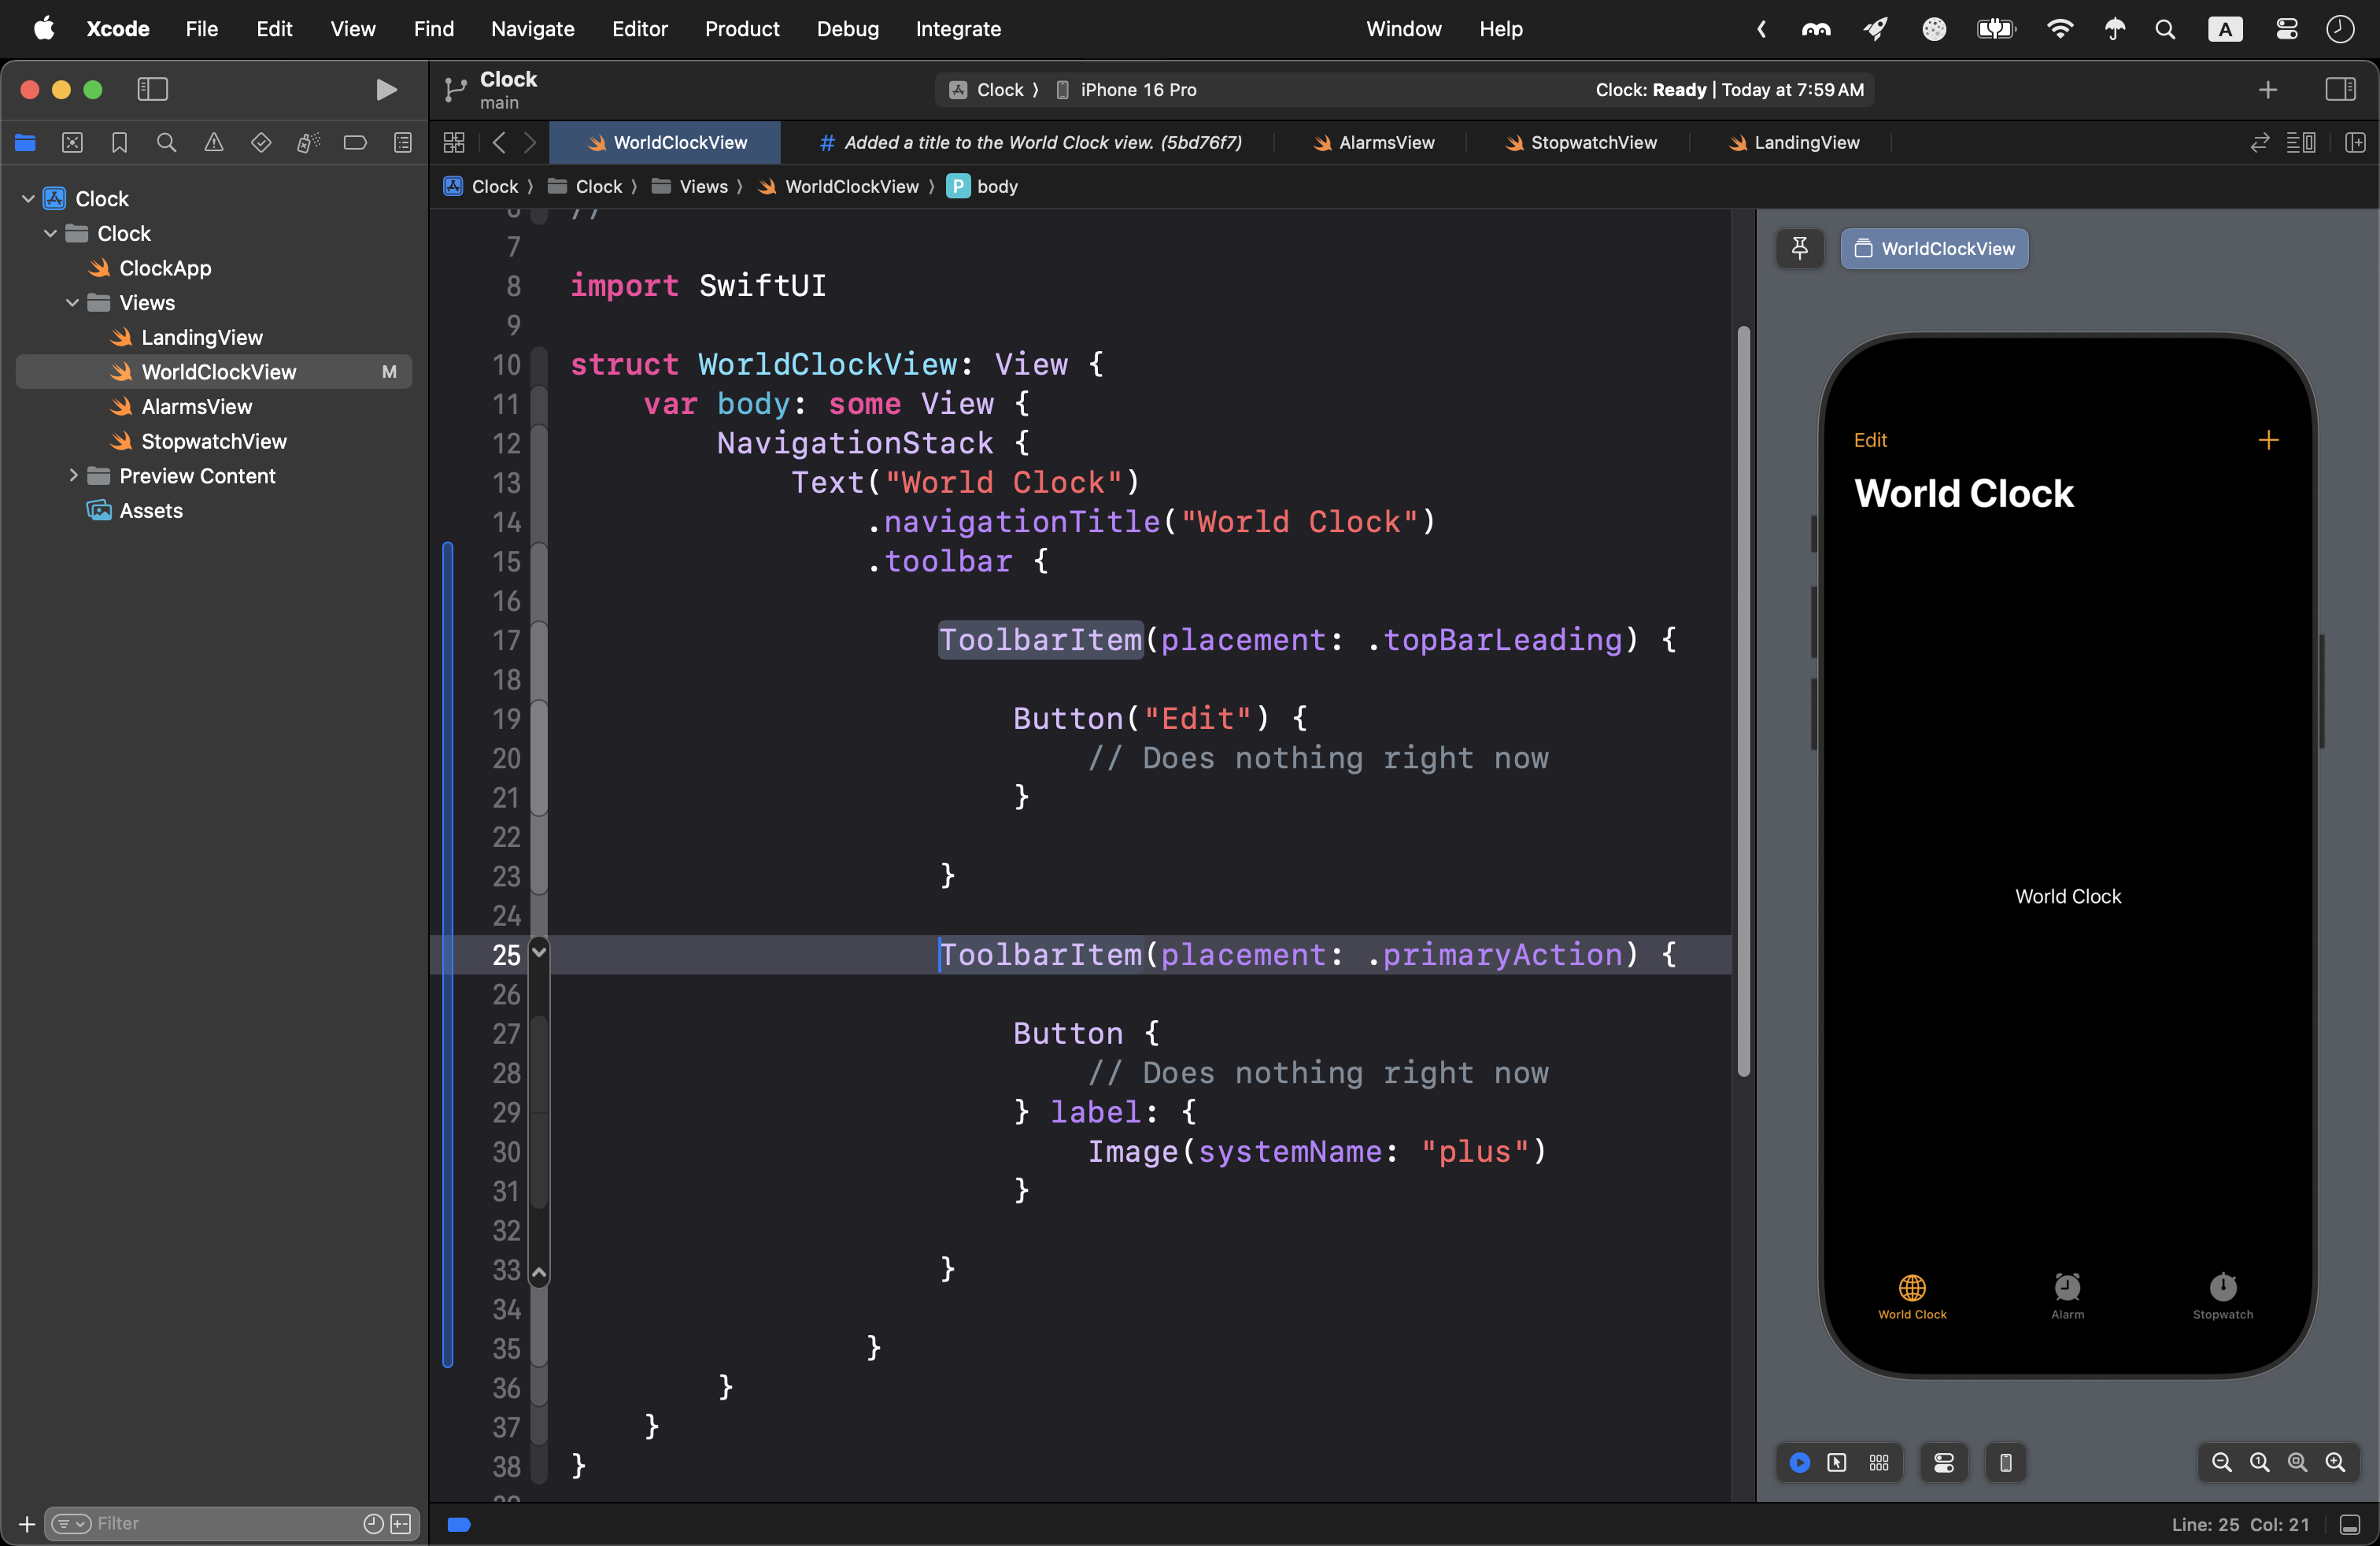
Set the title
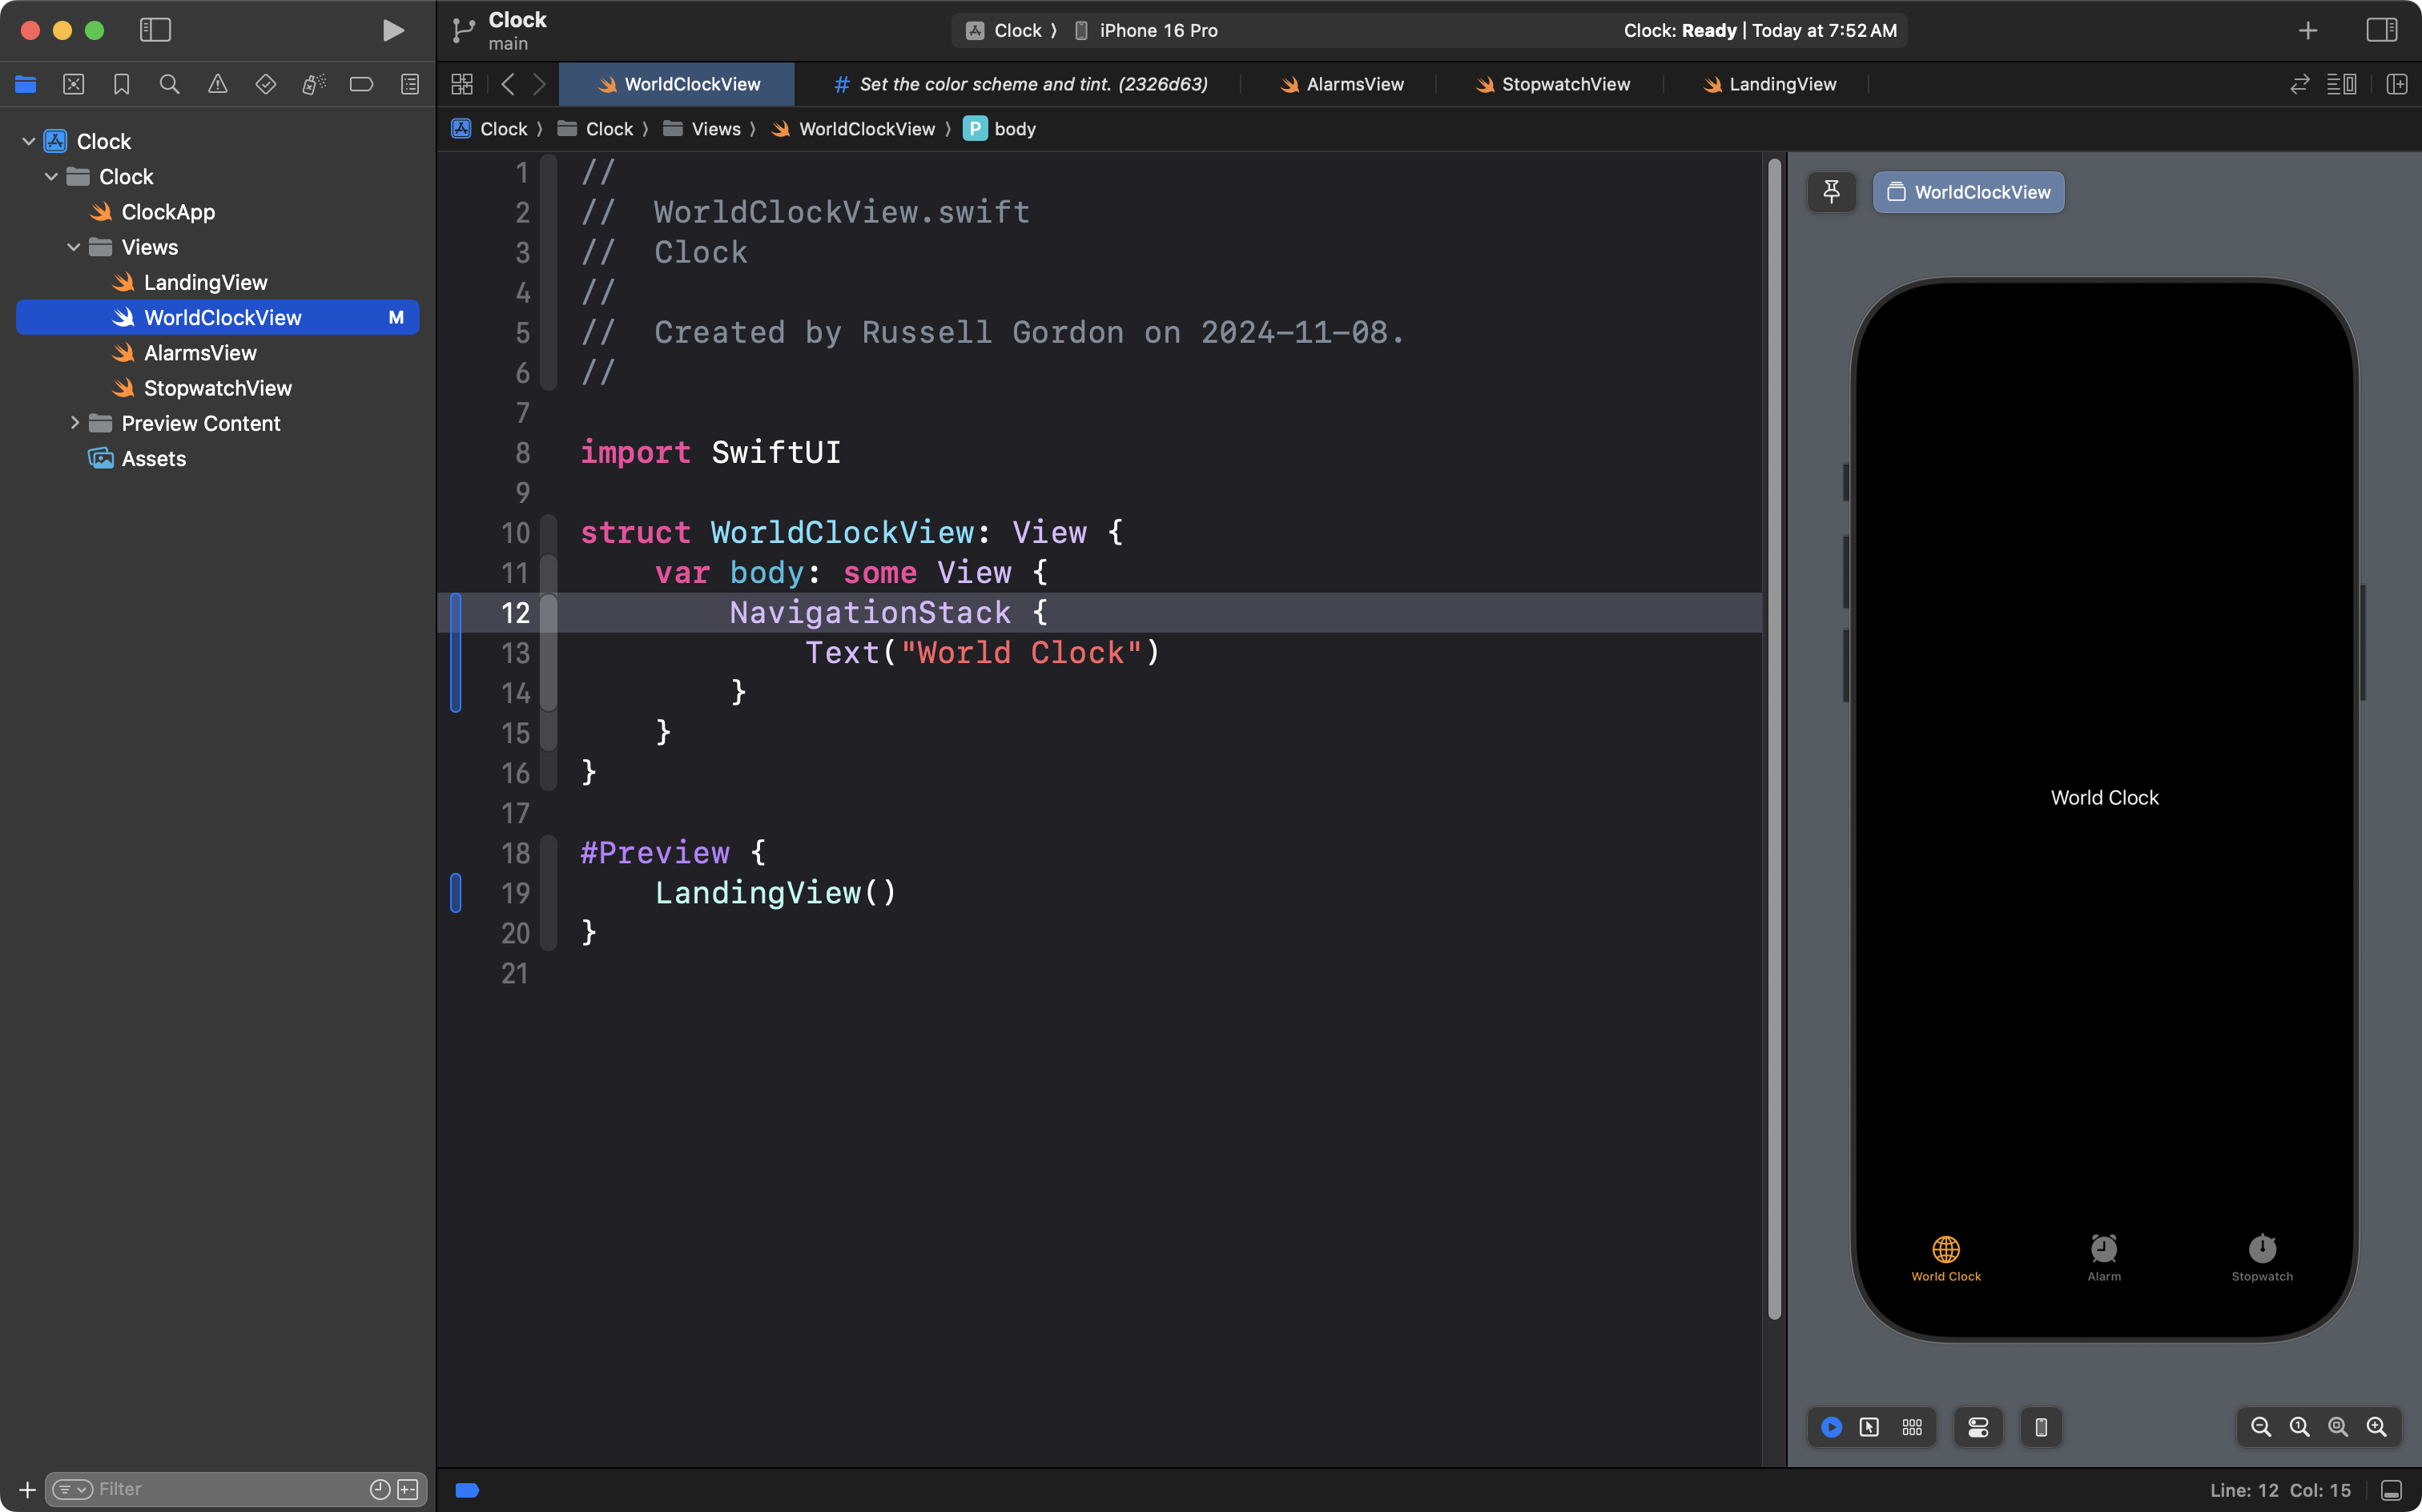
Next we will add a title to the interface.
To show a title, we must enable navigation. Navigation is a larger topic we will explore further late on. Right now, we can add the following code to WorldClockView:
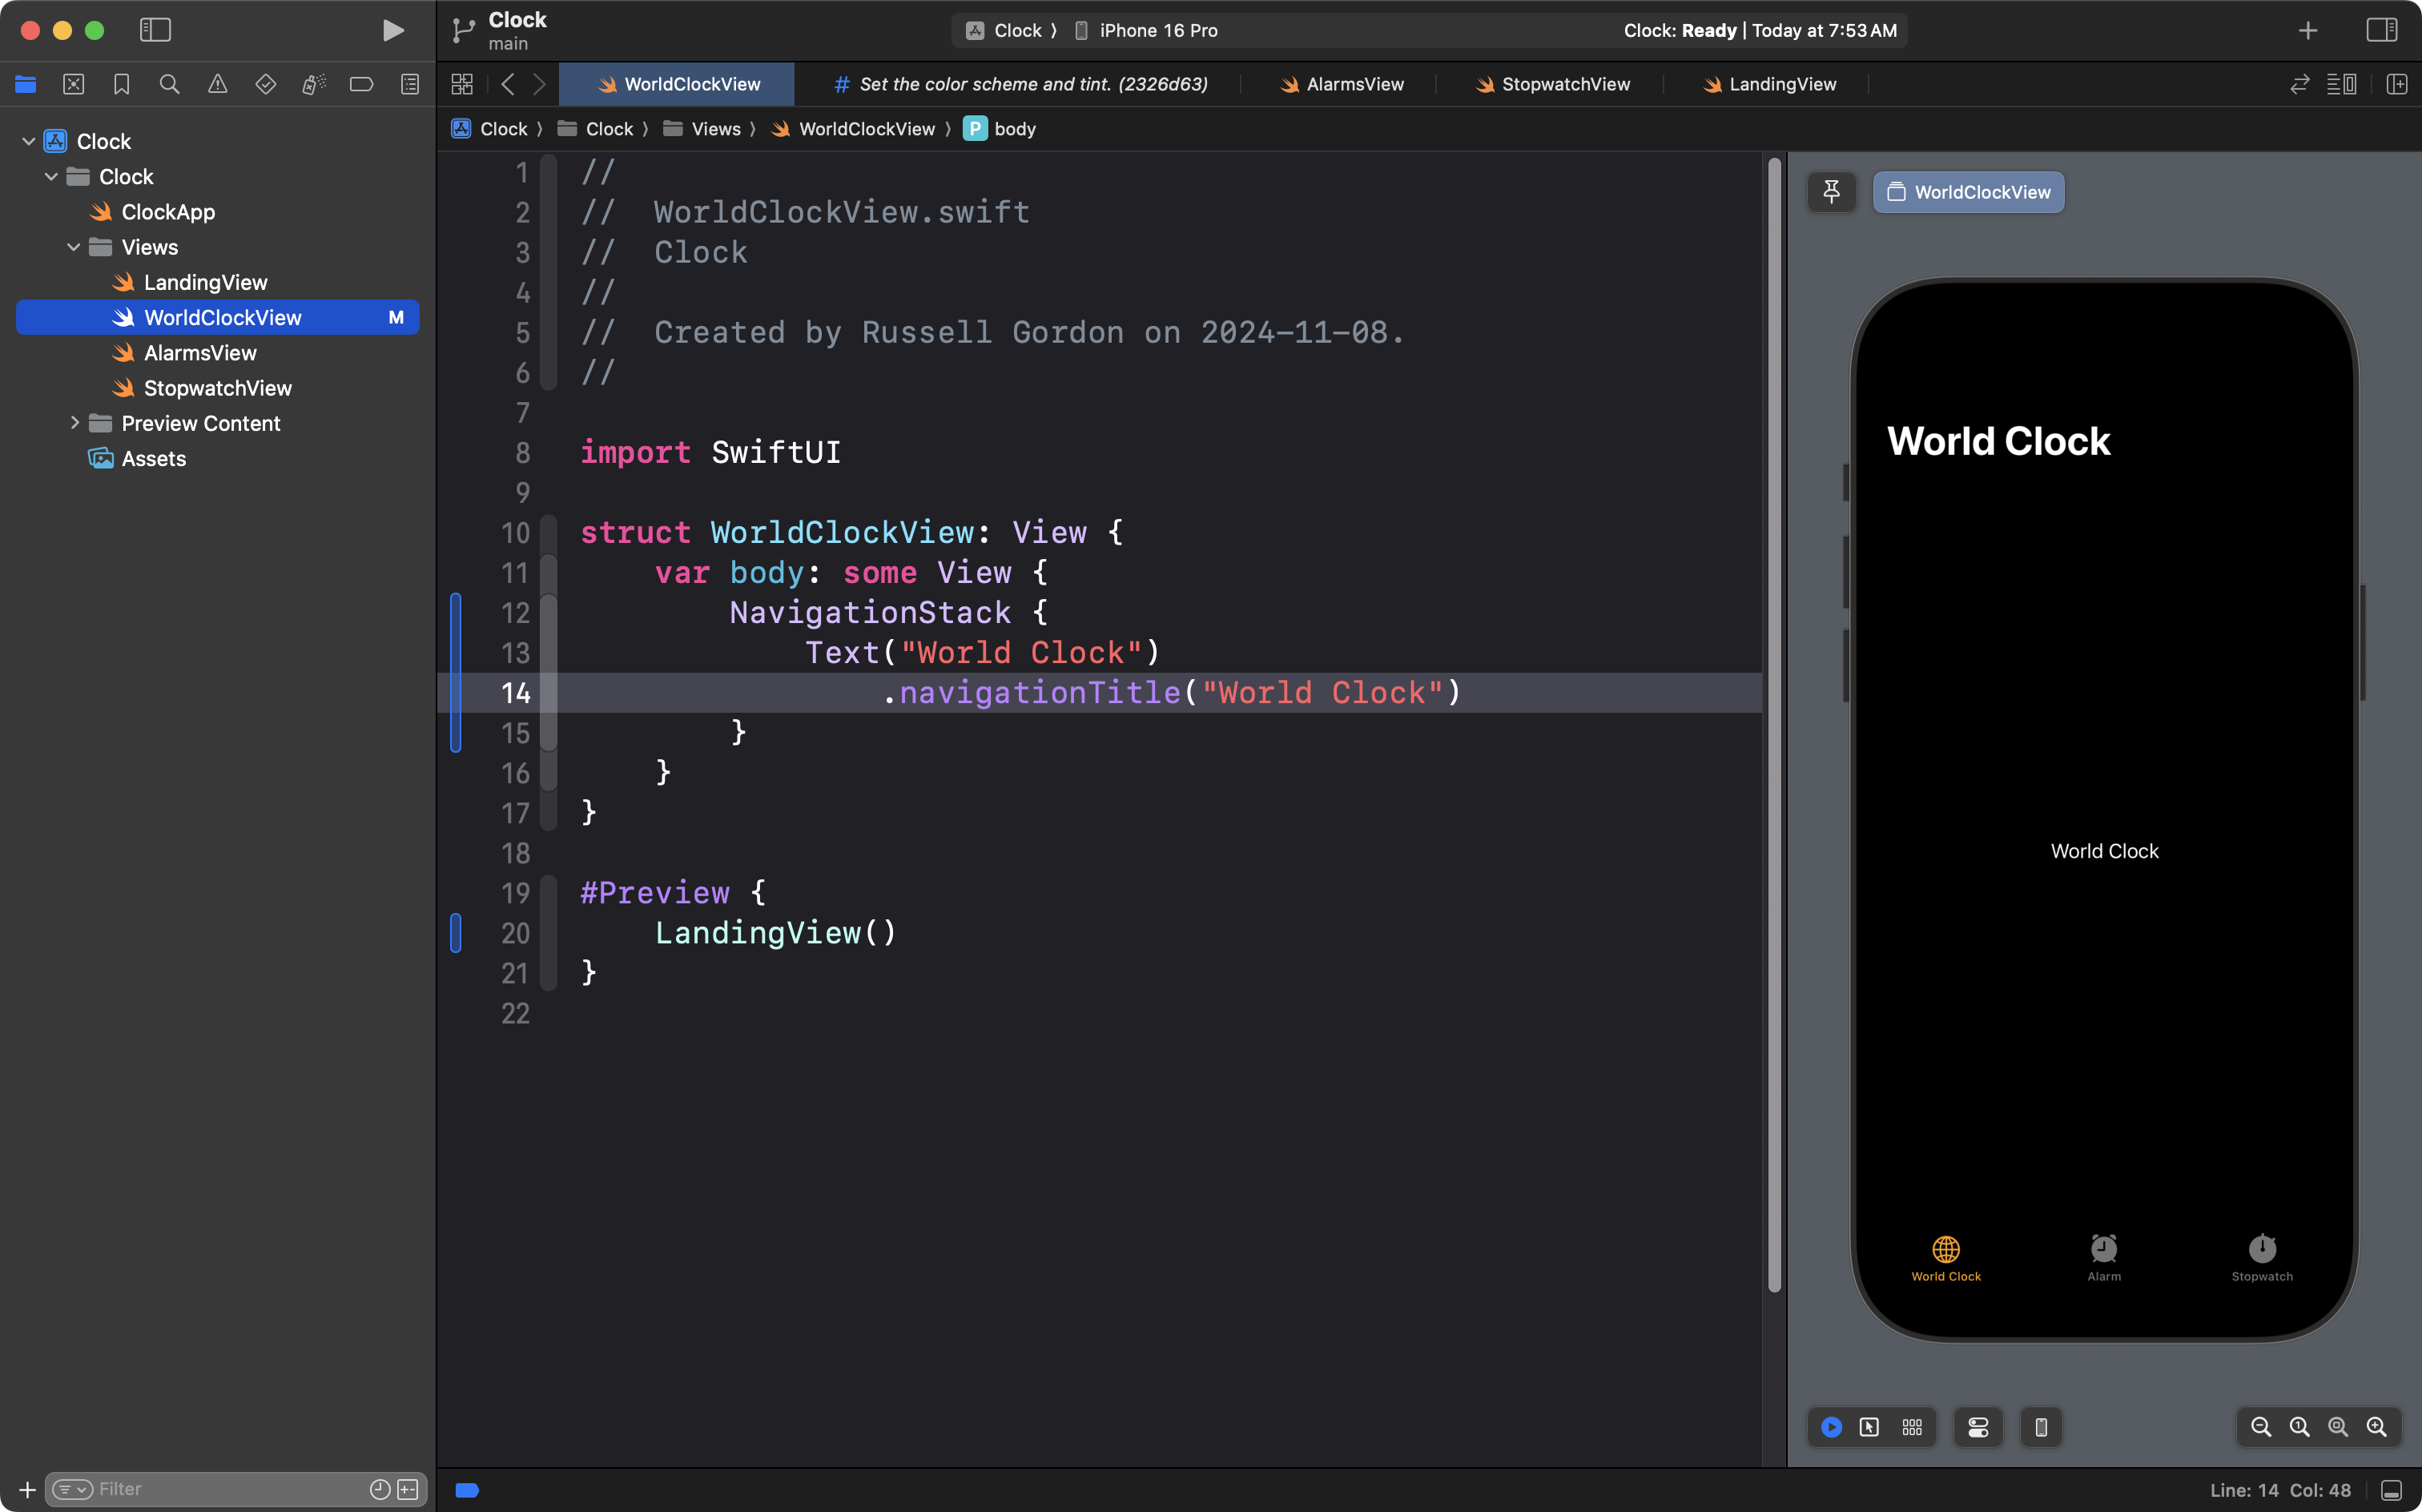
Nothing changes until we add the navigationTitle view modifier:
This is a good time to commit and push your work. Use the usual steps, and the commit message:
Added a title to the World Clock view.
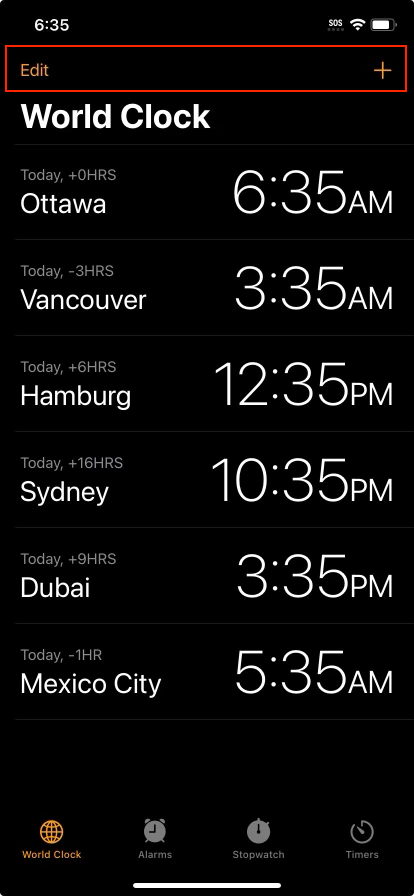
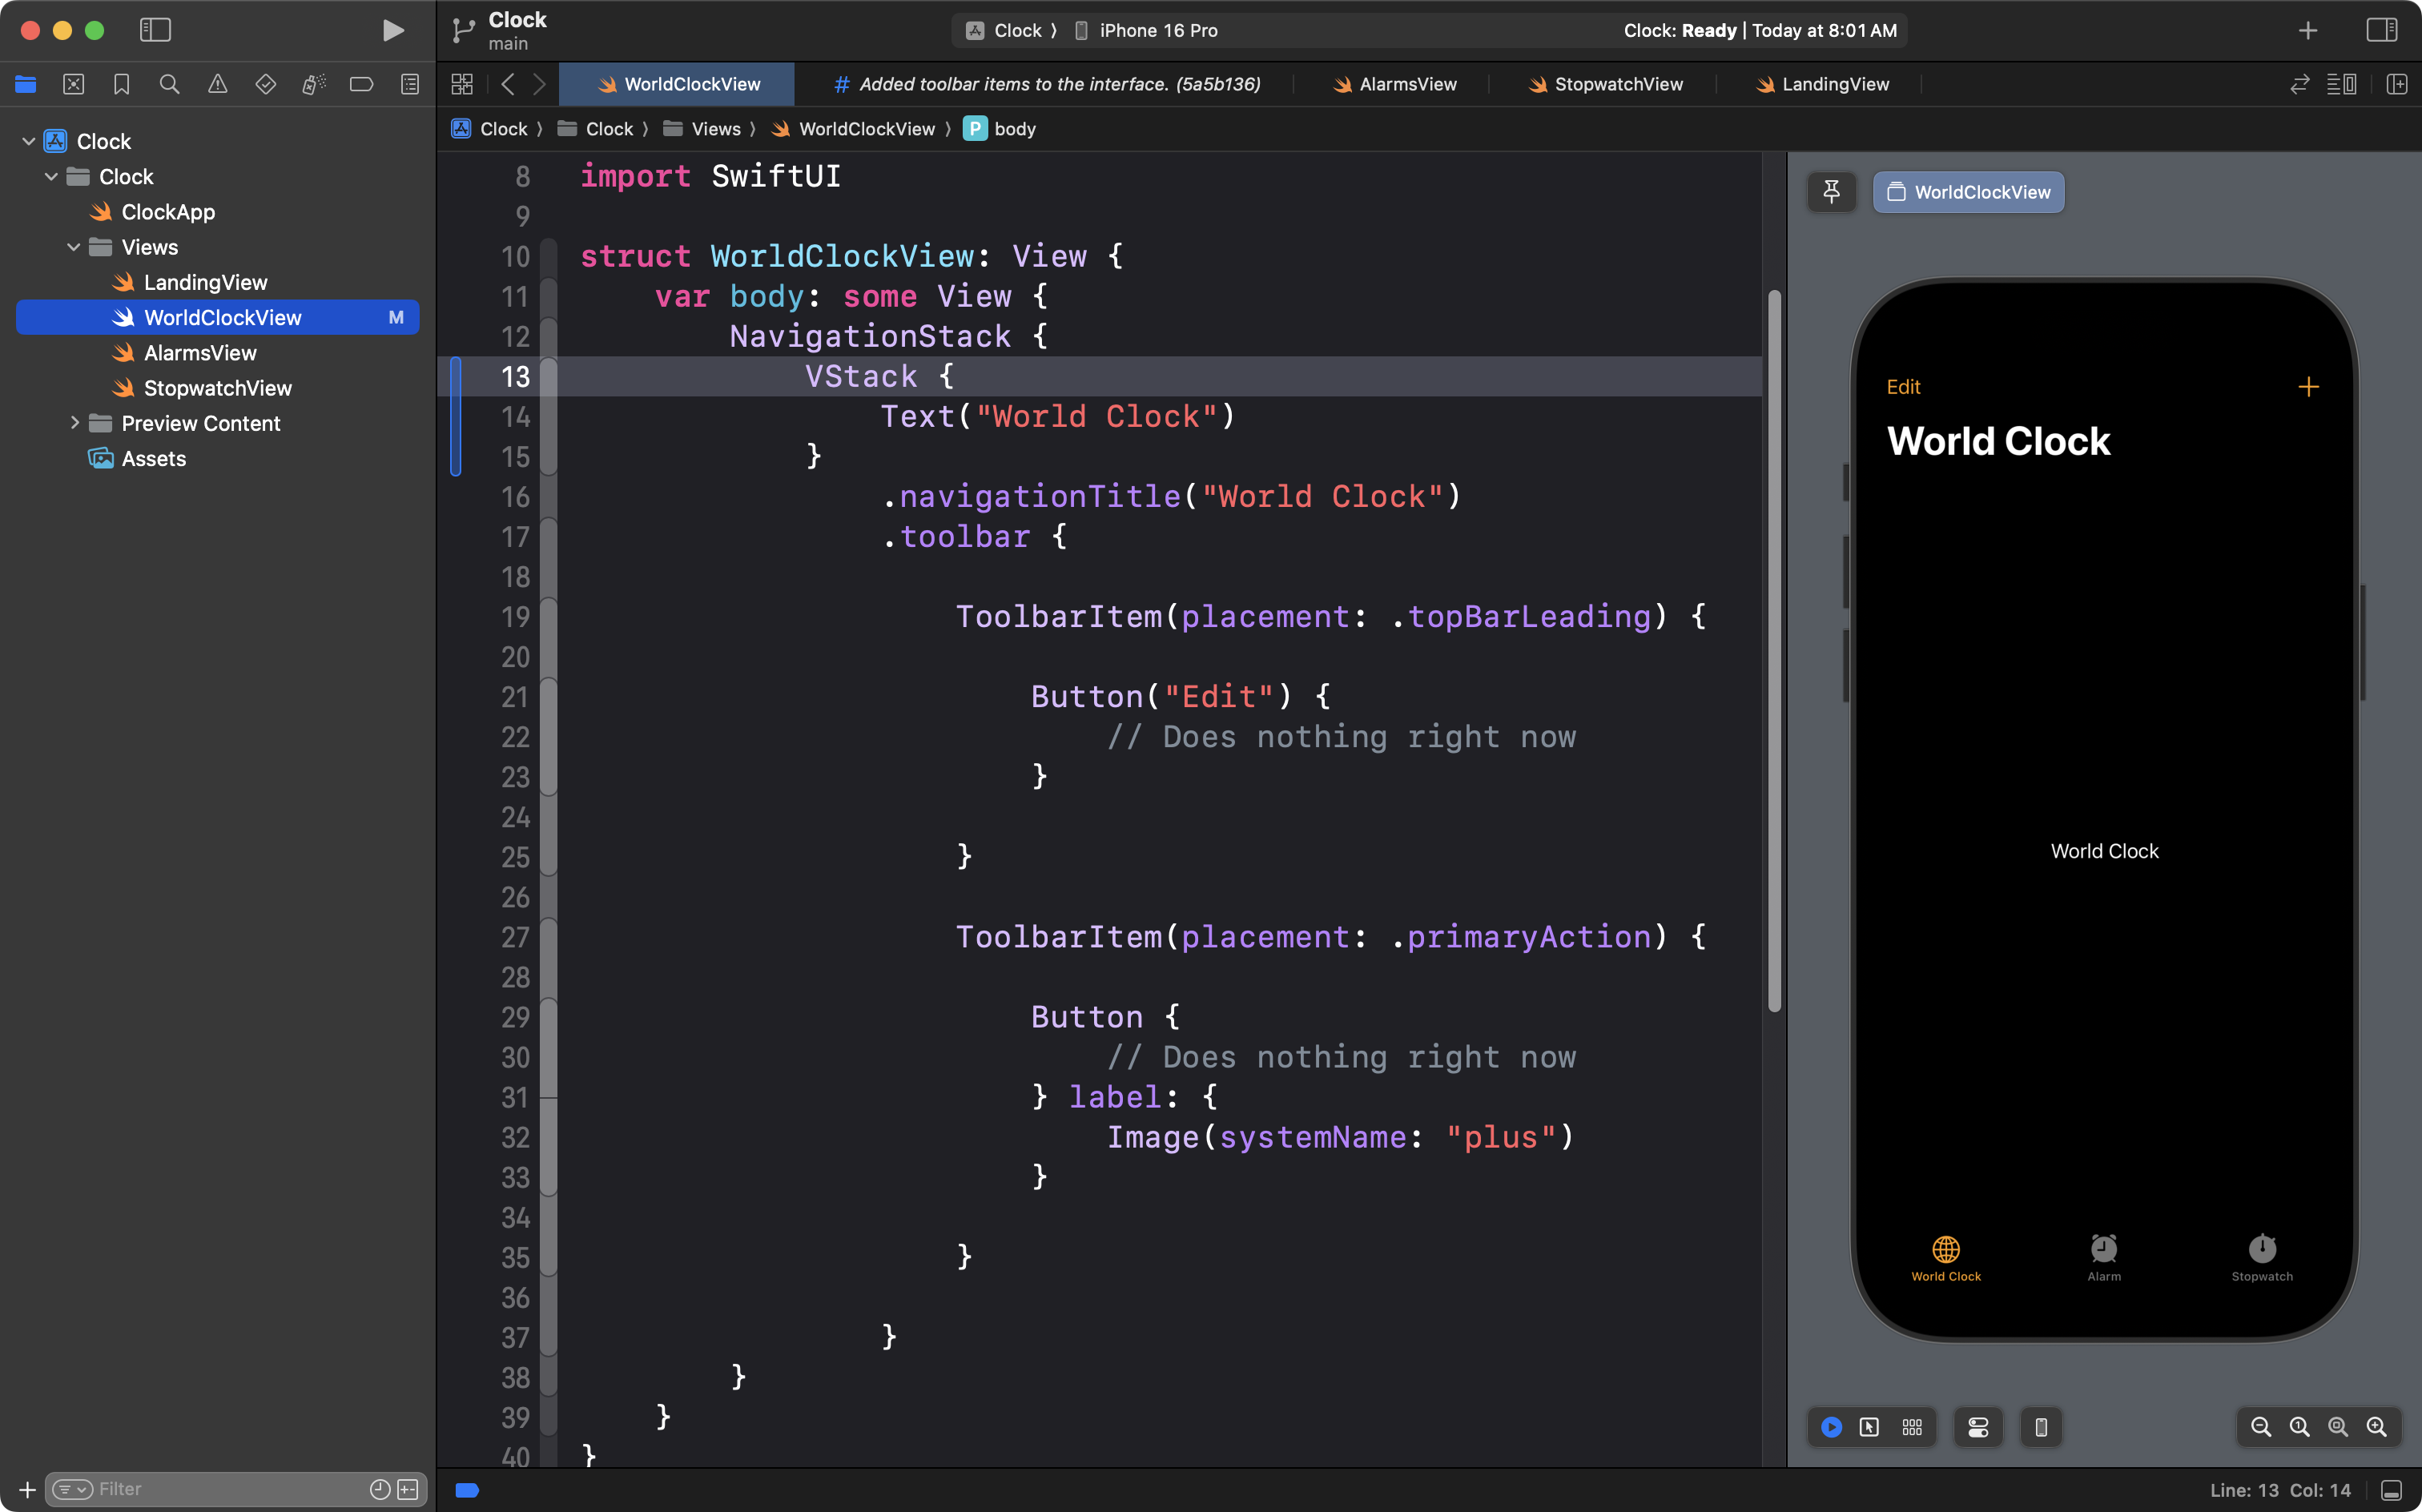
Add the toolbar items
The elements at the top of an iOS app interface, highlighted here, are part of what is called the toolbar:
Add the following code below the navigationTitle view modifier:
.toolbar {

	ToolbarItem(placement: .topBarLeading) {

		Button("Edit") {
			// Does nothing right now
		}

	}

}
Try changing the argument for the placement parameter. What happens?
We can add a second button to the toolbar by adding another ToolbarItem structure, like this:
We’ve made great progress, so commit and push with this message:
Added toolbar items to the interface.
Exercises
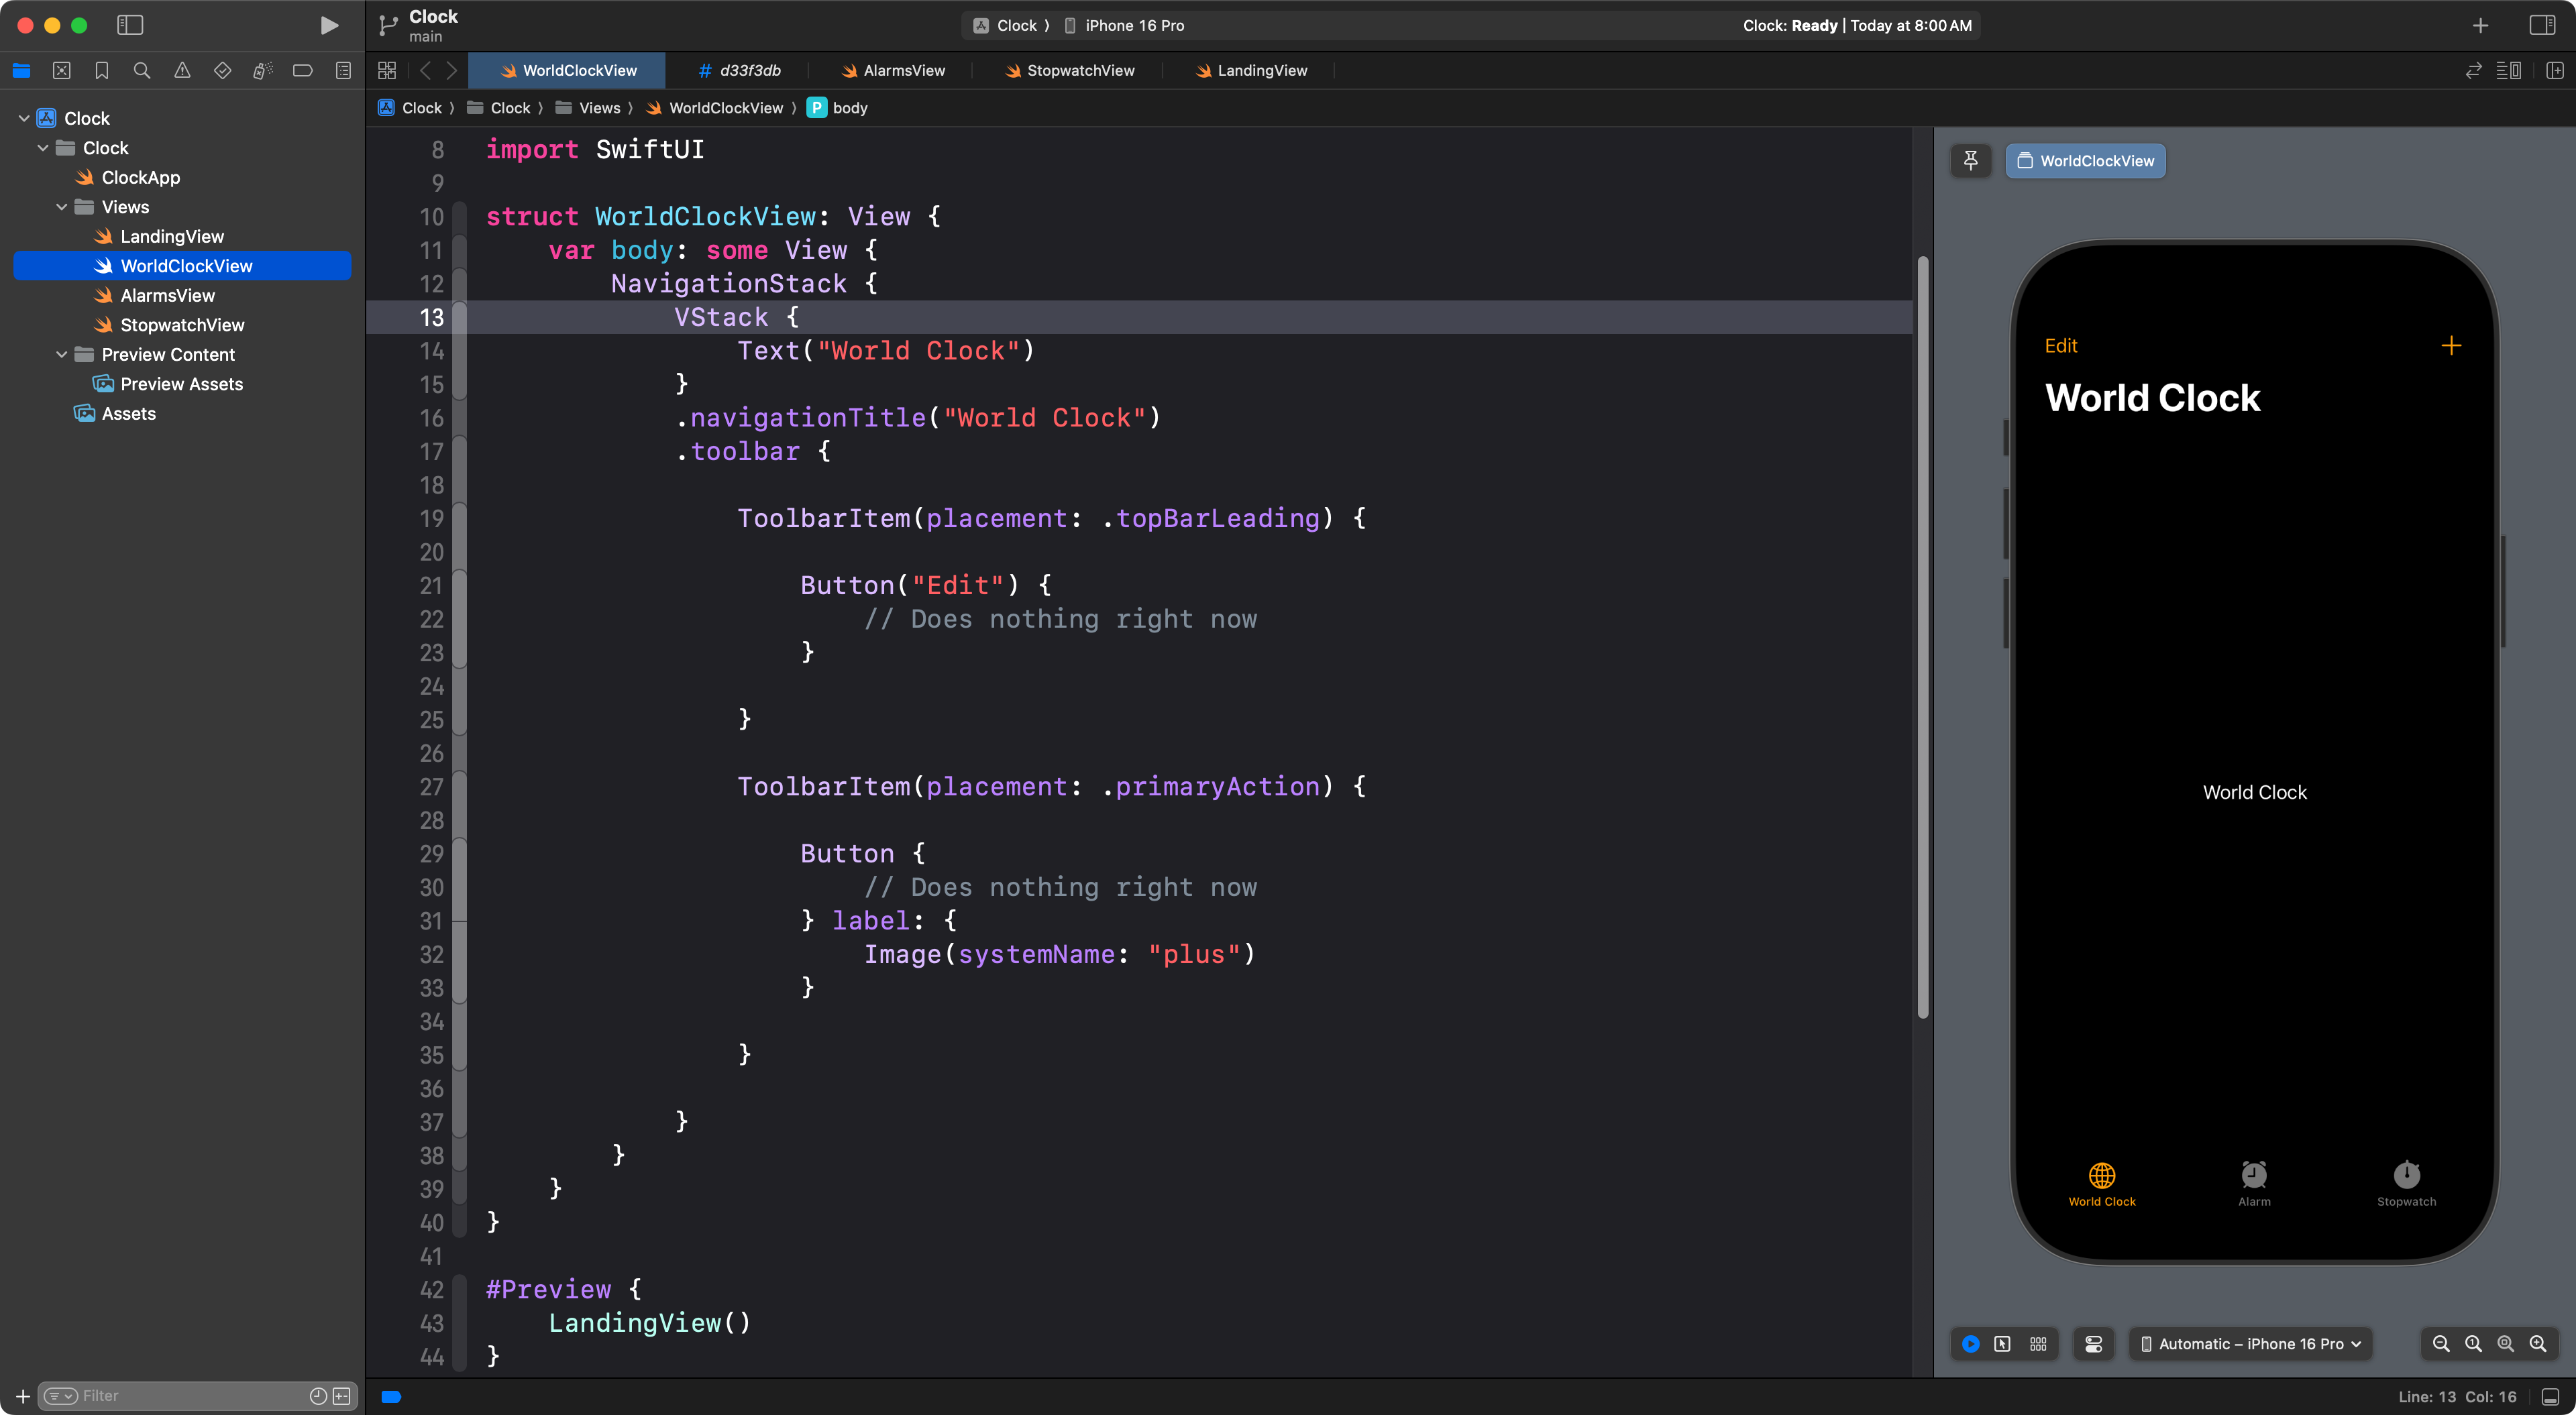
1. Finish World Clock
Wrap the Text view in a VStack:
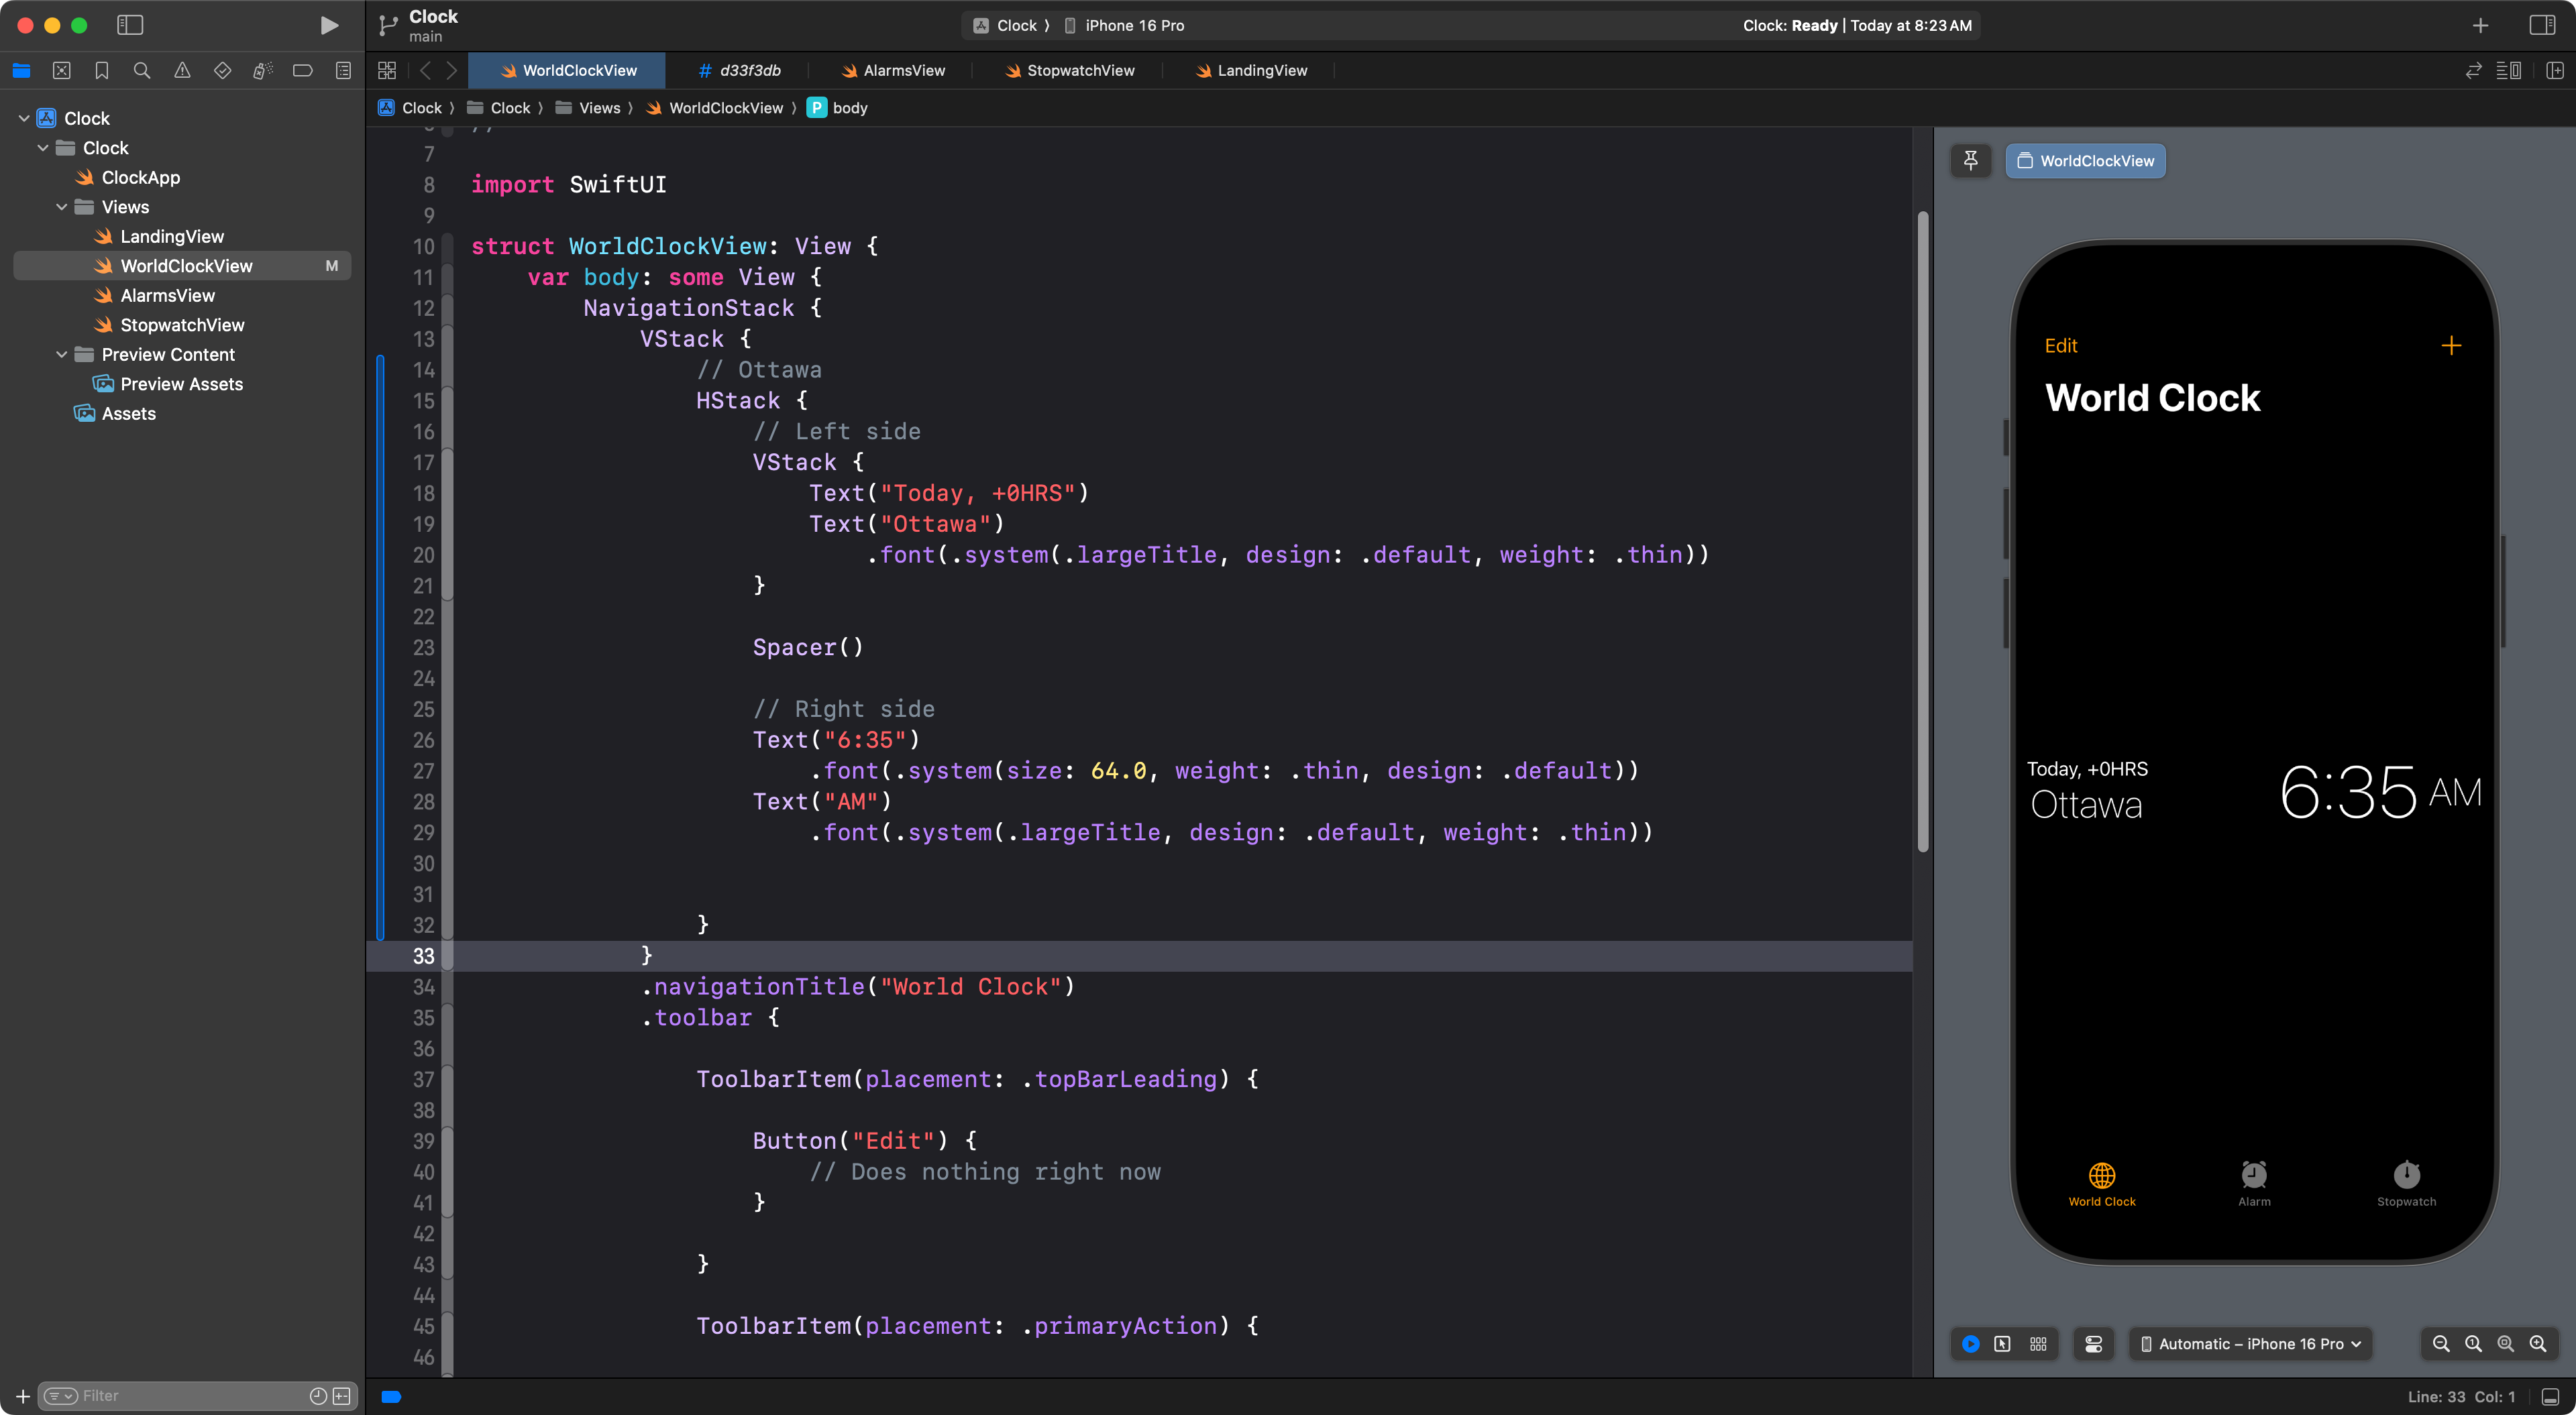
Now use your knowledge of horizontal and vertical stacks, and SwiftUI Views Mastery as a reference, to complete the user interface for the World Clock:
TIP
This page has a great reference for changing the font size of the system font.
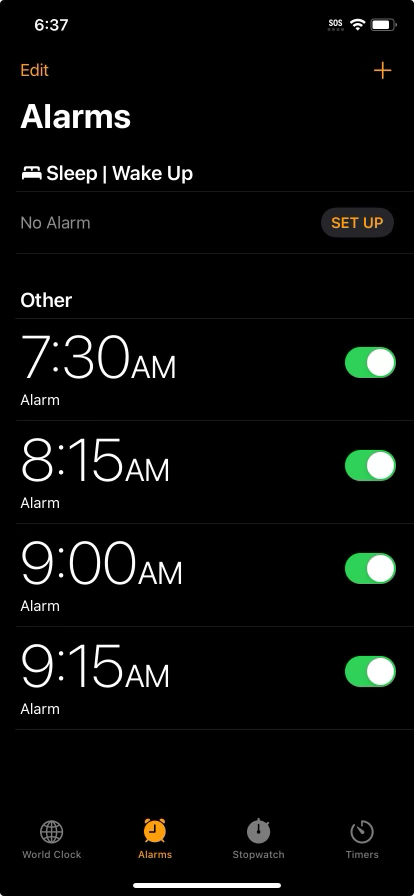
2. Alarms
Reproduce the Alarms interface:
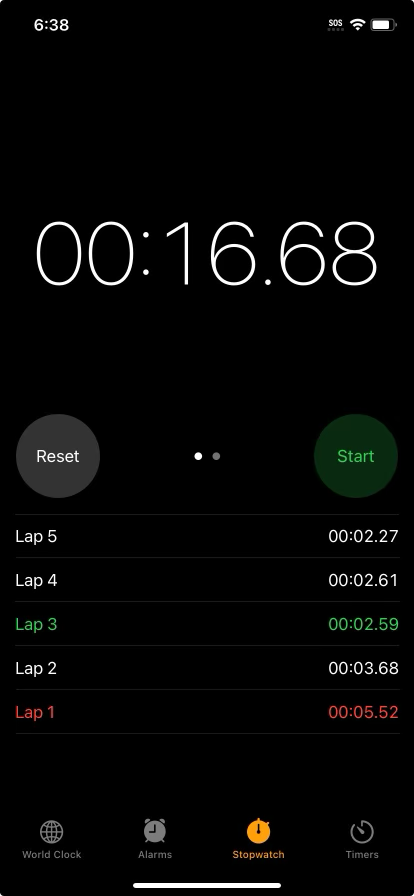
3. Stopwatch
As an extension, see if you can reproduce the Stopwatch interface:
Addendum
Applying abstraction
If you are just starting on the first exercise your code might look like this:
After a bit of work, you might come up with something like the following:
TIP
There are a few design issues to sort out:
- A bit too much space between elements.
- The alignment of items inside the
HStackis not quite right.To fix these issues, consult SwiftUI Views Mastery, beginning on page 79, and take note especially of the spacing and text-alignment options described on pages 82 through 84.
Once you have the design above, you could start to copy-and-paste the HStack, and change the Text views to get additional entries, like this:
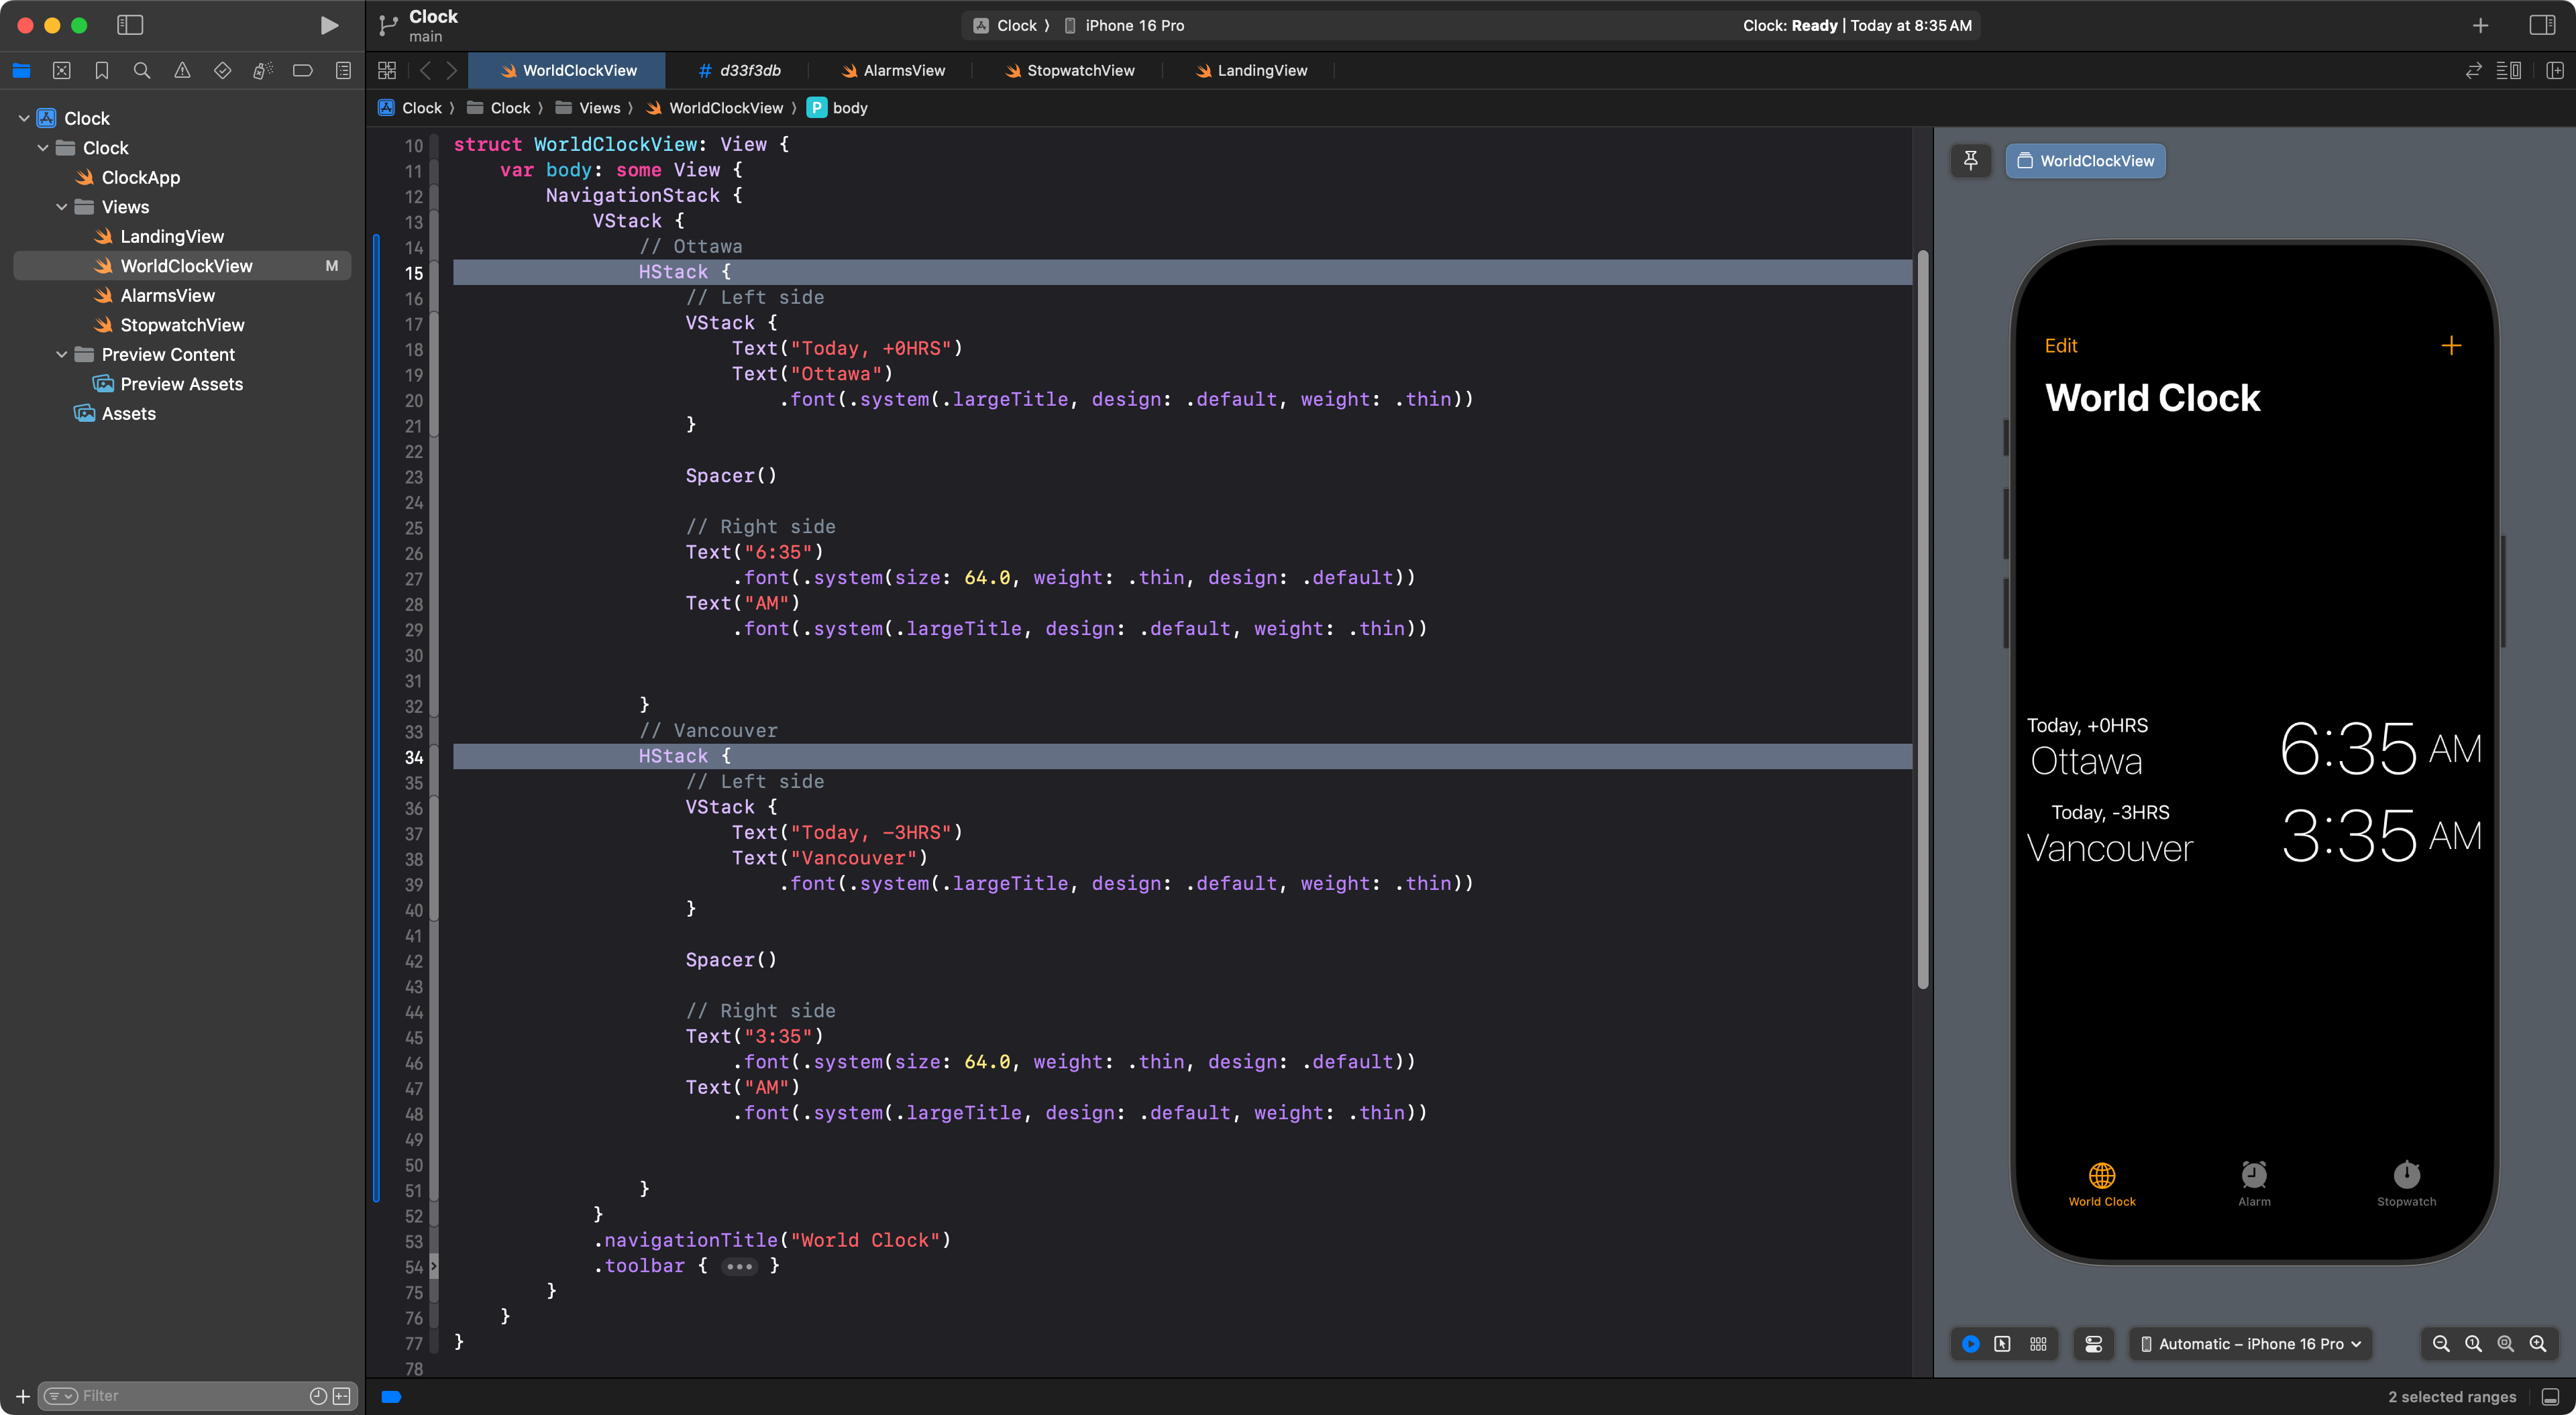
However, that breaks the number one rule of software development:
D.R.Y. or Don’t Repeat Yourself
Instead, we could extract the HStack into a new subview:
.png)
Like this:
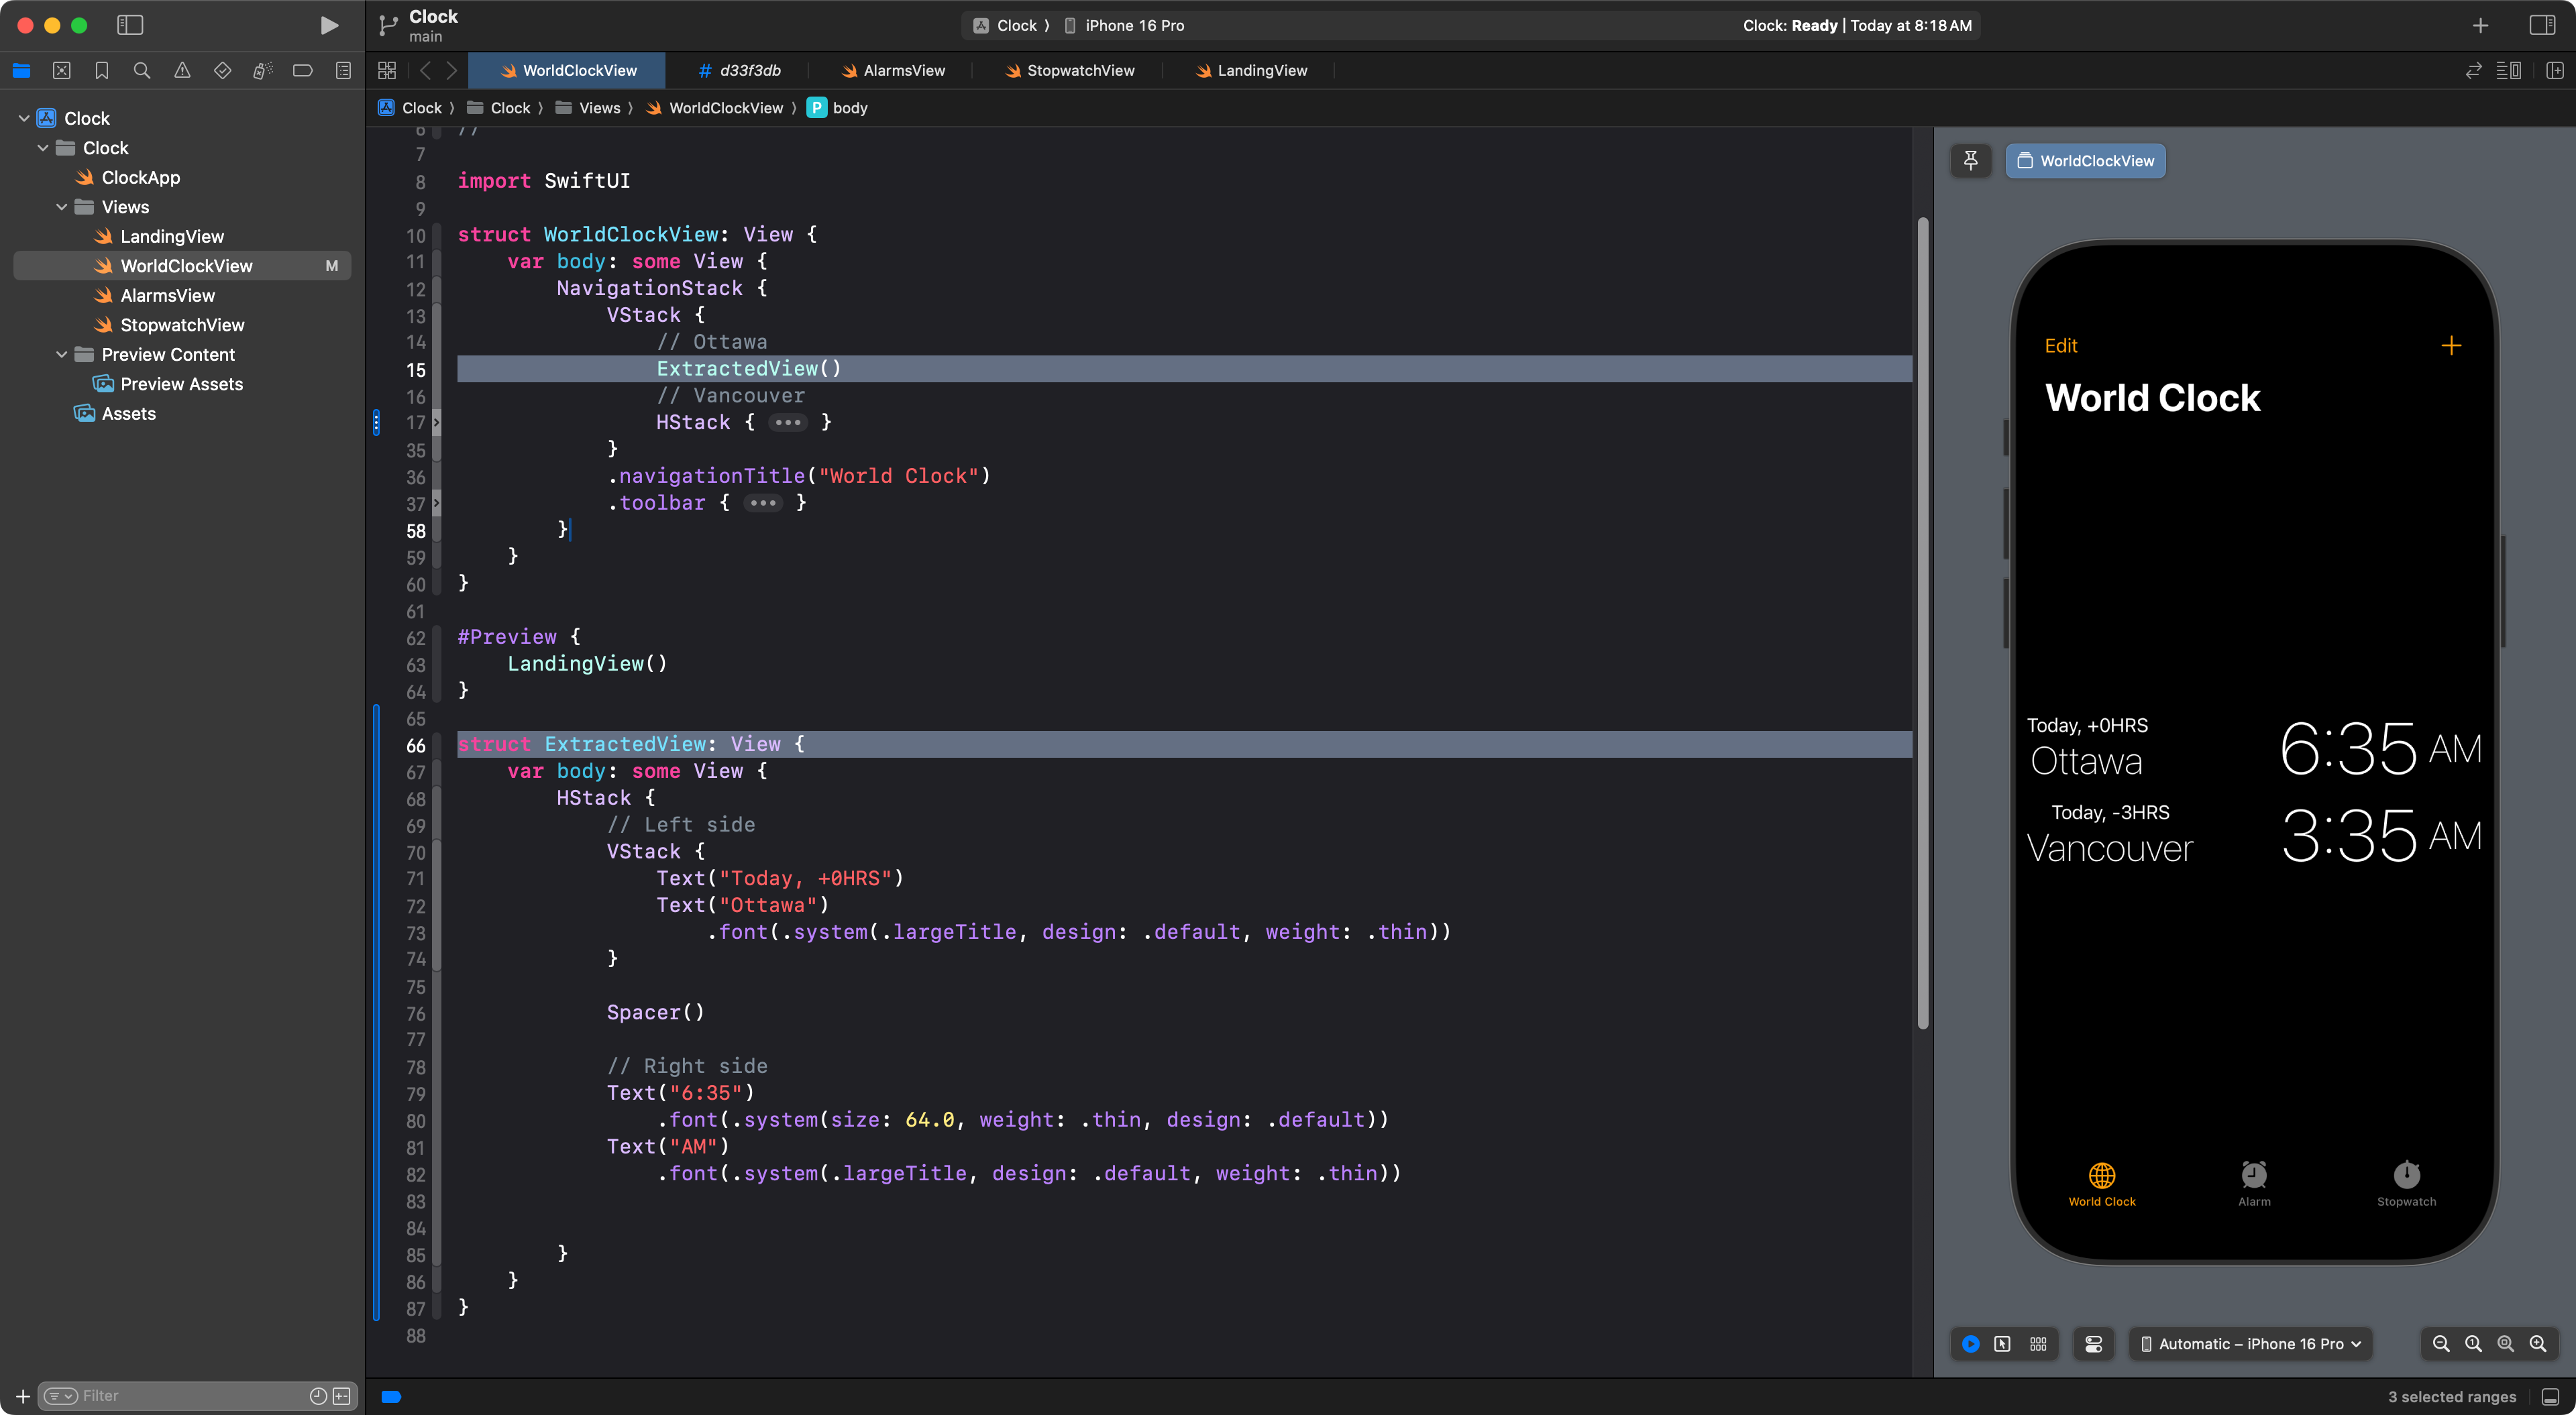
Then, we can analyze what information the subview is displaying. It needs to show:
- The time zone offset
- The city name
- The current time
- Whether the time is AM or PM
So, we can add stored properties for those values:
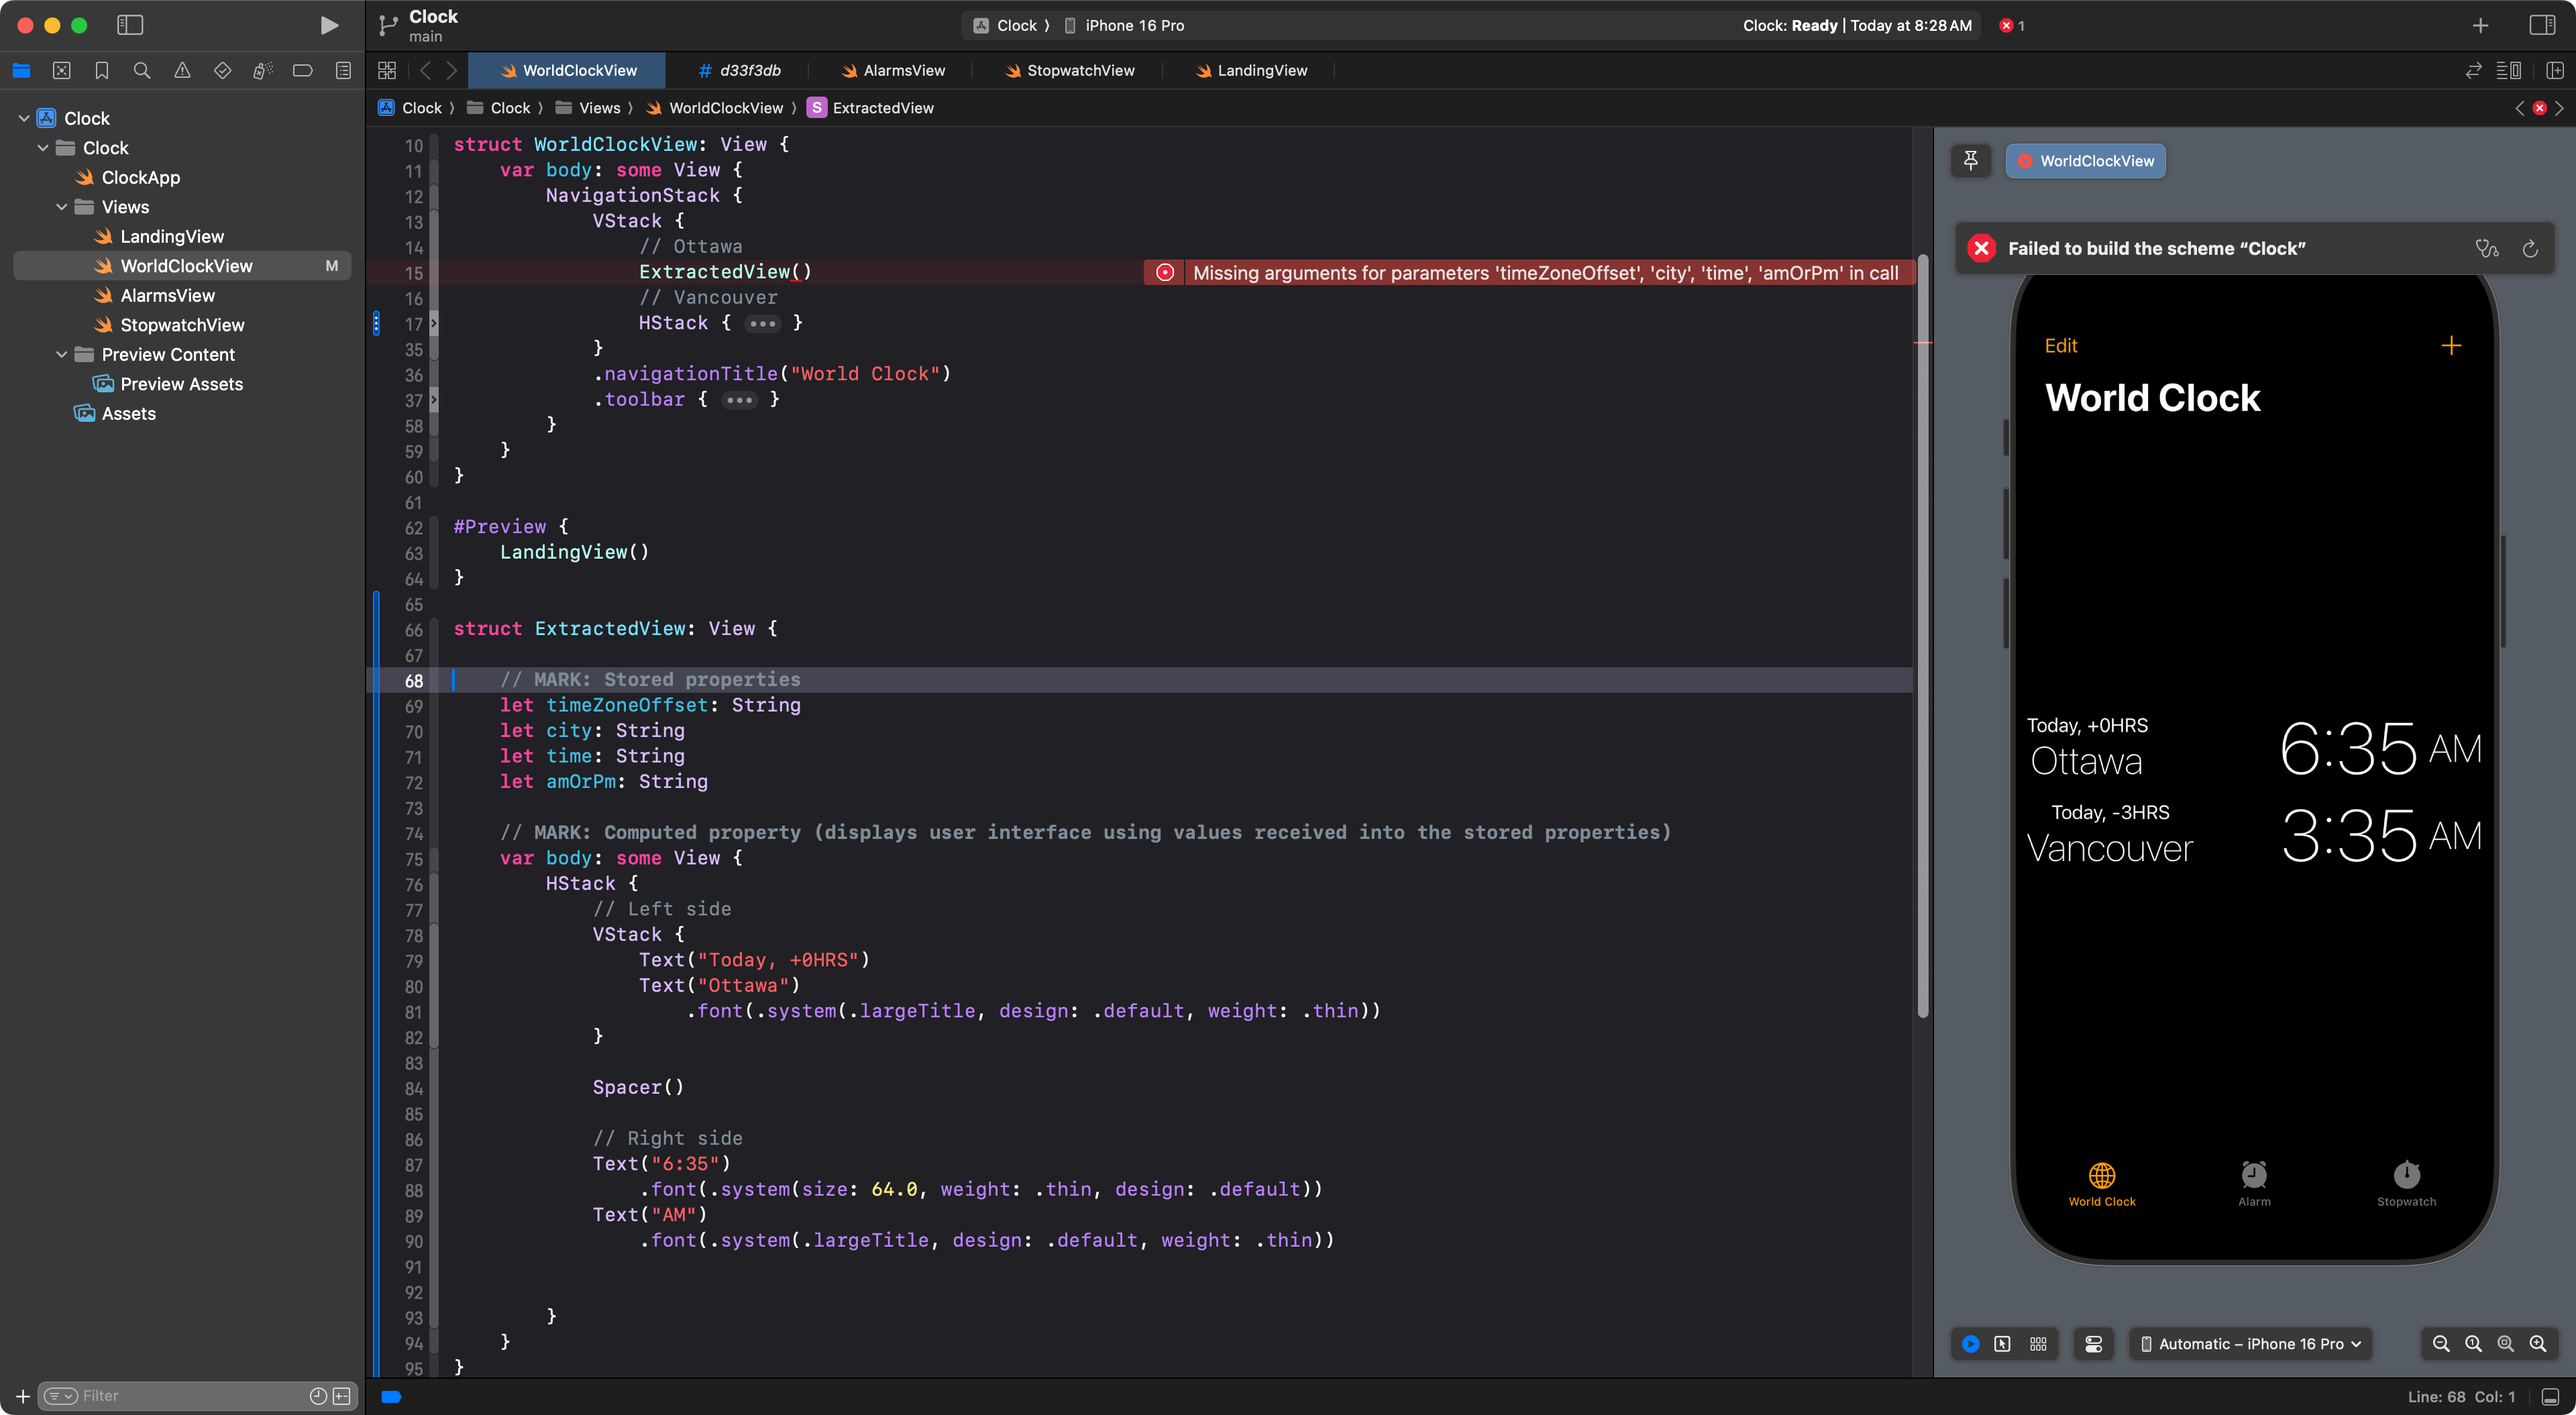
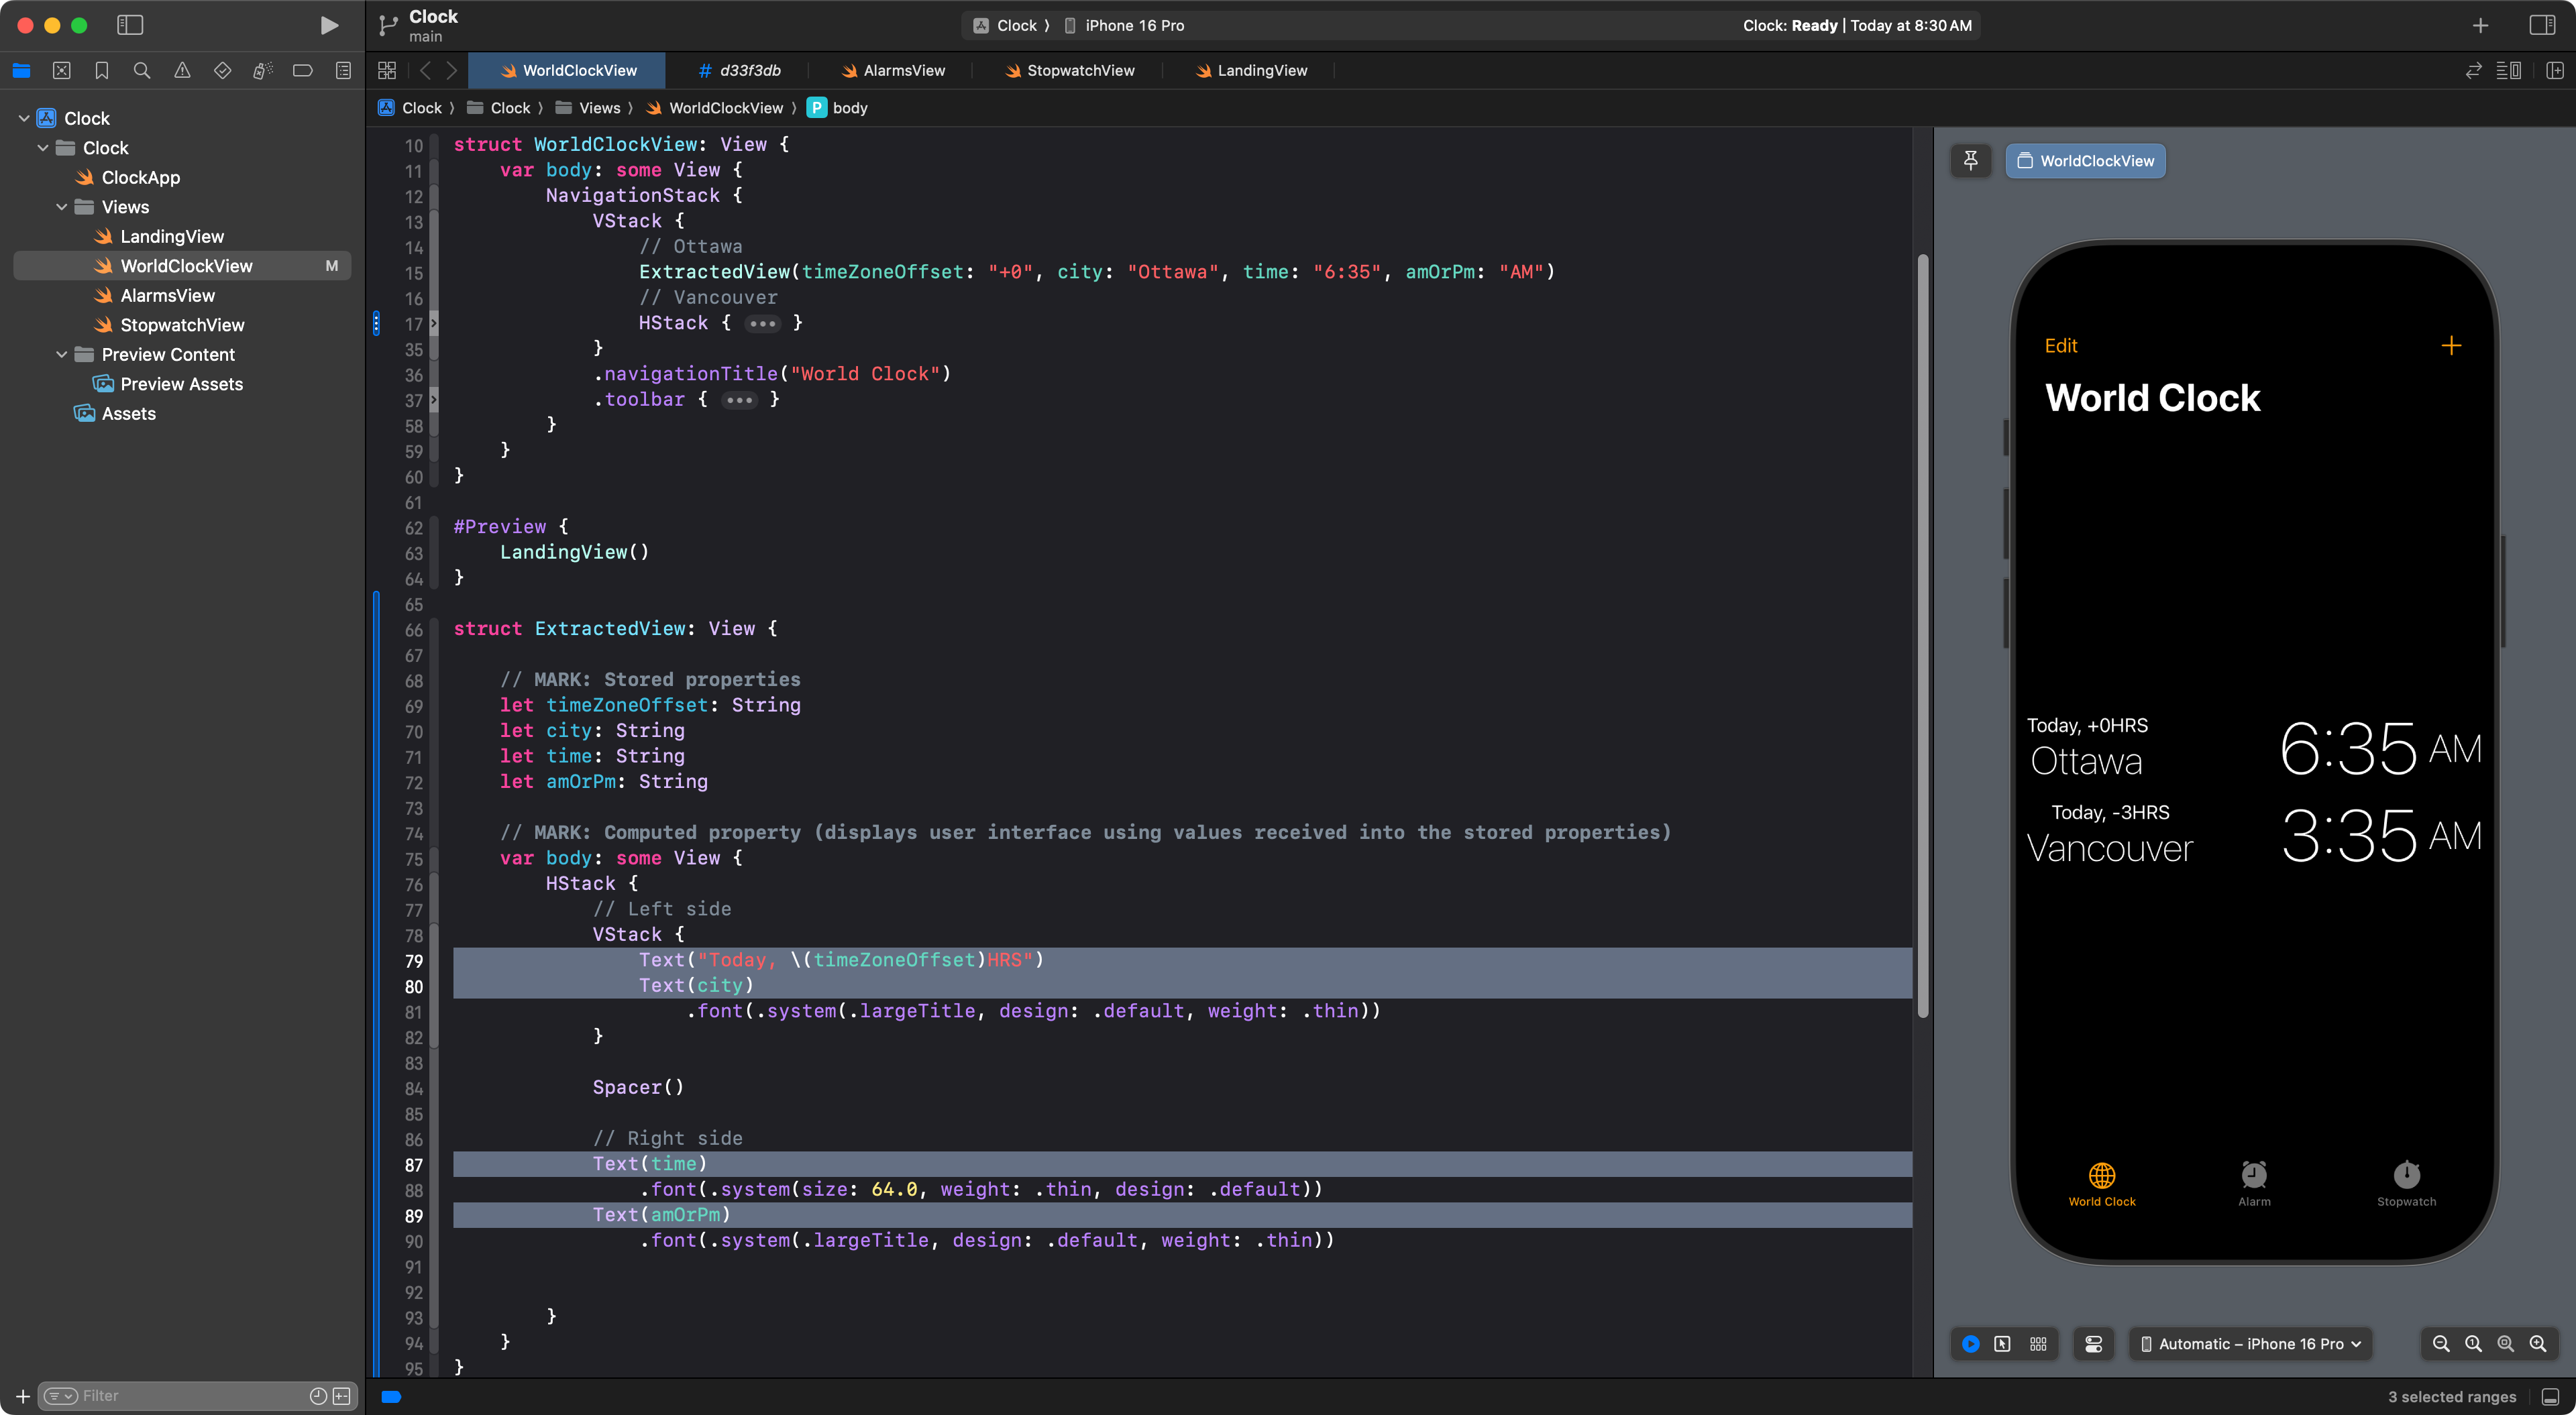
As soon as we add stored properties, where an instance of ExtractedView is created, we must pass in arguments (answers) for the parameters (questions) to populate the stored properties with some values. Like this:
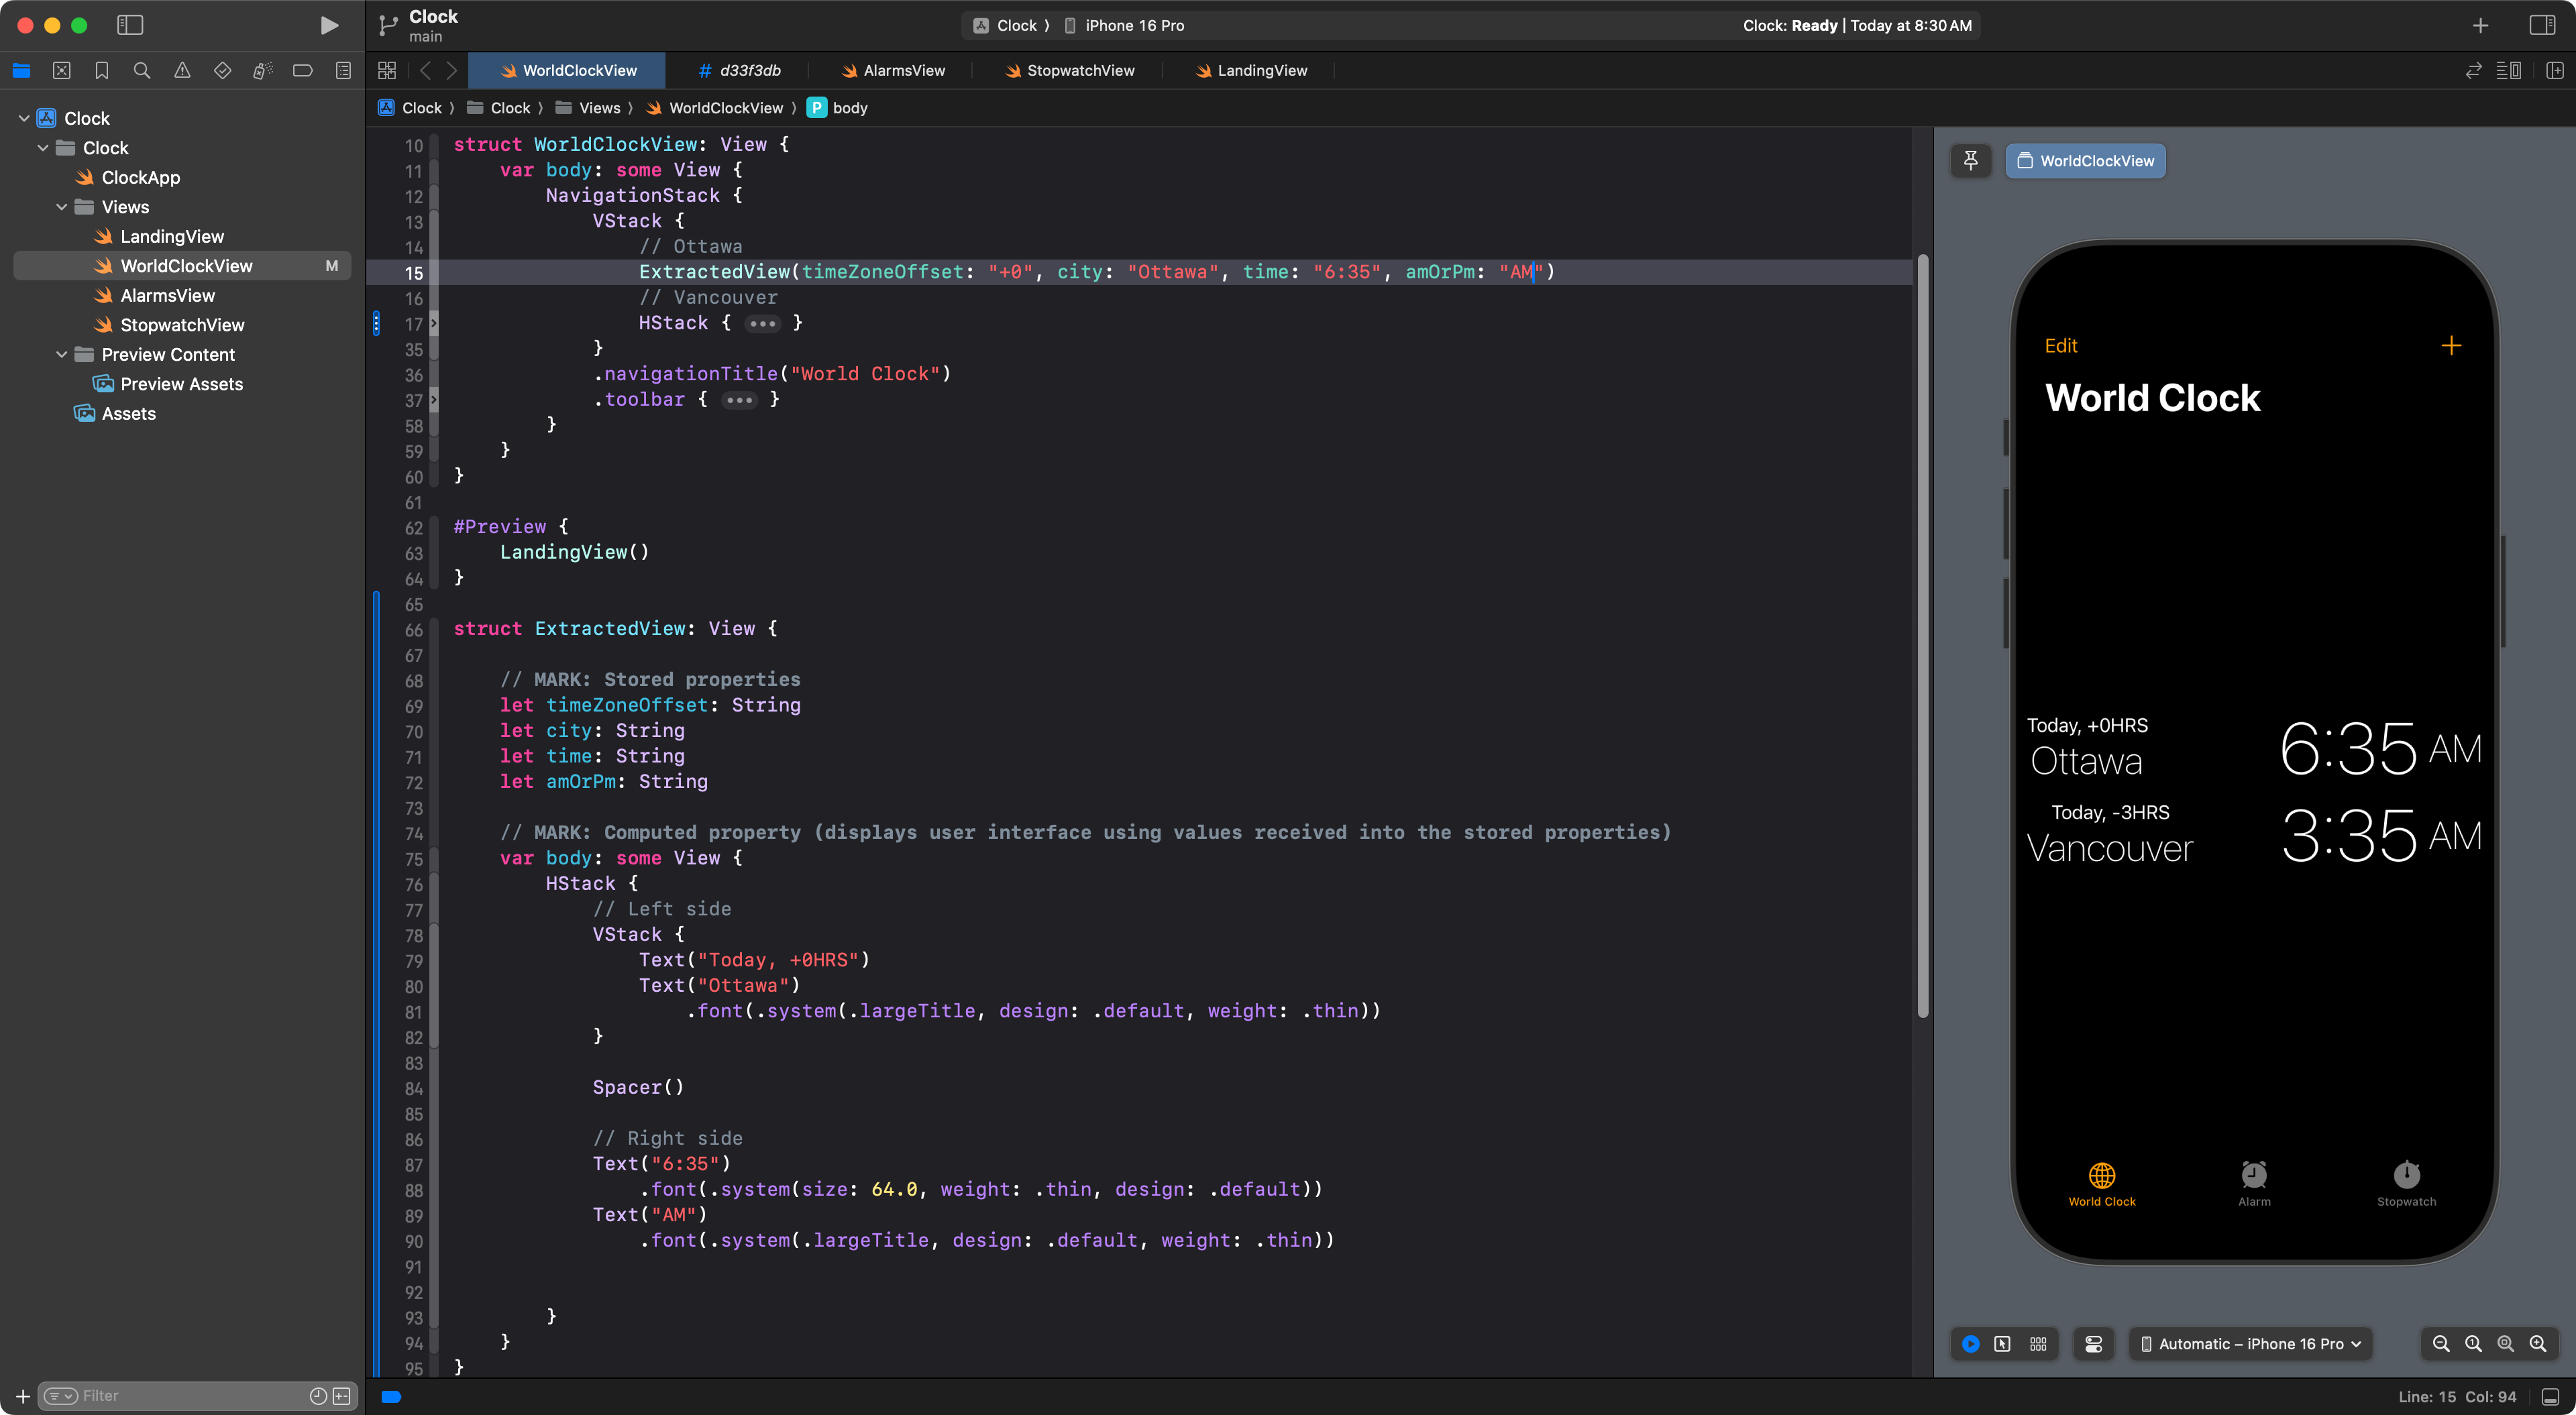
Finally, in order to see the values passed into the stored properties of ExtractedView, we must use the stored properties within the body property, which is, of course, a computed property:
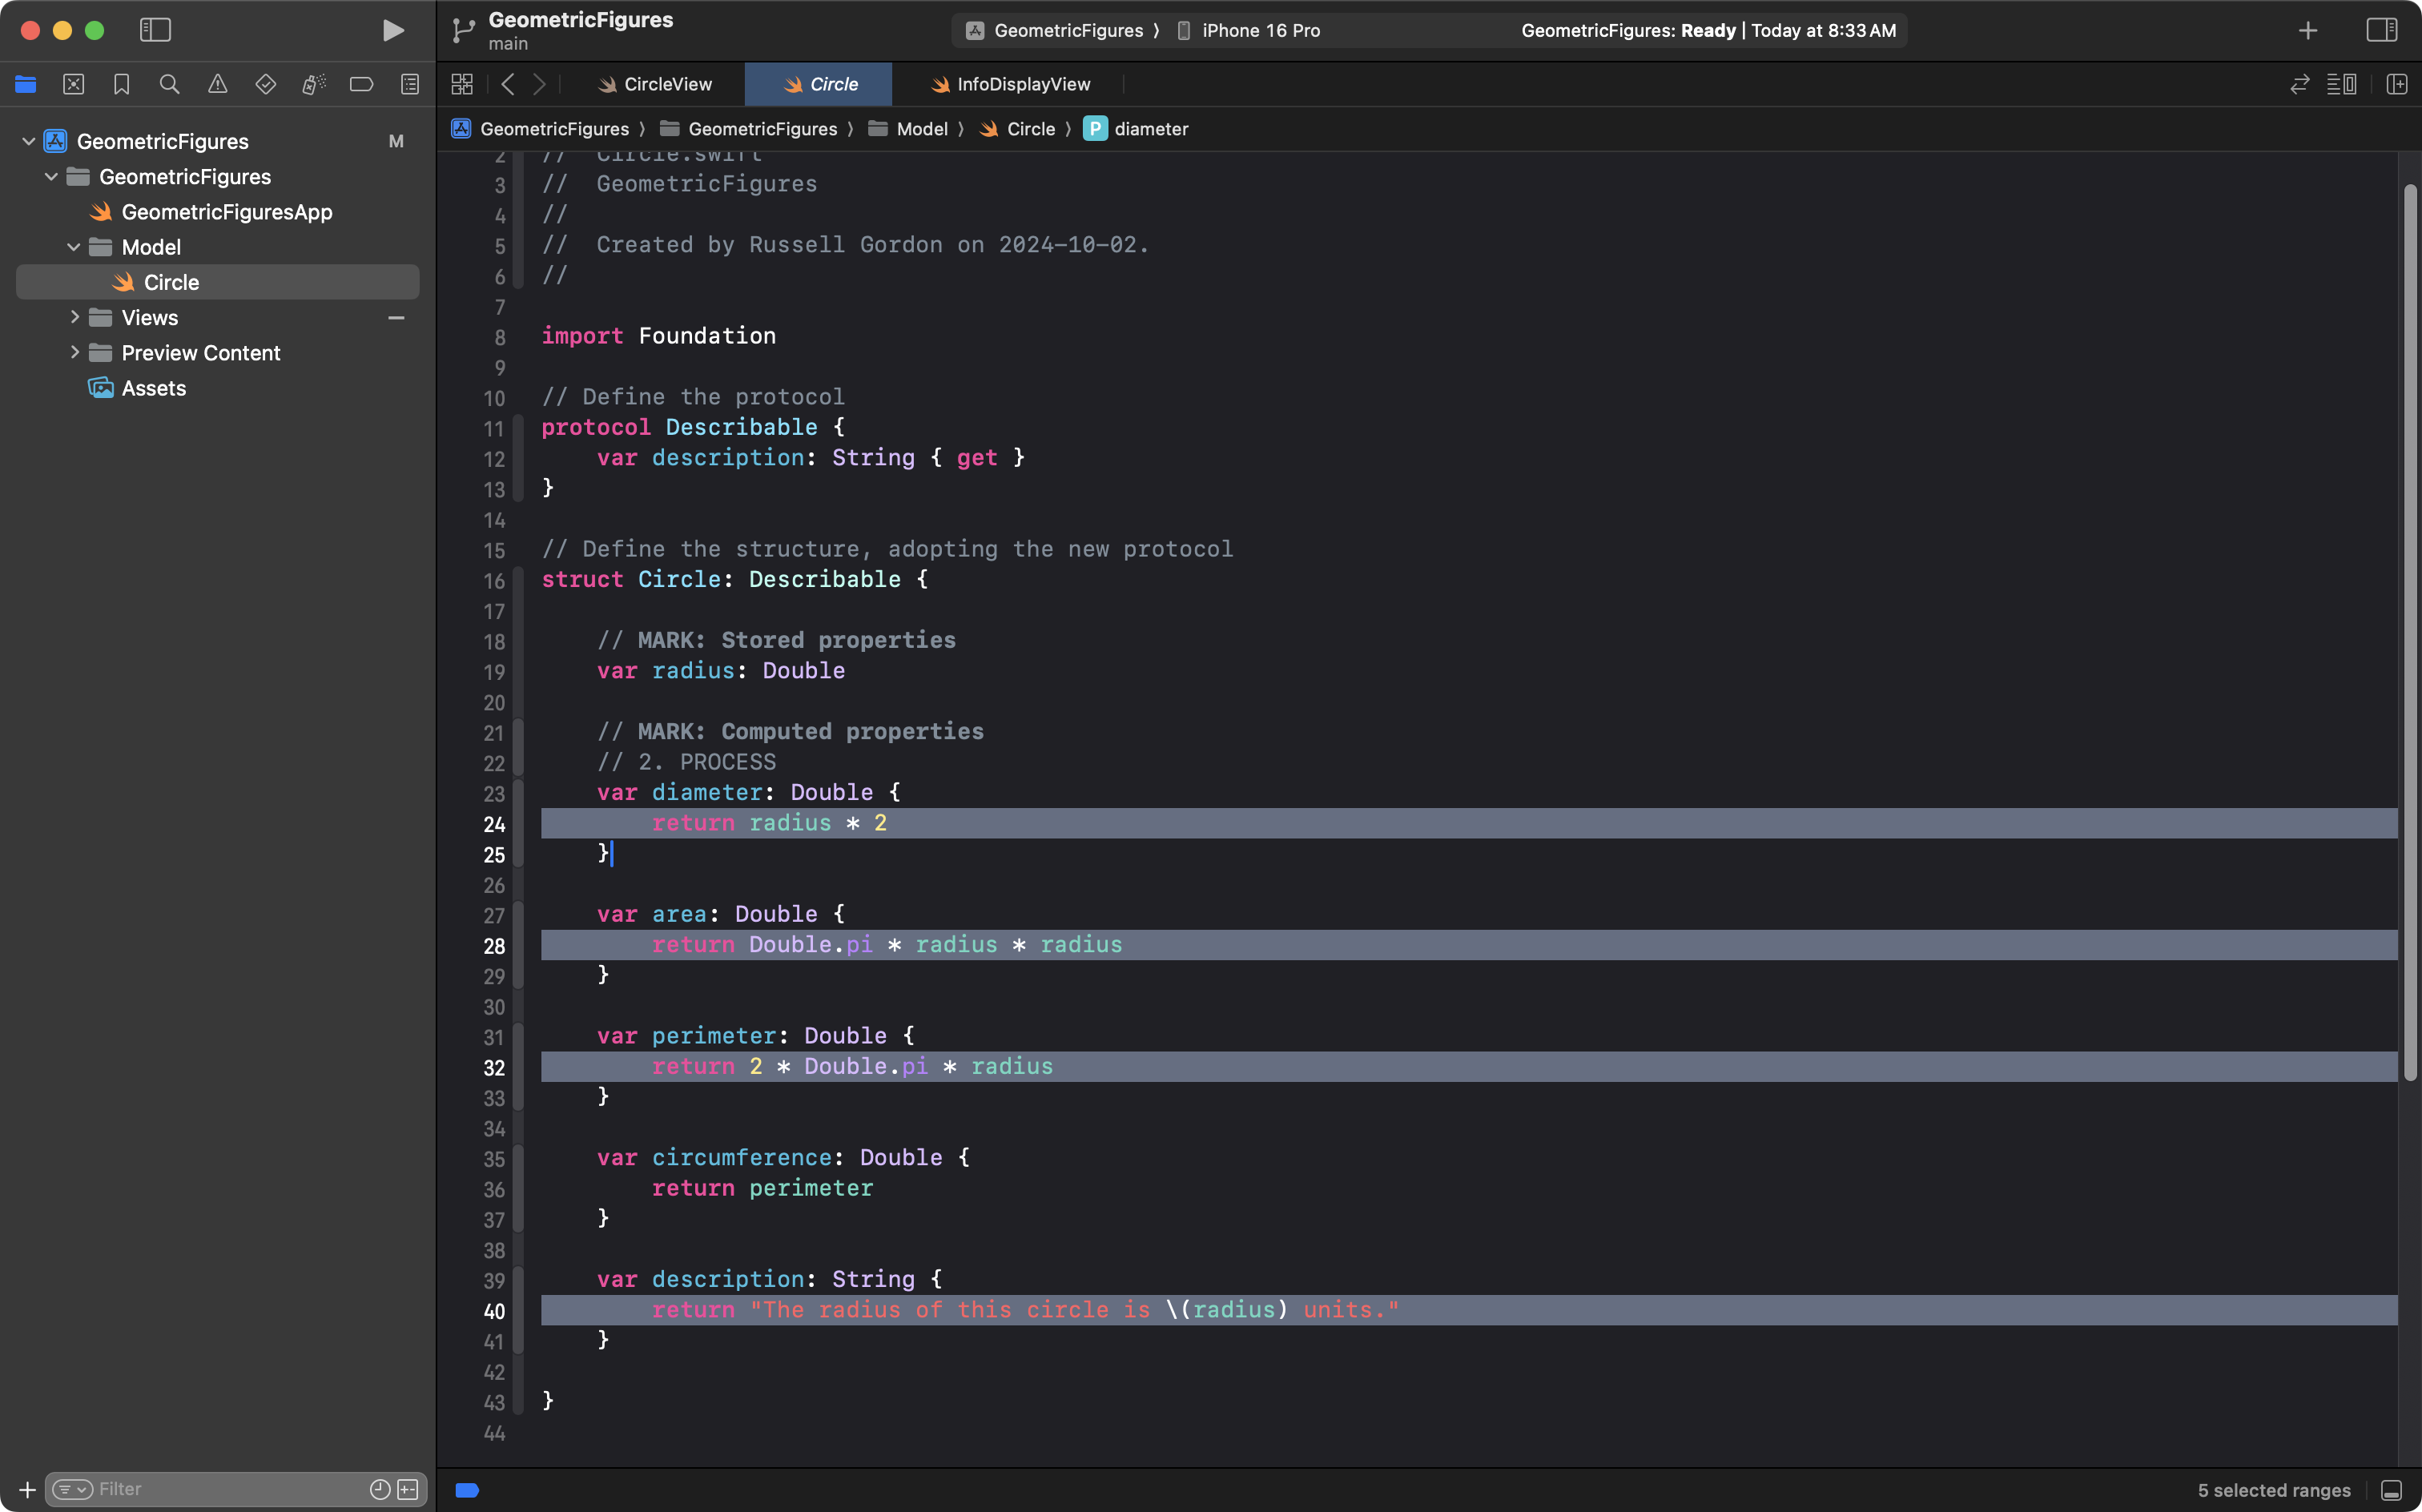
NOTE
Using stored properties within the
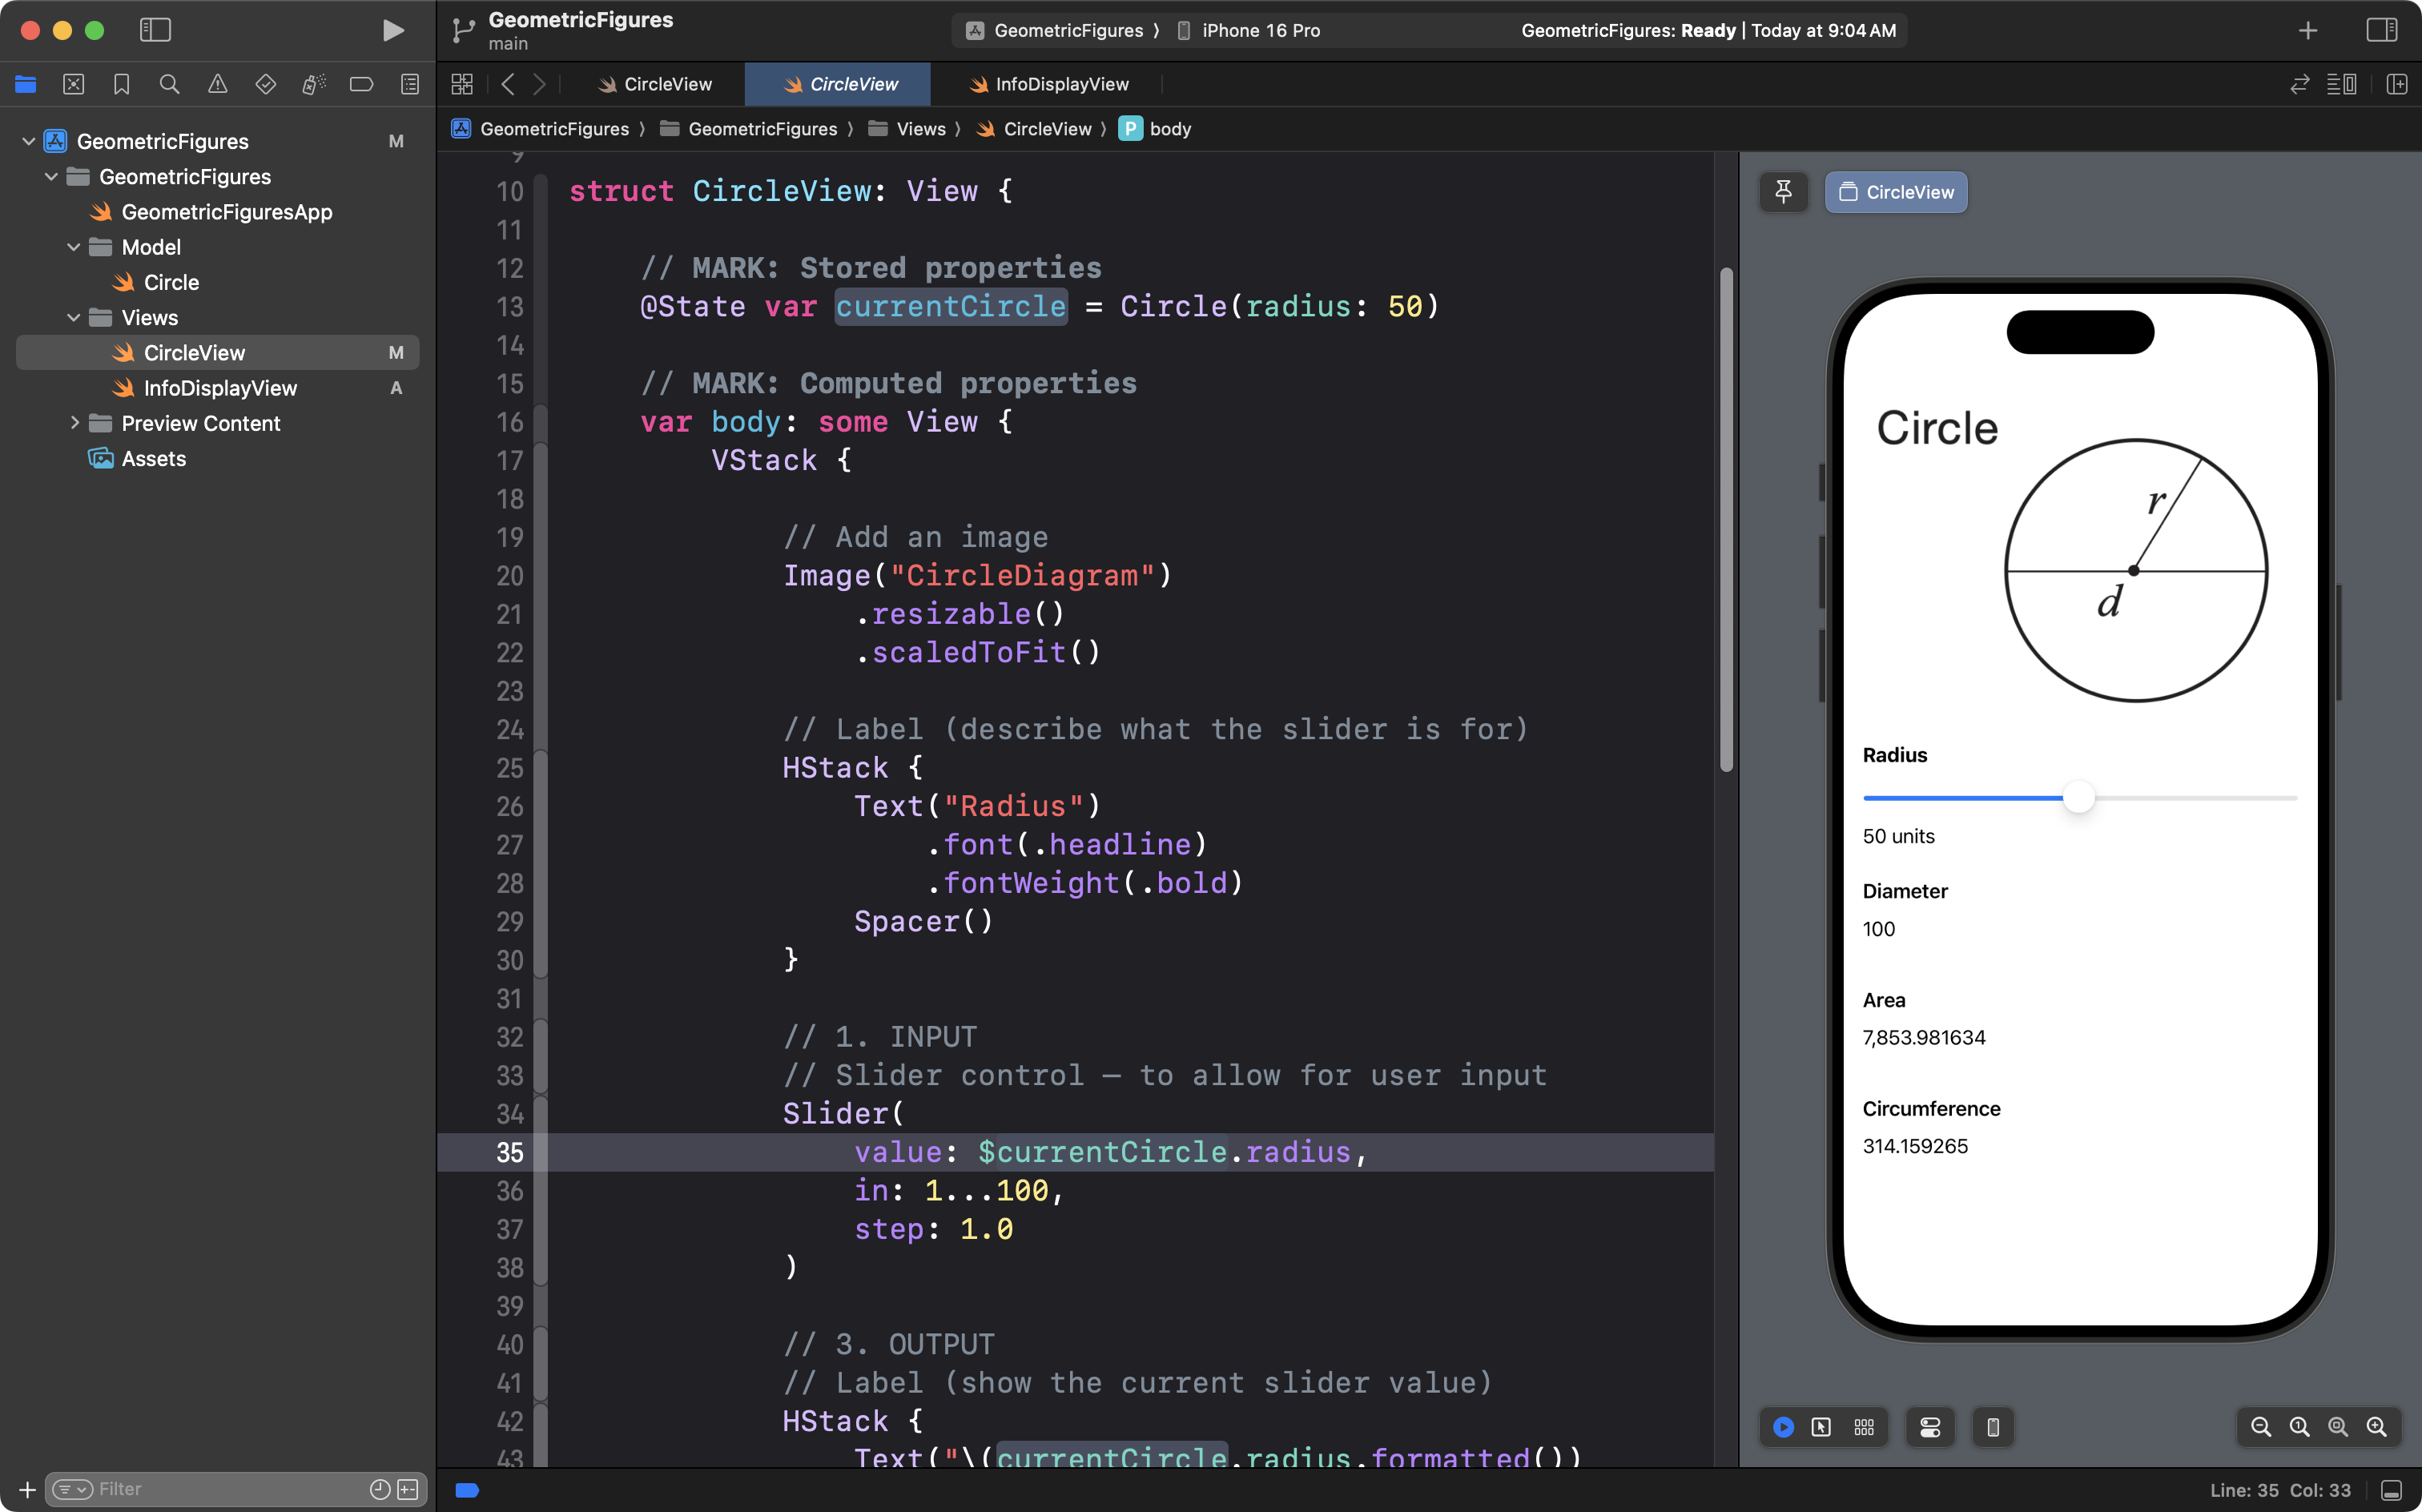
bodycomputed property is just like what you did with your GeometricFigures structure for a 2D or 3D shape:
In that screenshot, the
radiusstored property is used to calculate values for thediameter,area,perimeter, anddescriptioncomputed properties.
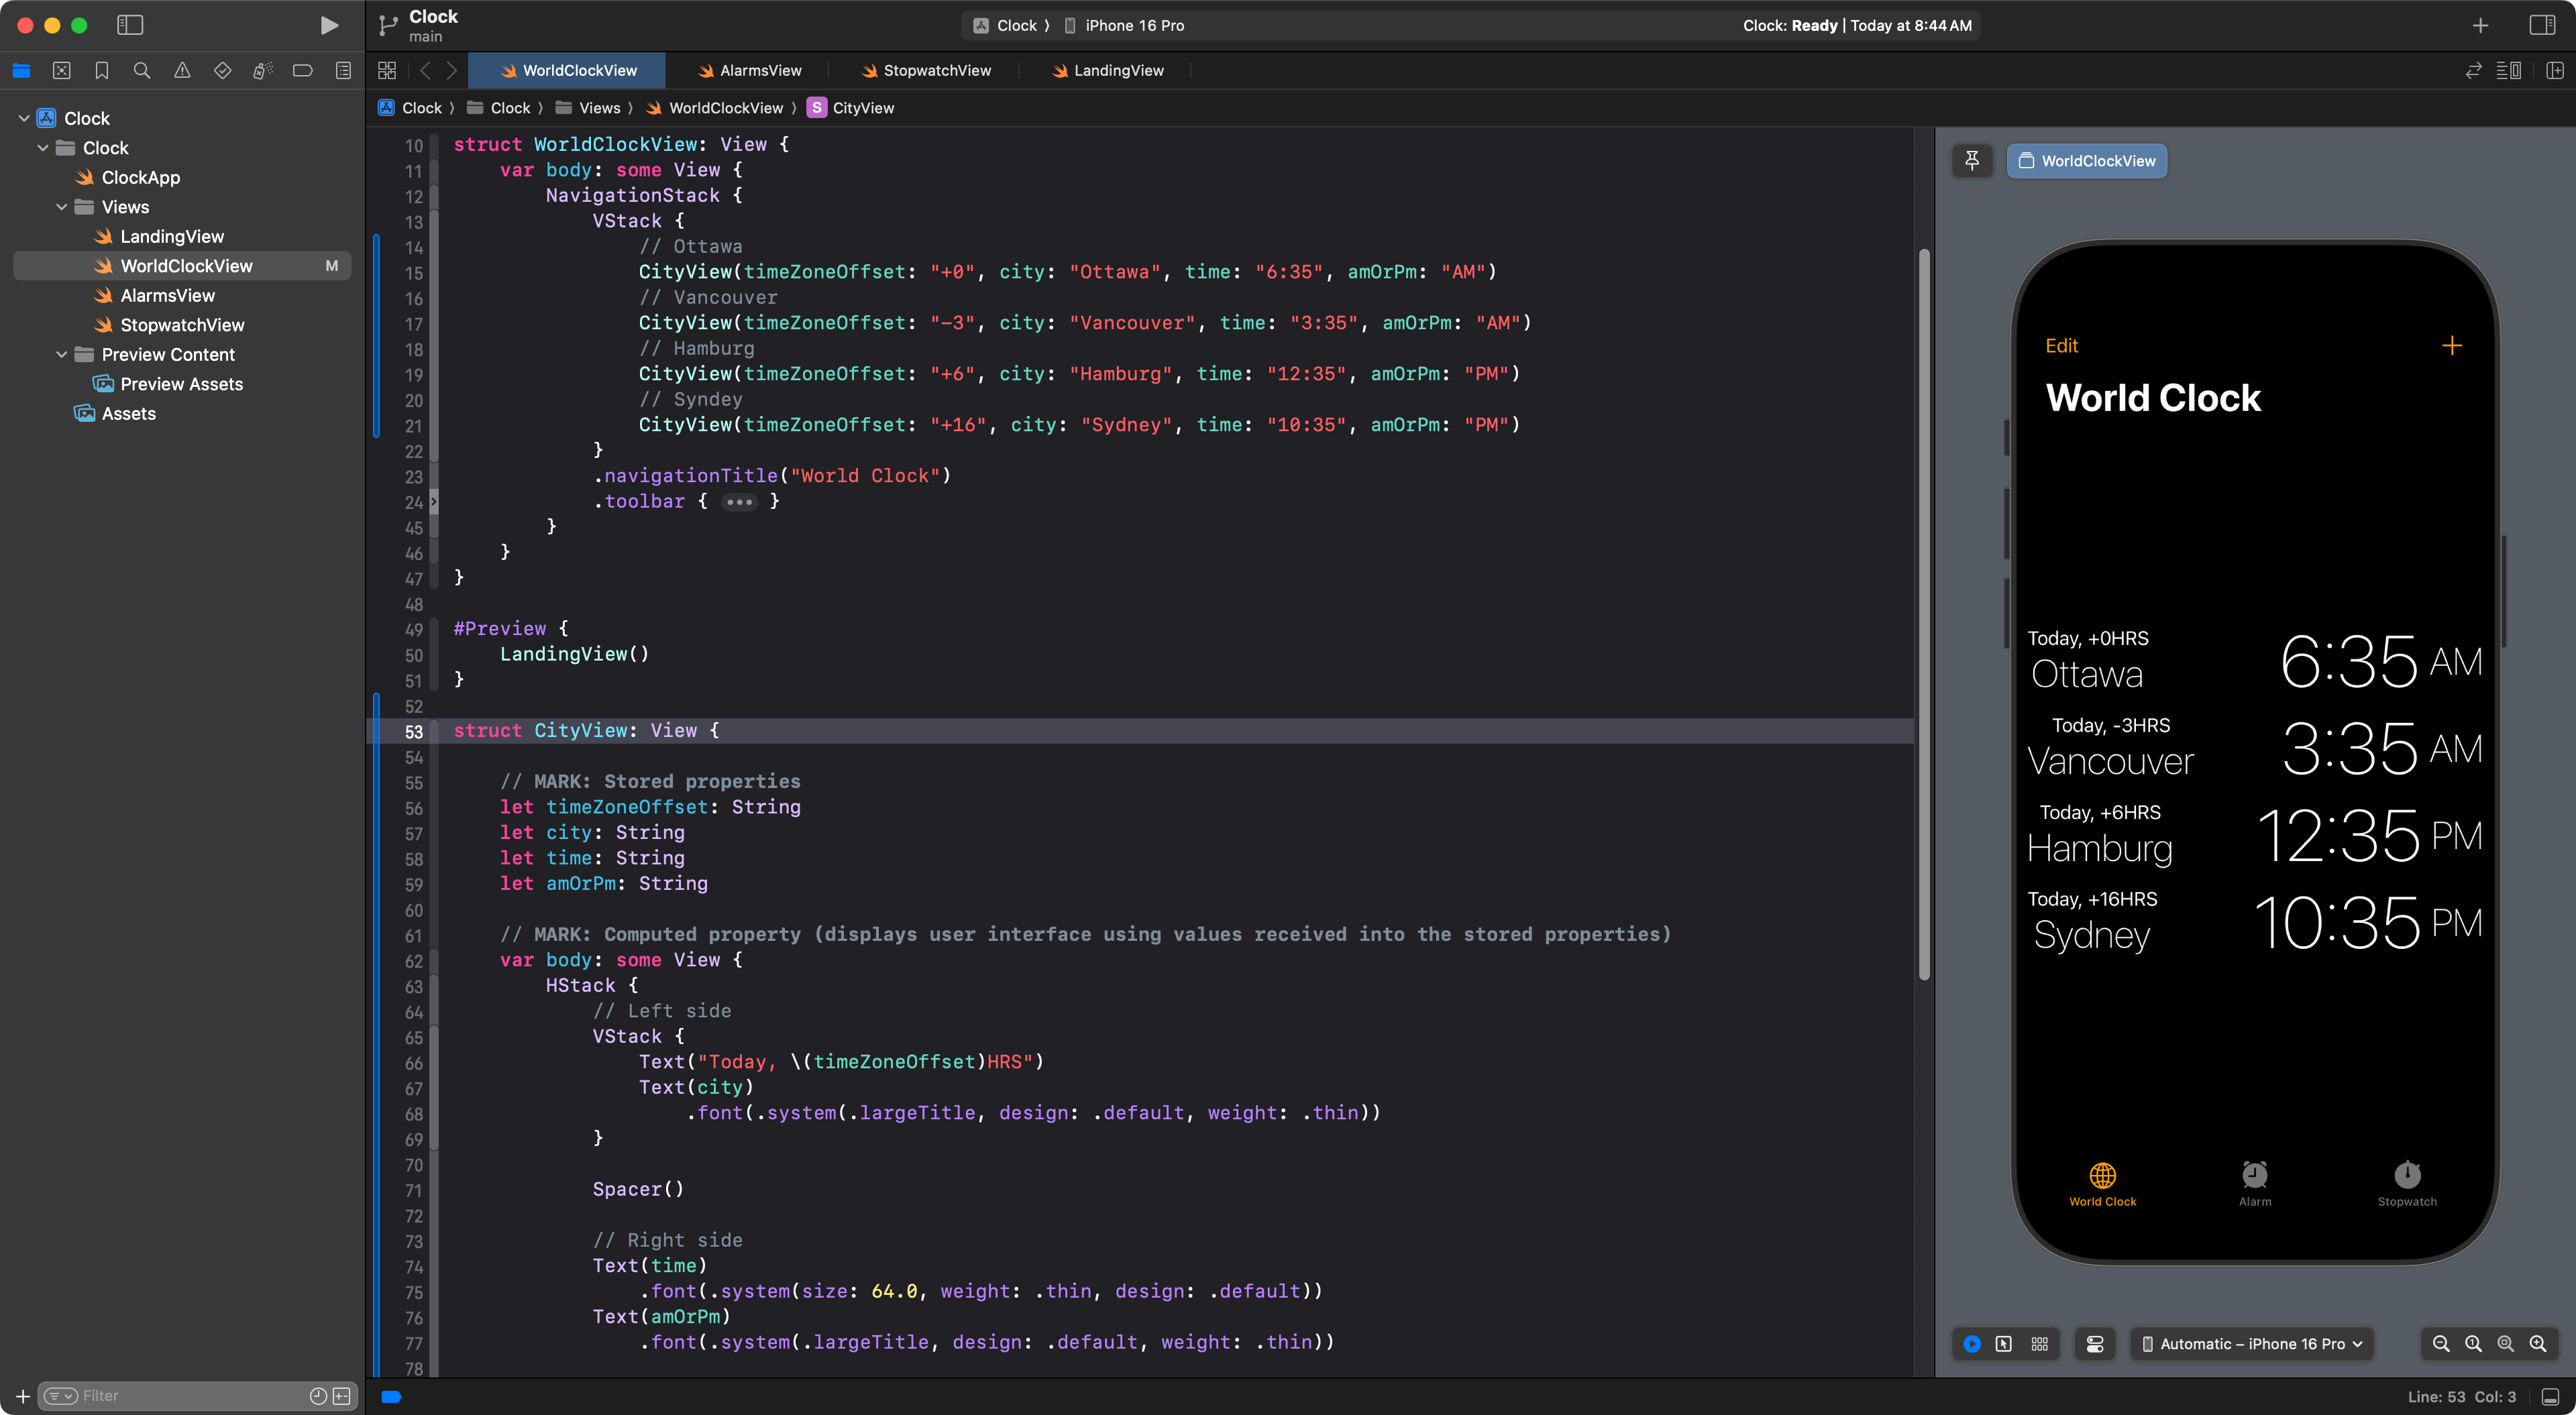
Once we have done that, we can now replace the second HSTack with an instance of ExtractedView and pass in different values for the four parameters:
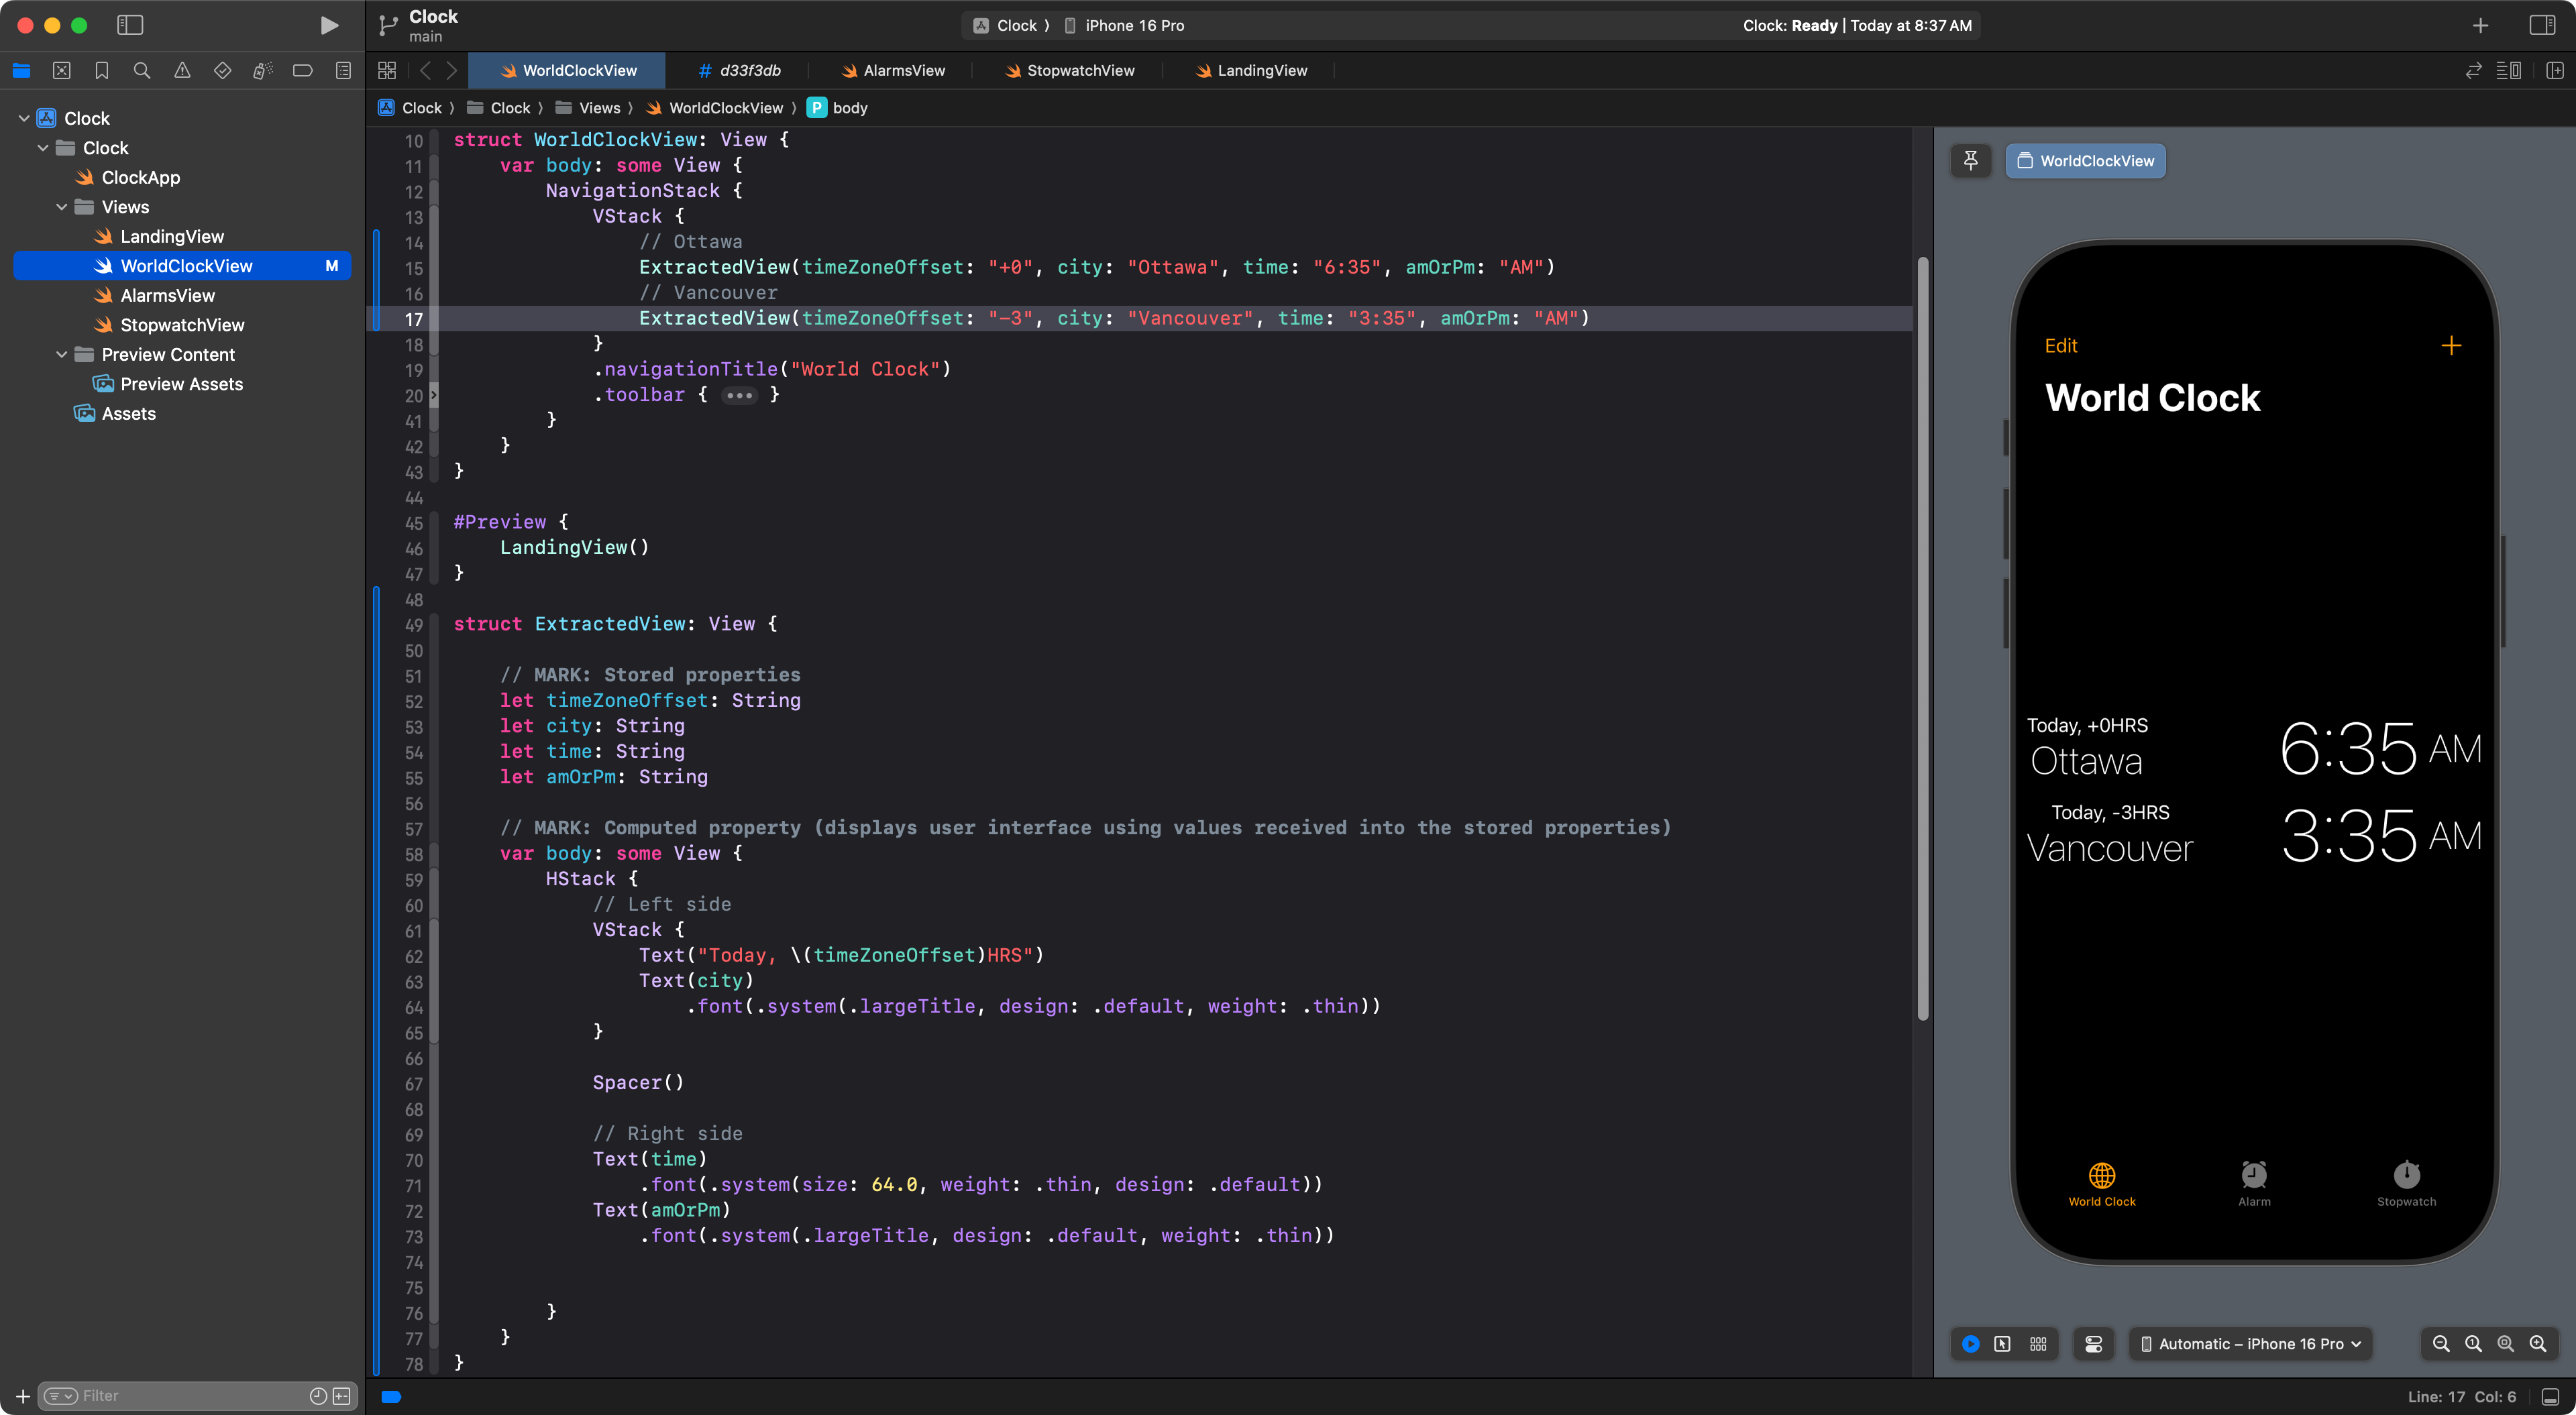
Above, we are using the ExtractedView structure by creating two instances of it, each time passing in different values.
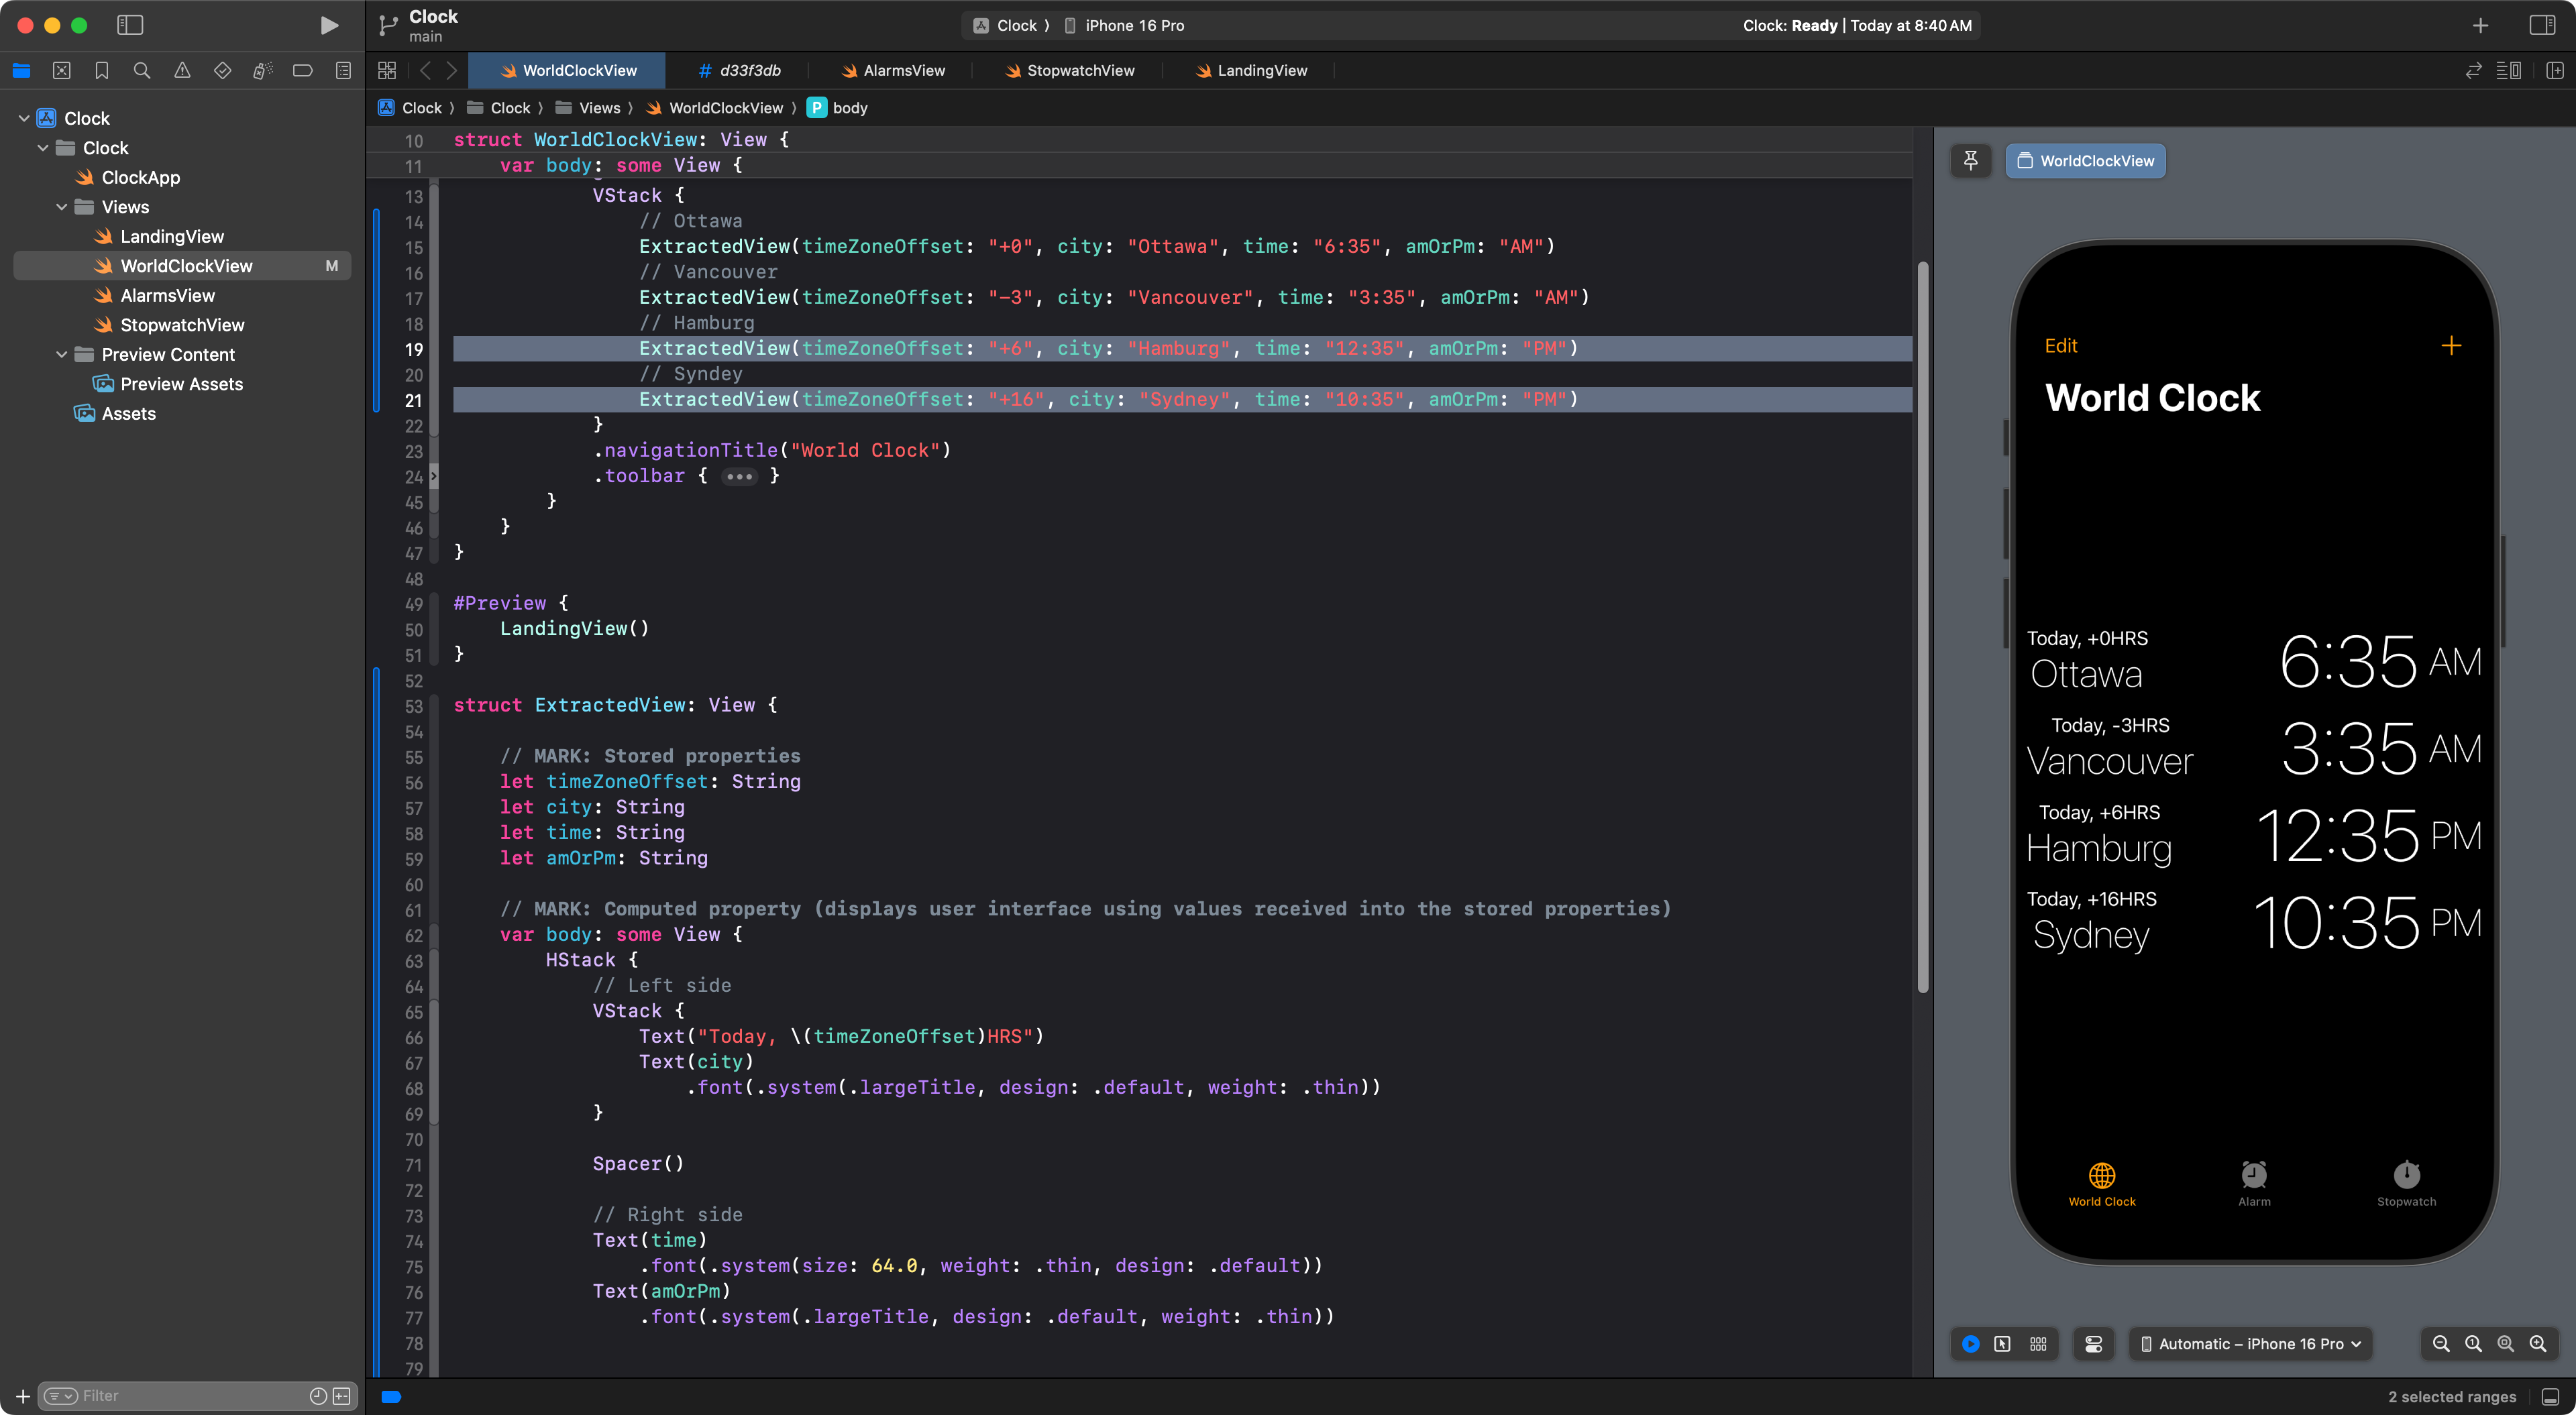
It’s very easy to add additional cities now – we just create more instances of ExtractedView:
Finally, to keep our project organized and readable, we probably want to do a bit more re-factoring.
We can rename the ExtractedView structure:
.png)
To, say, CityView:
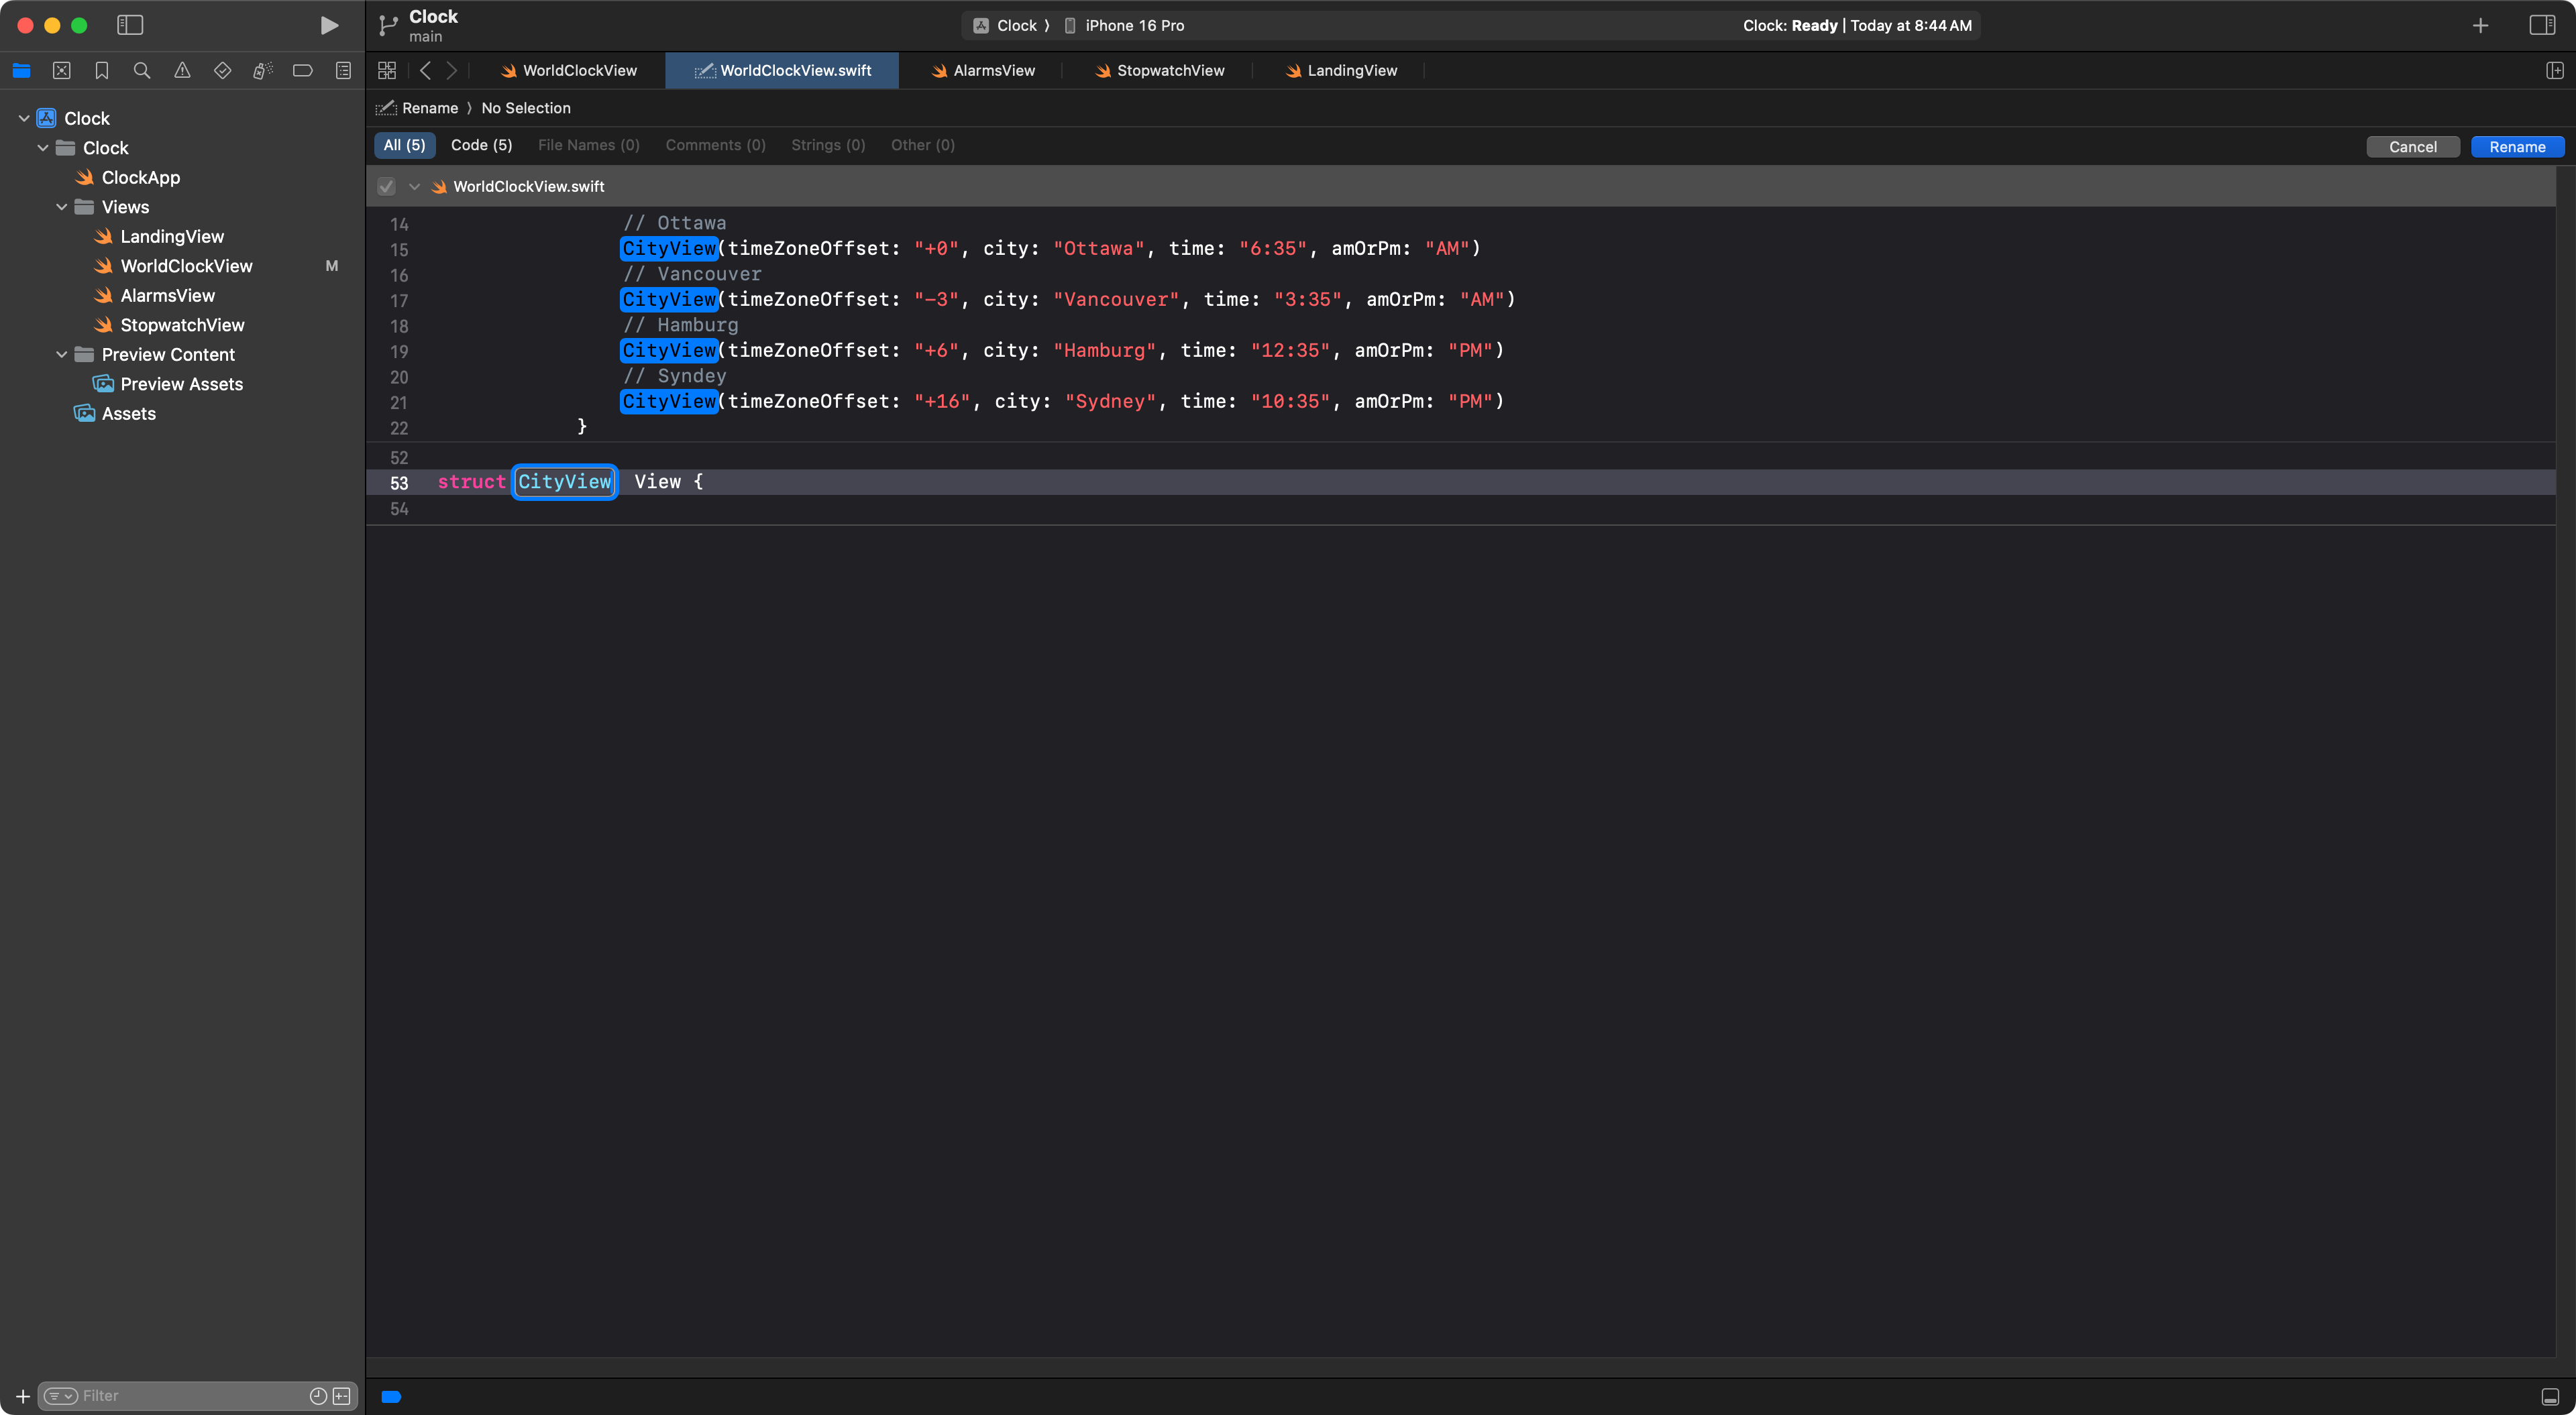
We press the Return key on our keyboard to finish renaming the structure:
Finally (if you are using Xcode 16) you can extract the subview into its own file:
.png)
Like this:
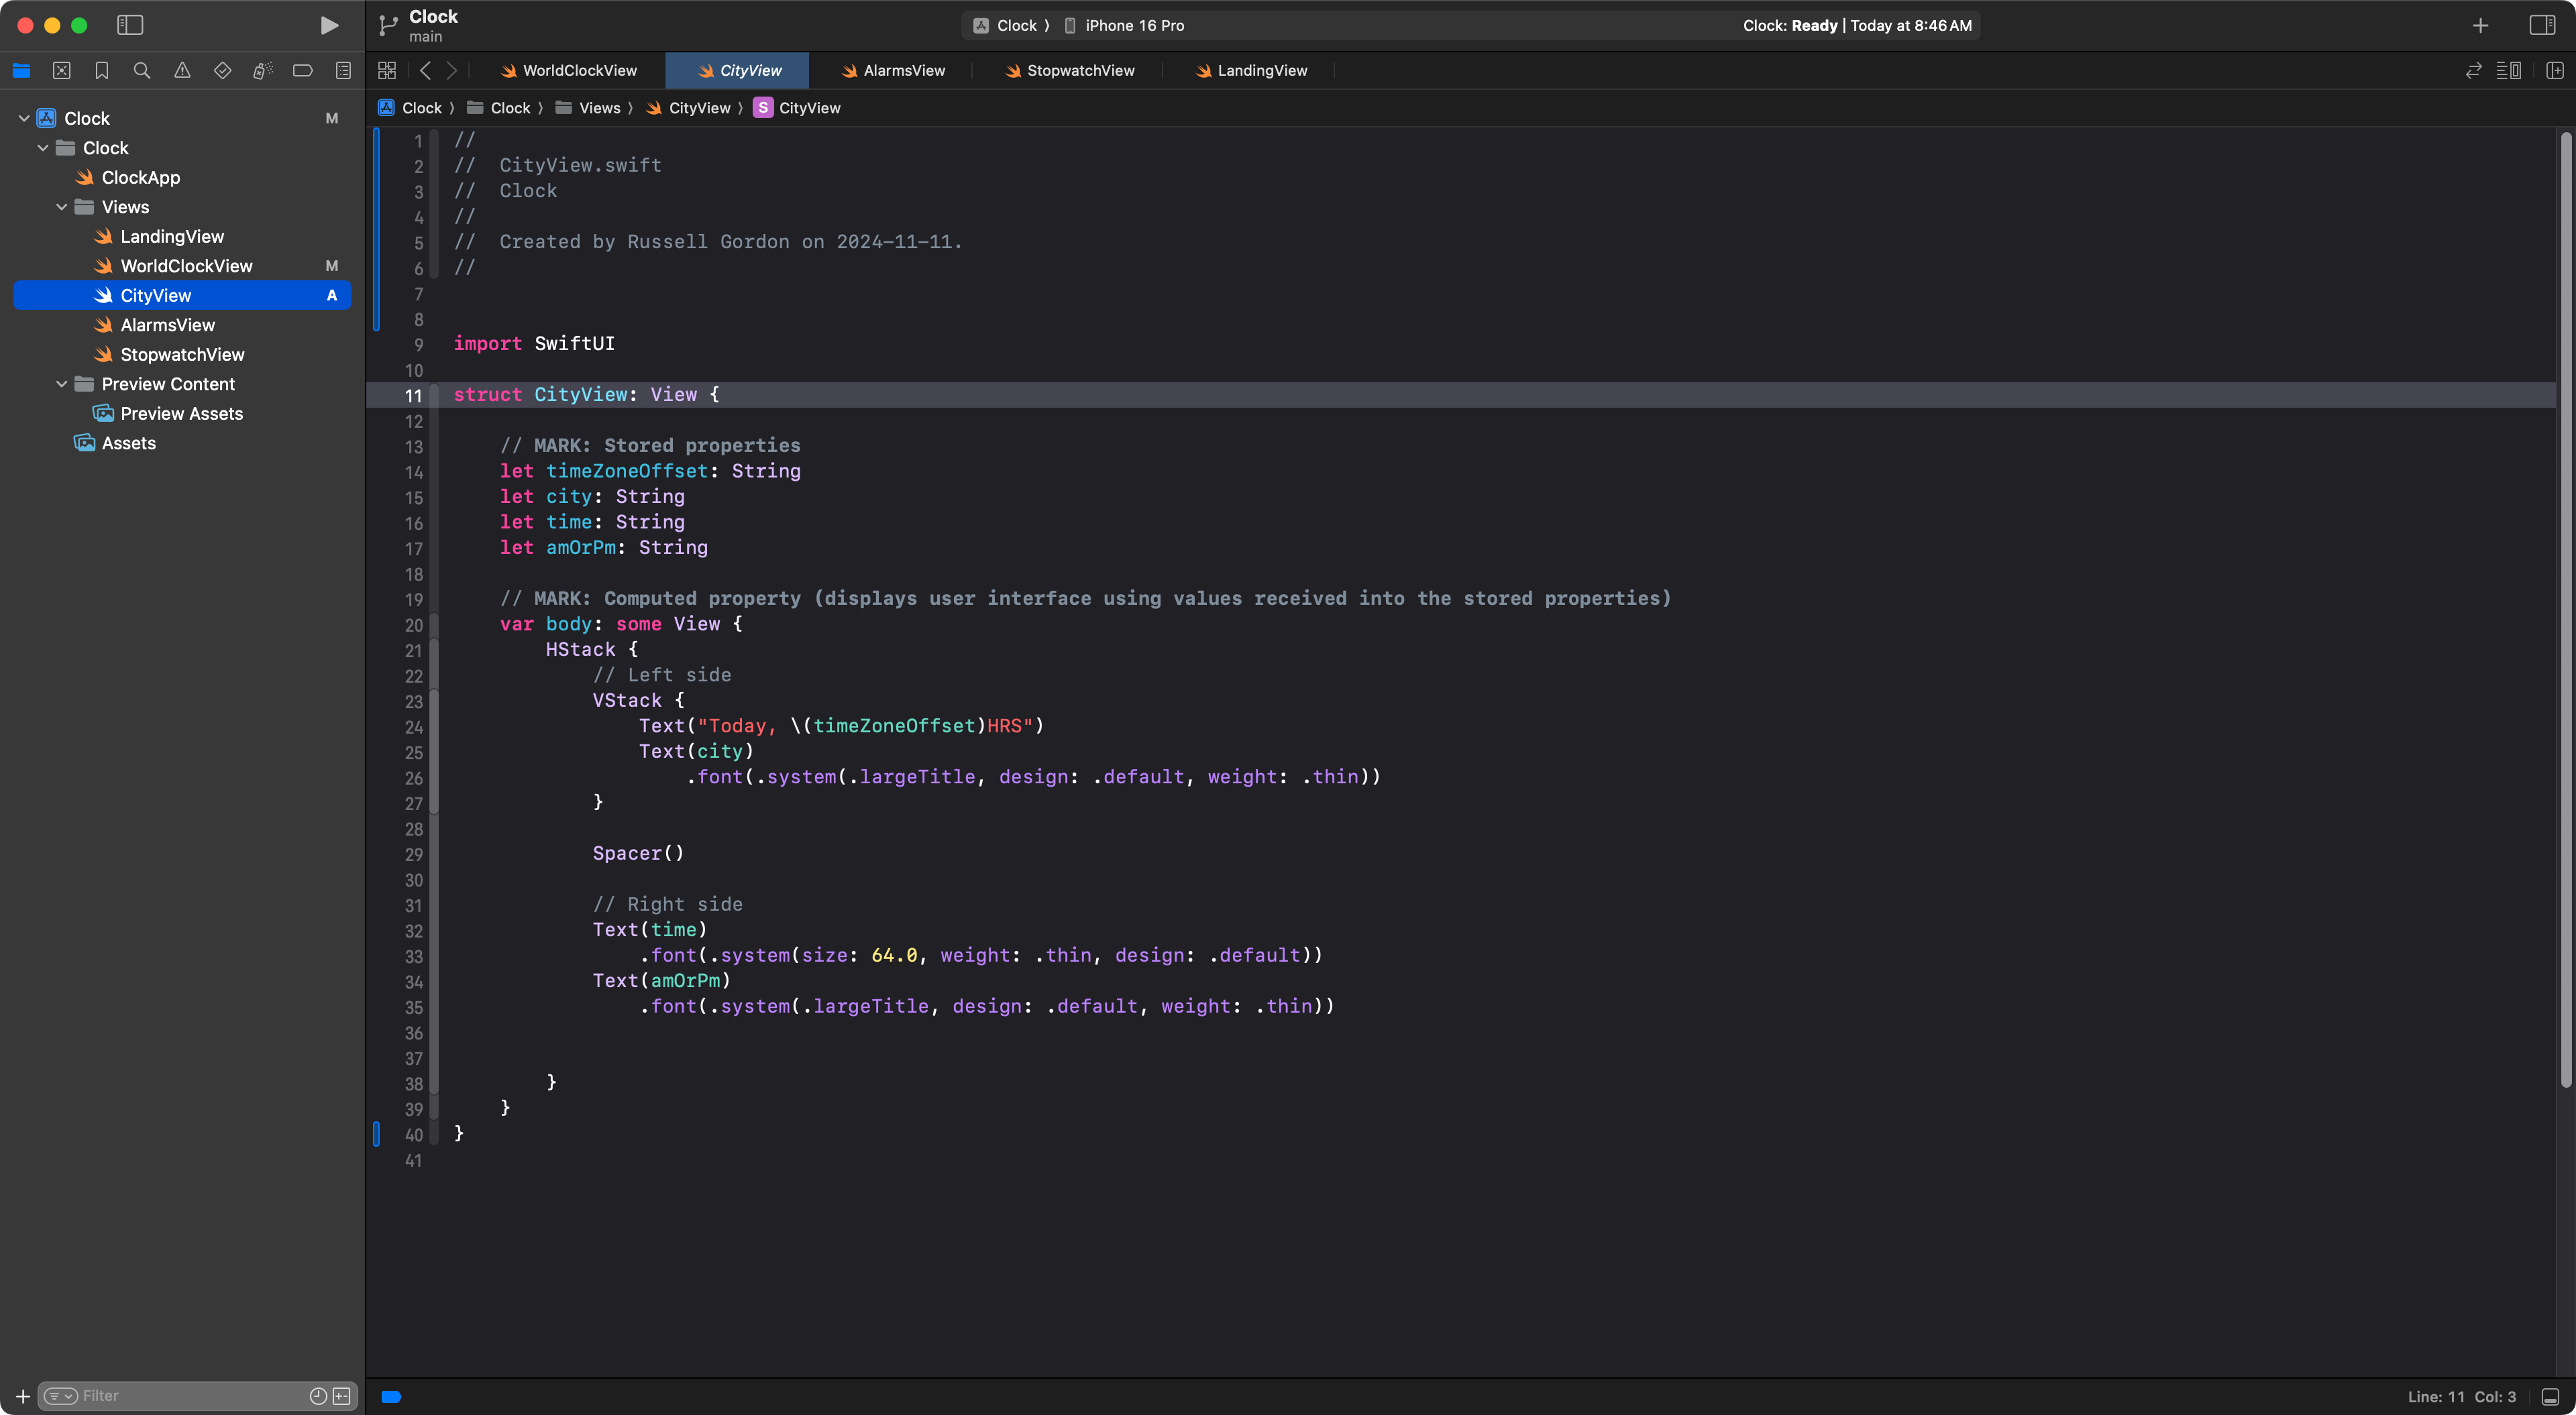
Which just helps to keep the contents of the WorldClockView file from getting too long:

If you were following along with these notes about how to apply abstraction in your own project, now is a good time to commit and push your work, using this message:
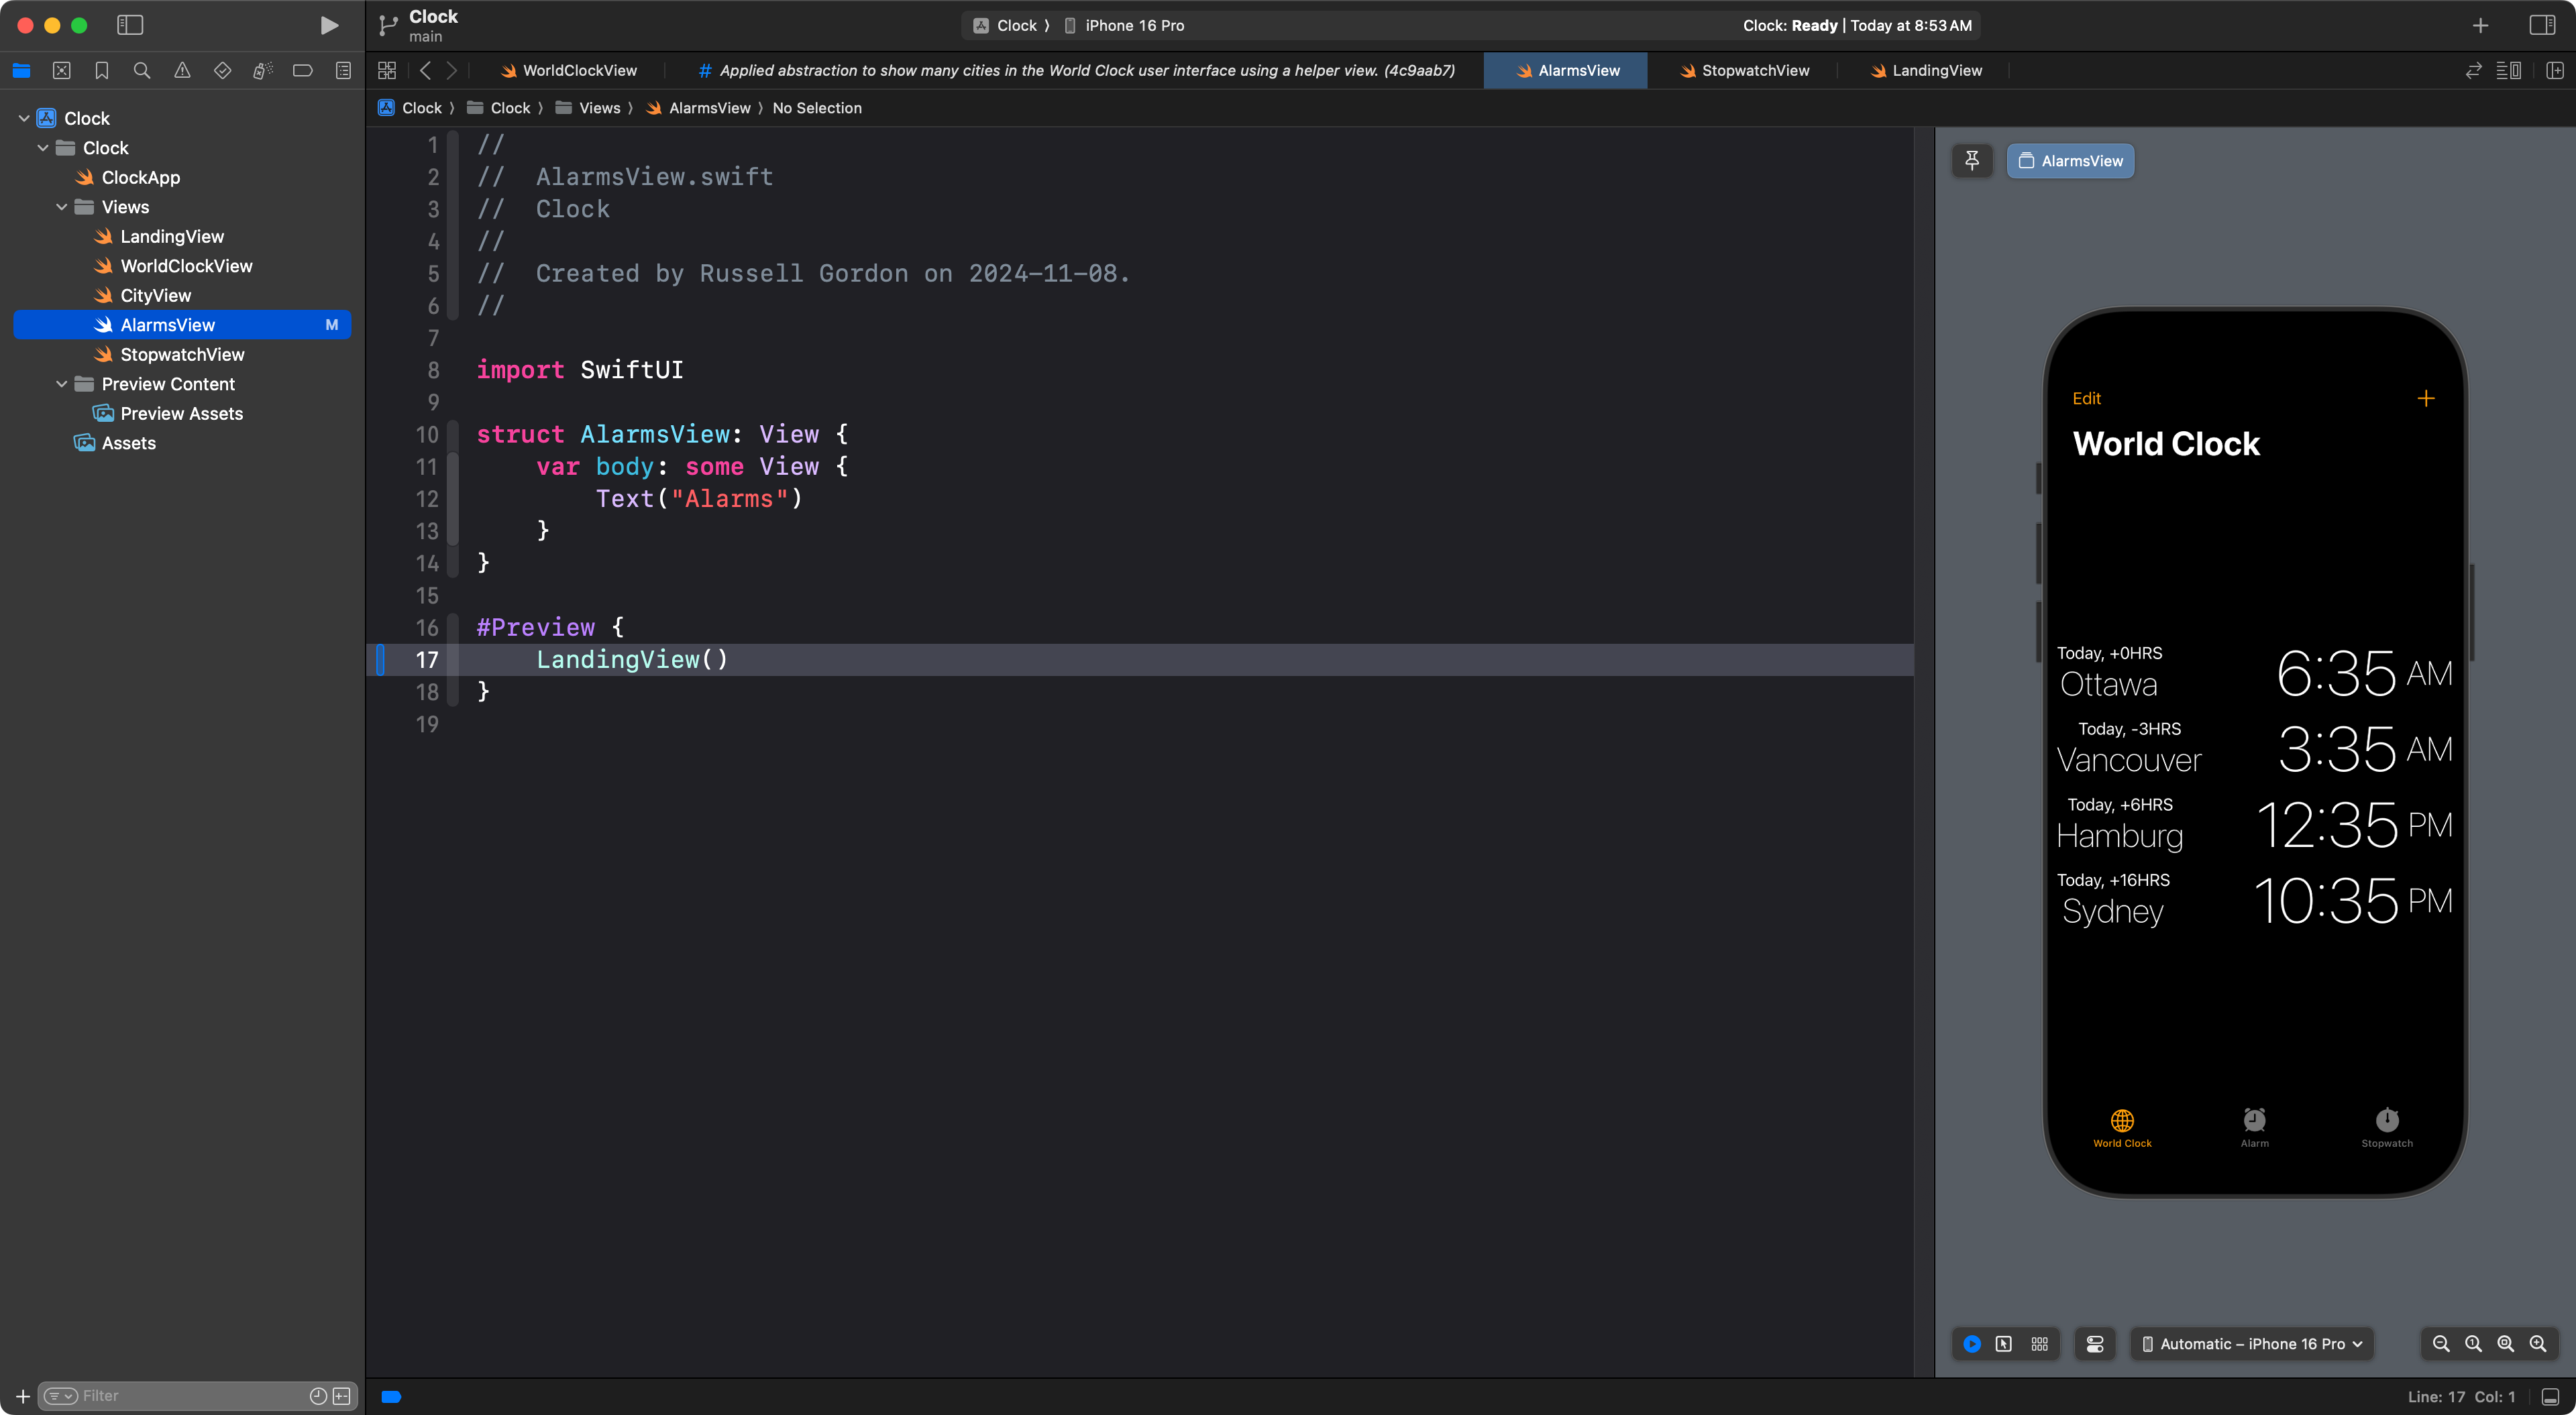
Applied abstraction to show many cities in the World Clock user interface using a helper view.
Starting the Alarms interface
If you are next trying to build the Alarms screen interface, you will see the following at first:
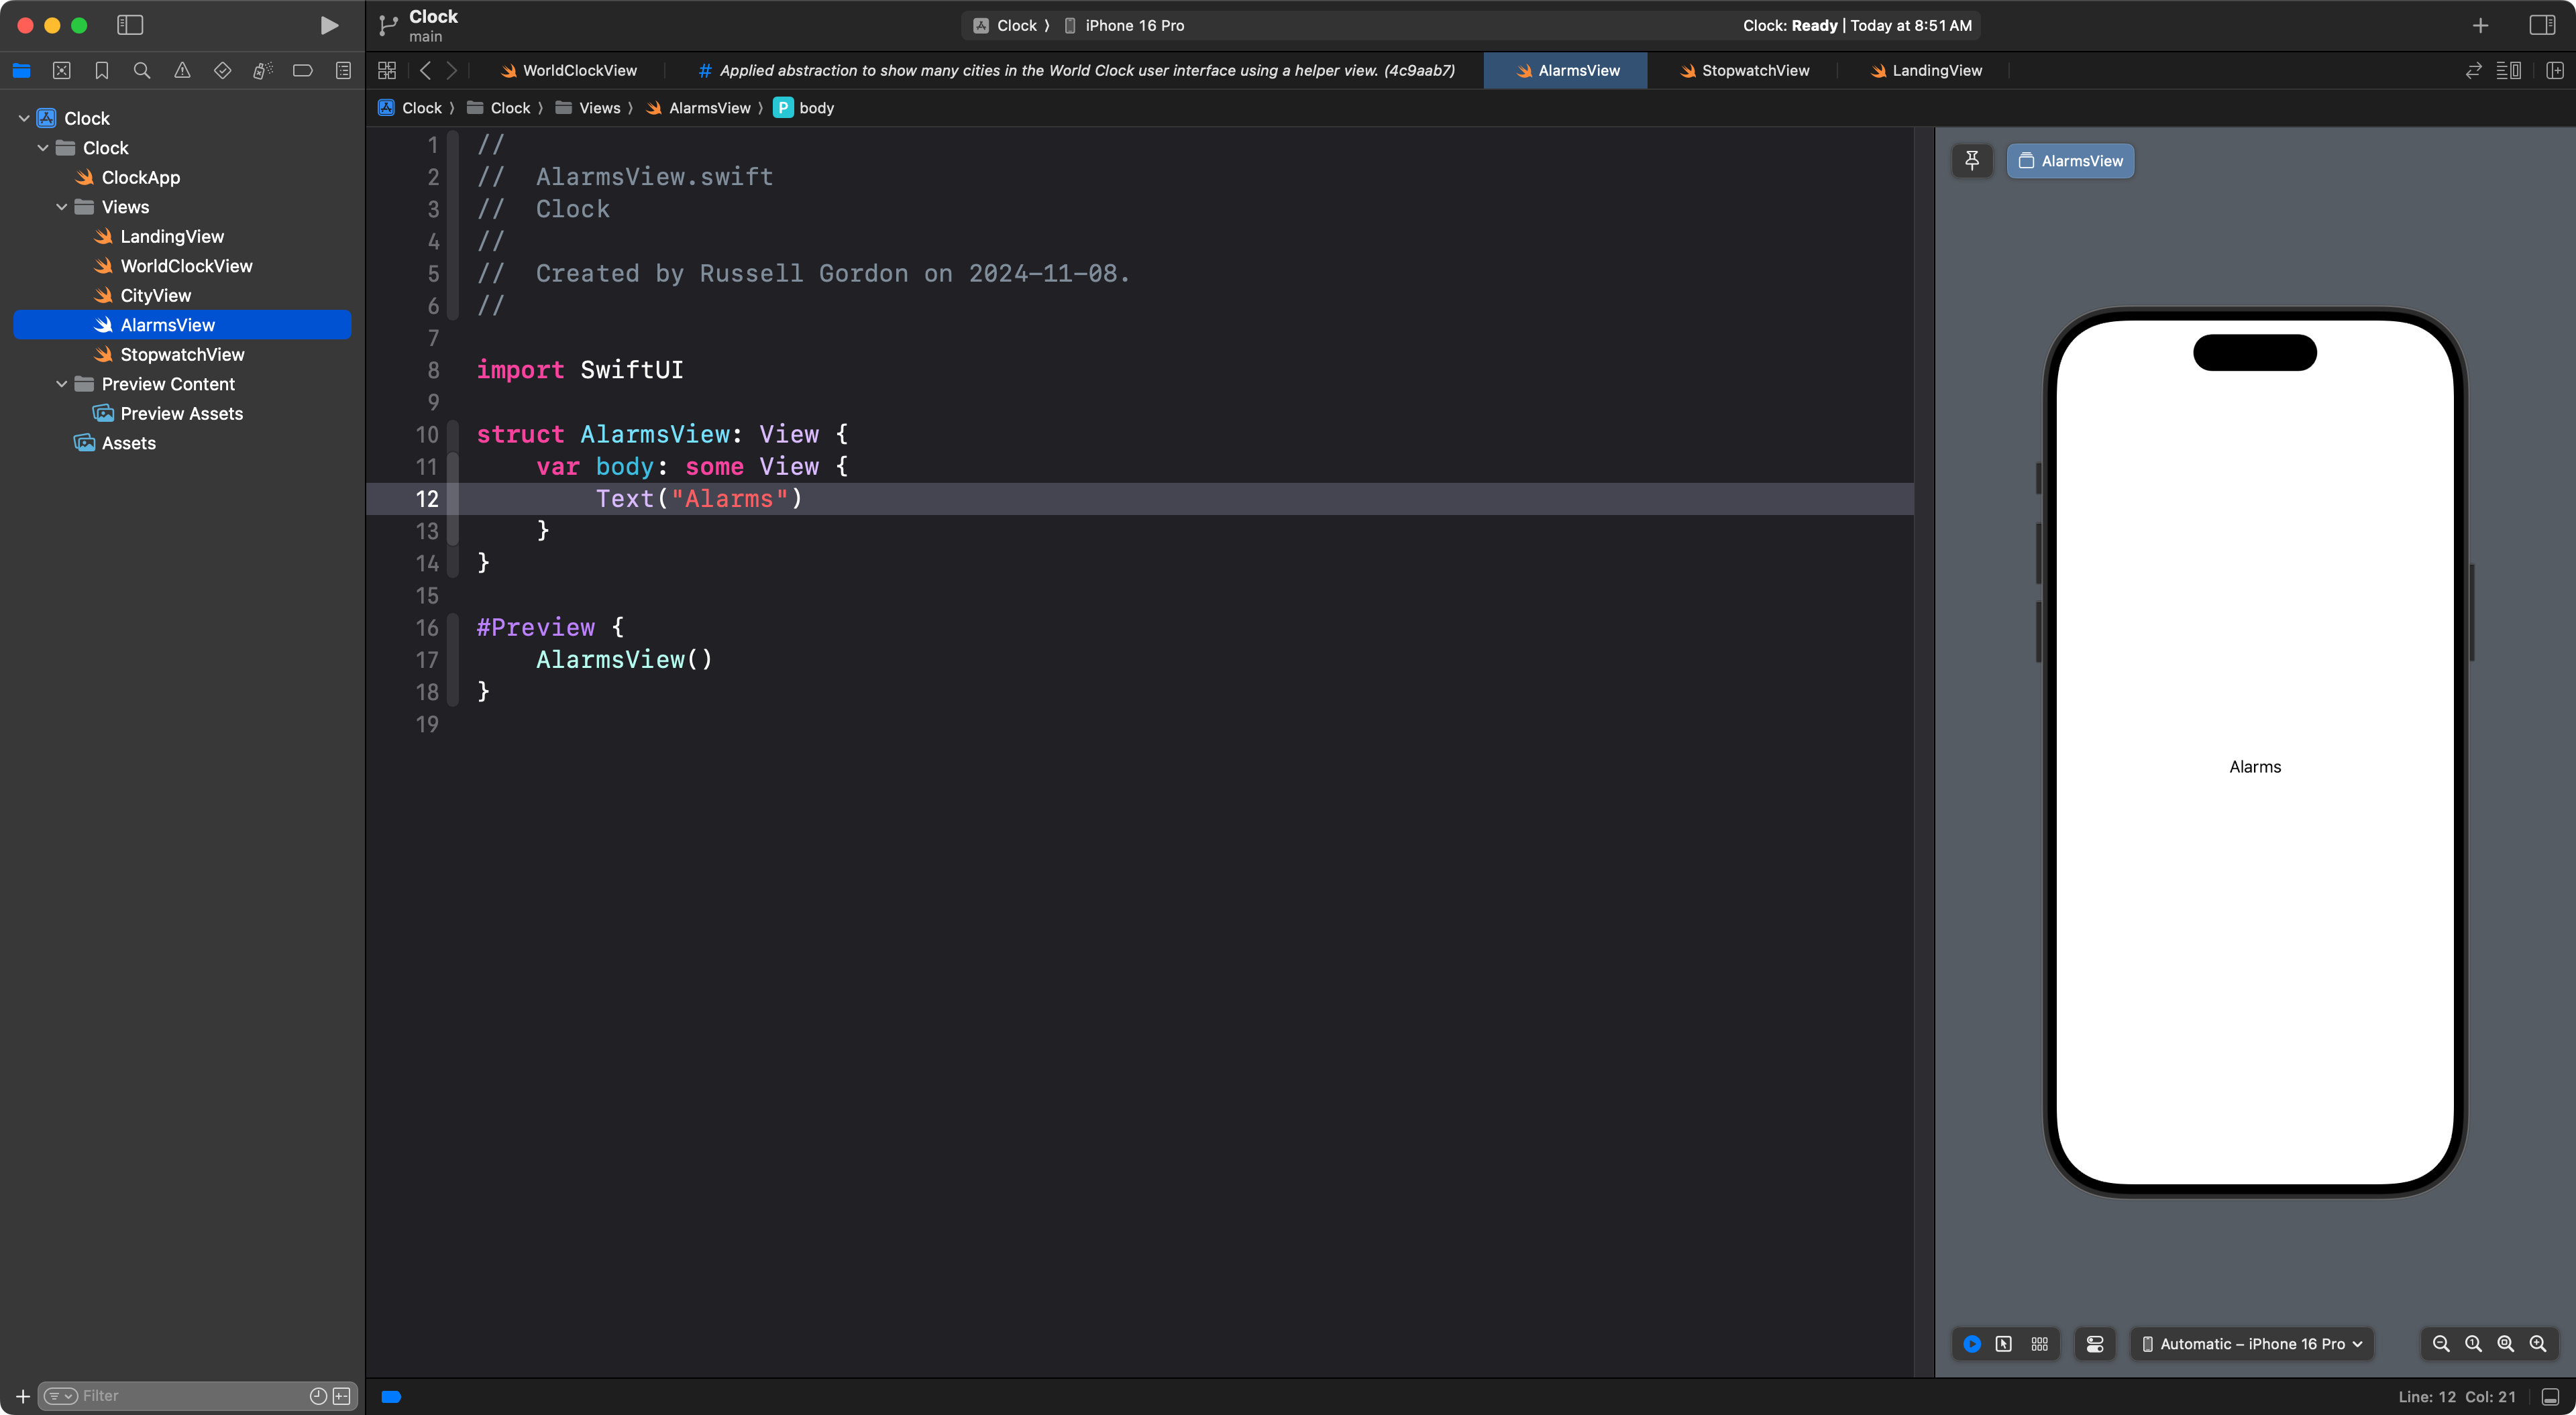
Of course, you will want to see the tab view. So, as we did before for the WorldClockView, change what is shown by the preview so that it shows the LandingView instead:
The only problem is that LandingView is showing the first tab, which is the World Clock interface.
To fix this, switch to LandingView, and change the selected tab from 1 to 2:

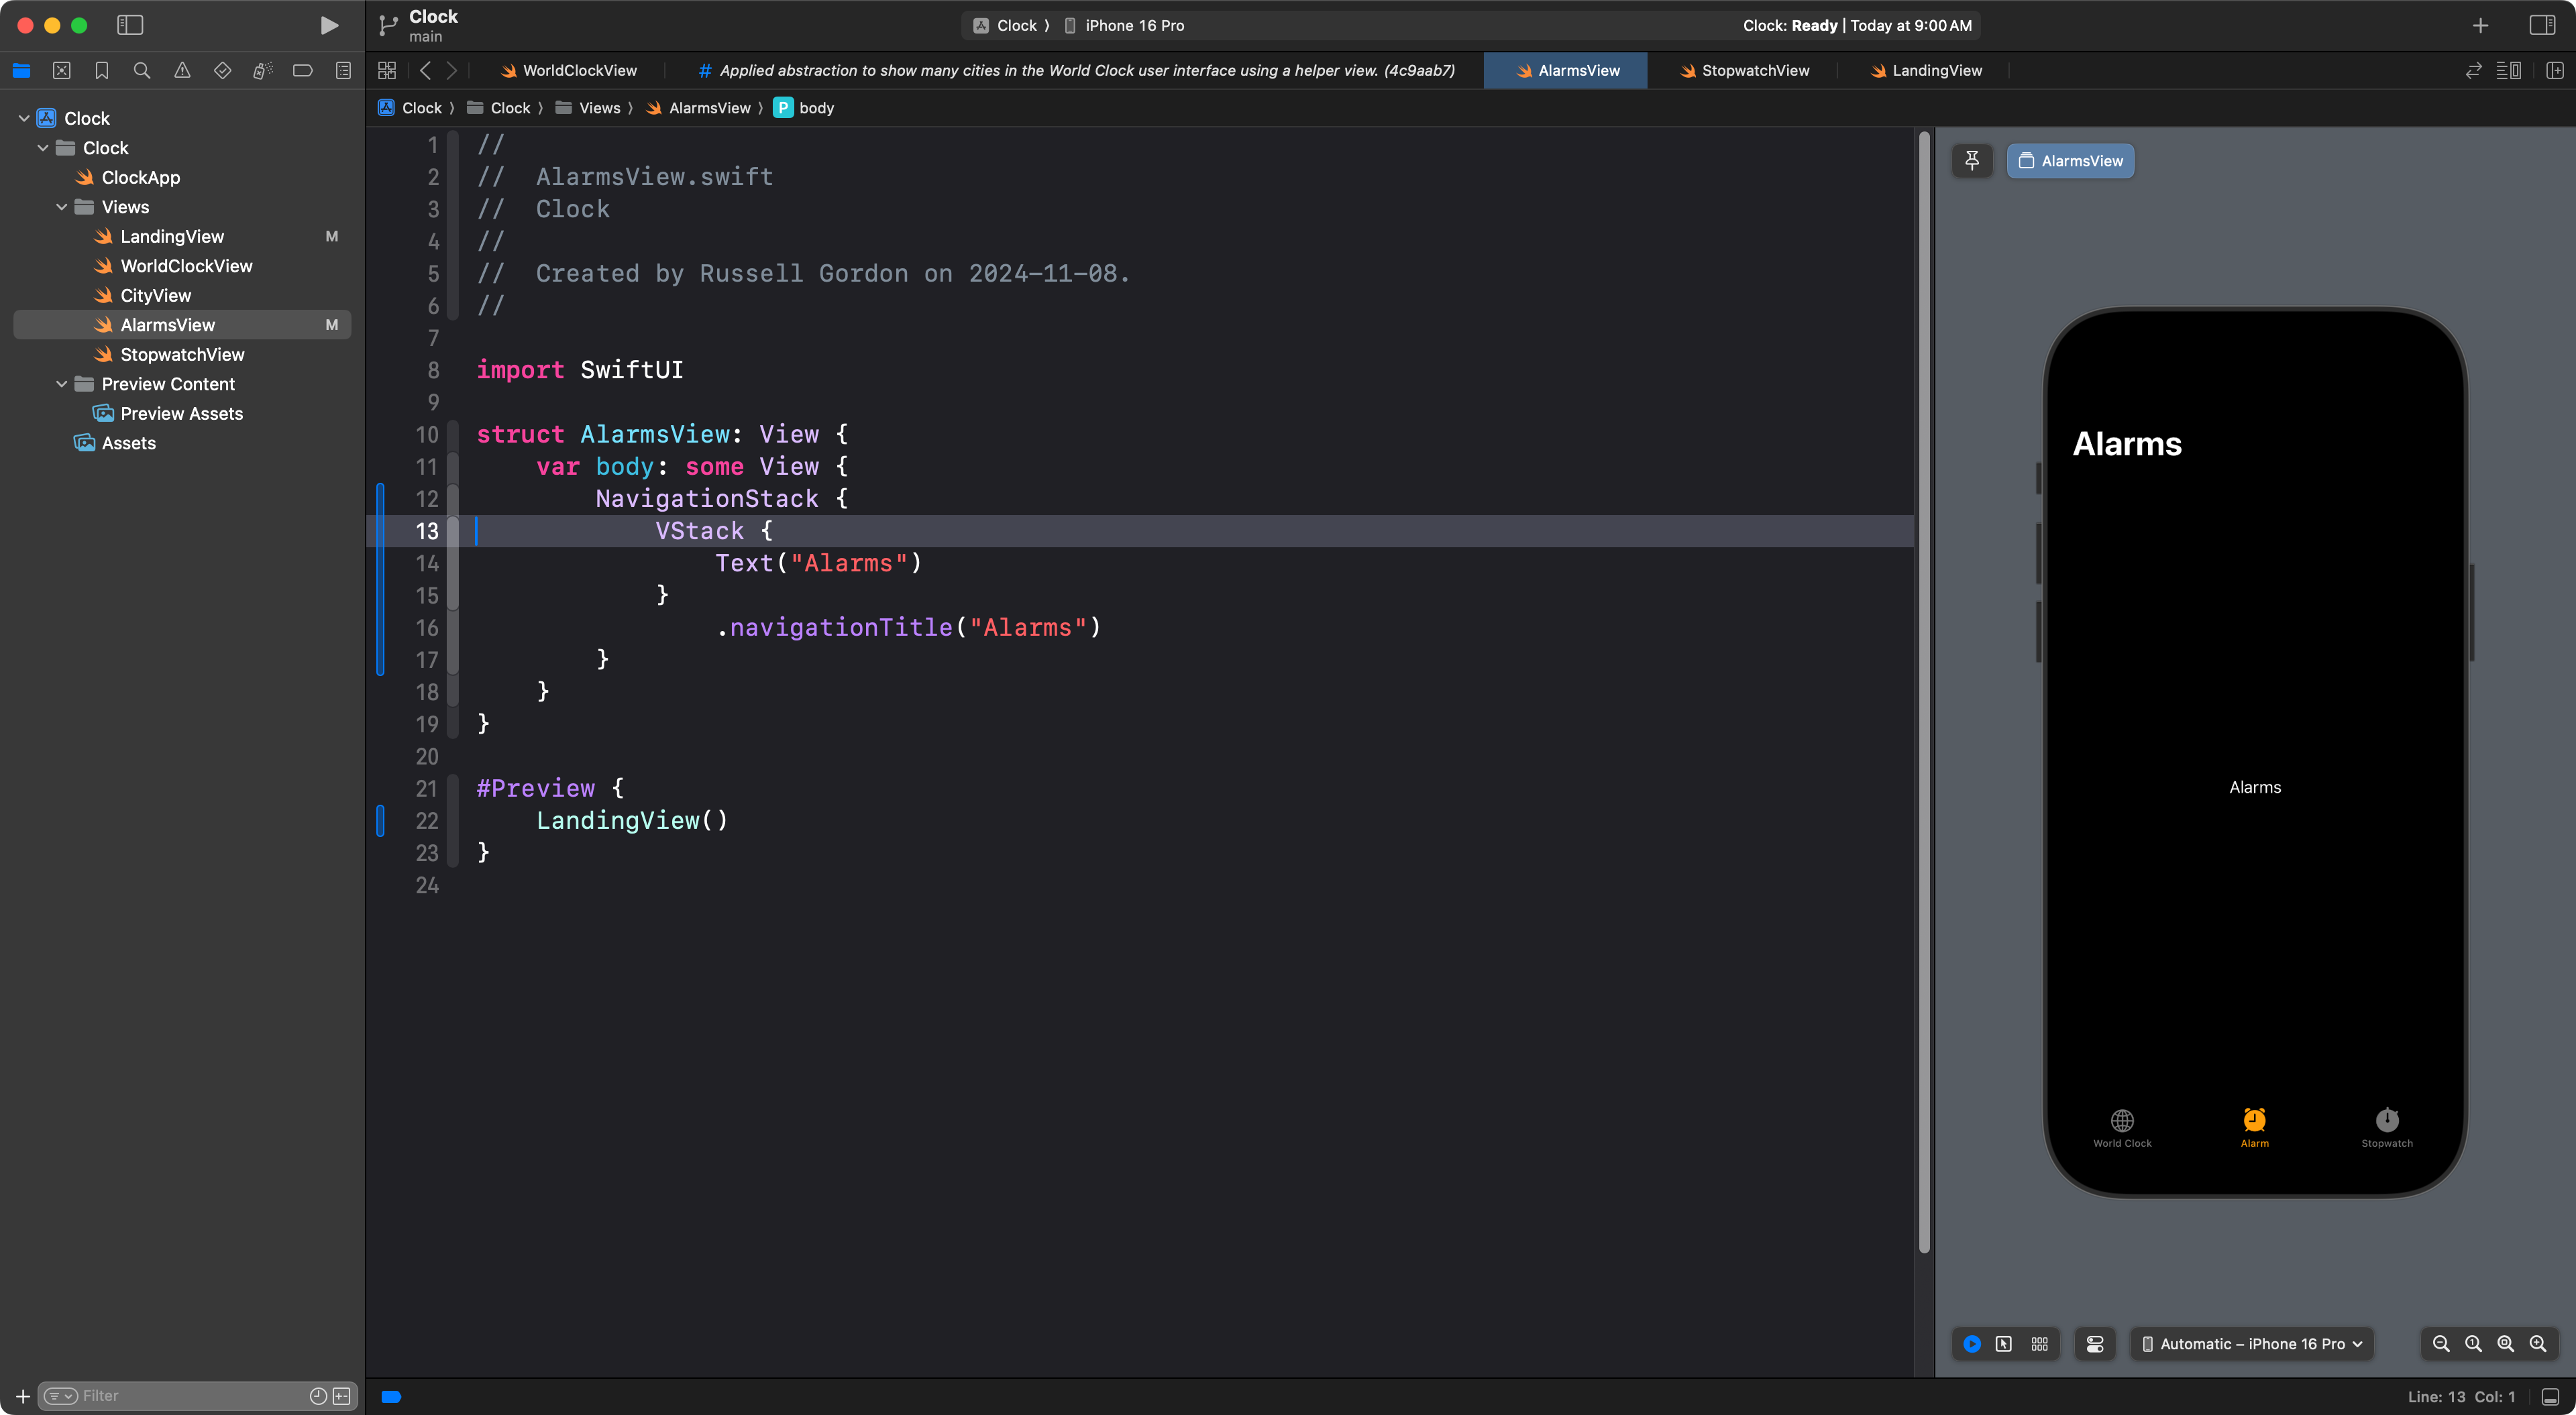
Now switch back to AlarmsView and add a navigation title like we did for WorldClockView:

Then add a VStack around the text view:
Now you can continue trying to reproduce the interface.
You might want to start by adding an HStack, with text at left, and a toggle at right, but how to do this?
When you add a Toggle view, it expects a binding. What is a binding? Recall, you used a binding with the Slider view you used when building your GeometricFigures app:
Similar to a Slider, a Toggle expects to be given a binding – connected to a stored property that is marked with @State.
However, when we are building static interfaces like in this exercise – static meaning non-functional – we can use a constant binding to skip this step – no need for a stored property to hold whether the toggle is on or not.
So, rather than connecting the Toggle to a stored property marked with @State we can simply do the following:
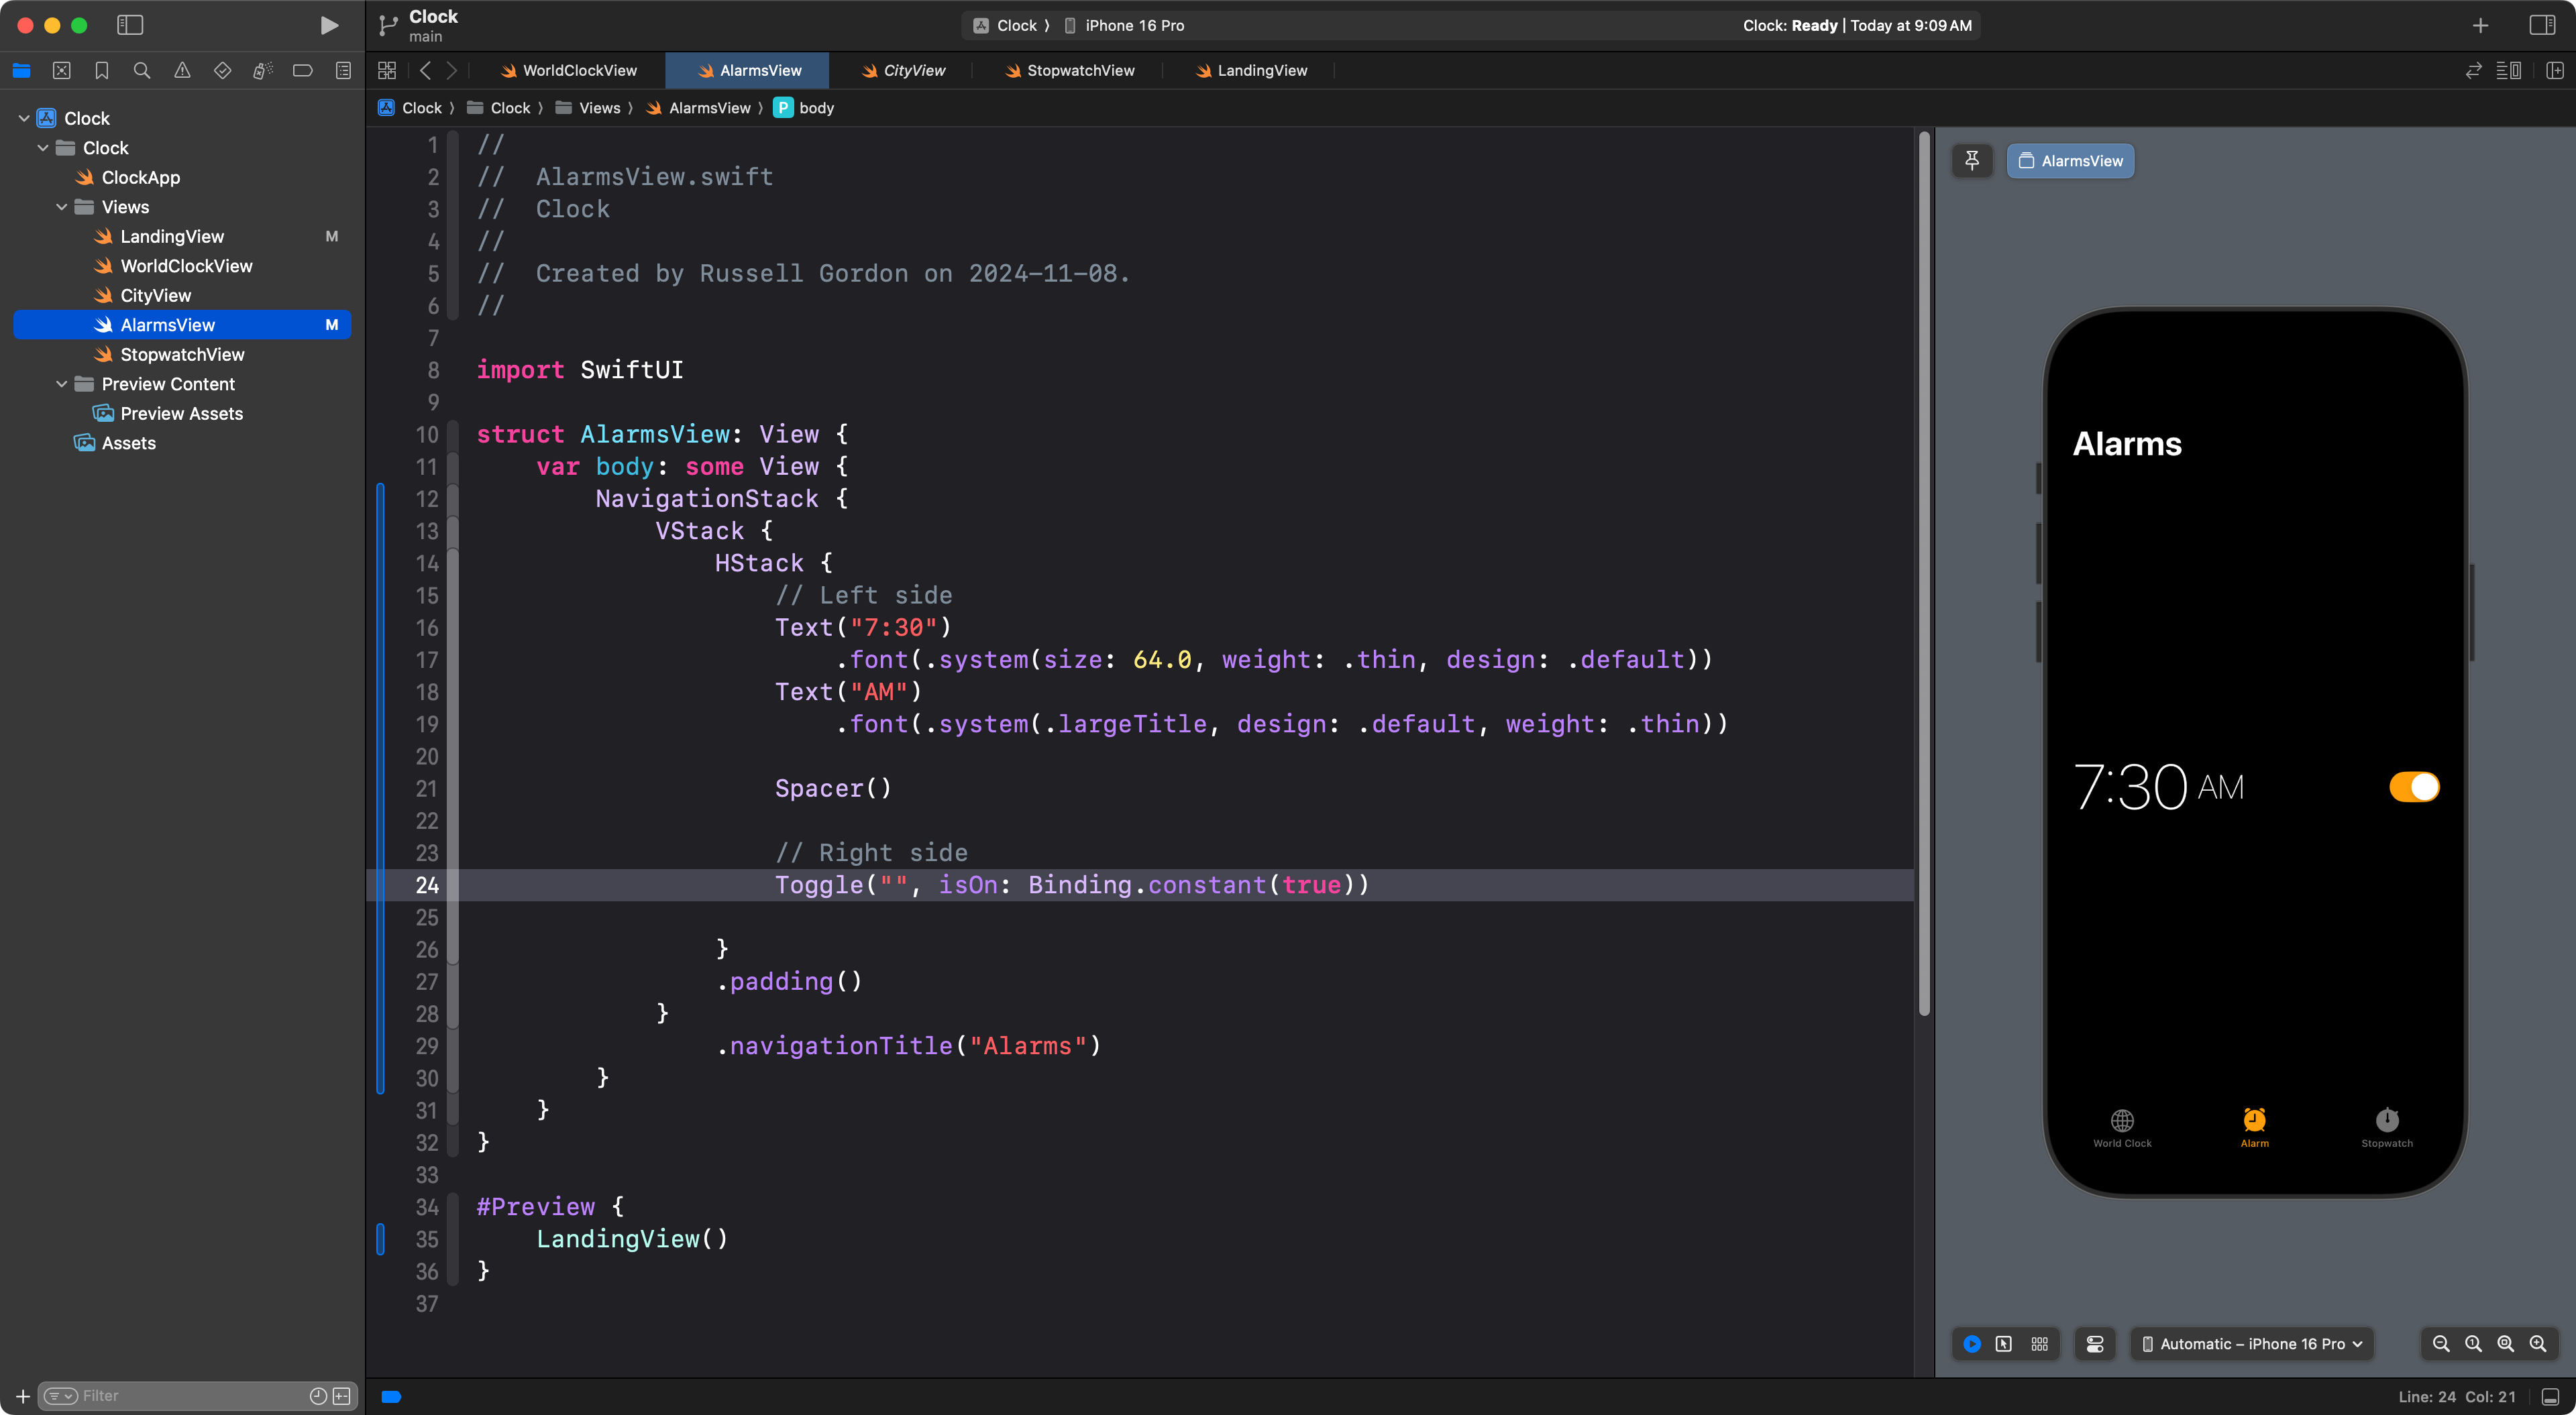
From here, use your knowledge of layout concepts using stacks, and consult SwiftUI Views Mastery as a reference, to do your best to reproduce this interface.
TIP
Don’t forget to apply abstraction to stay D.R.Y.!